March 4th, 2022

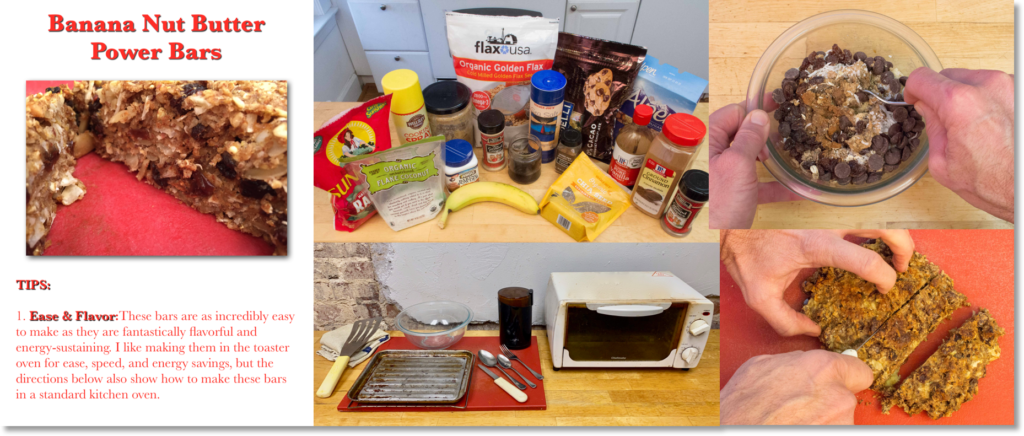
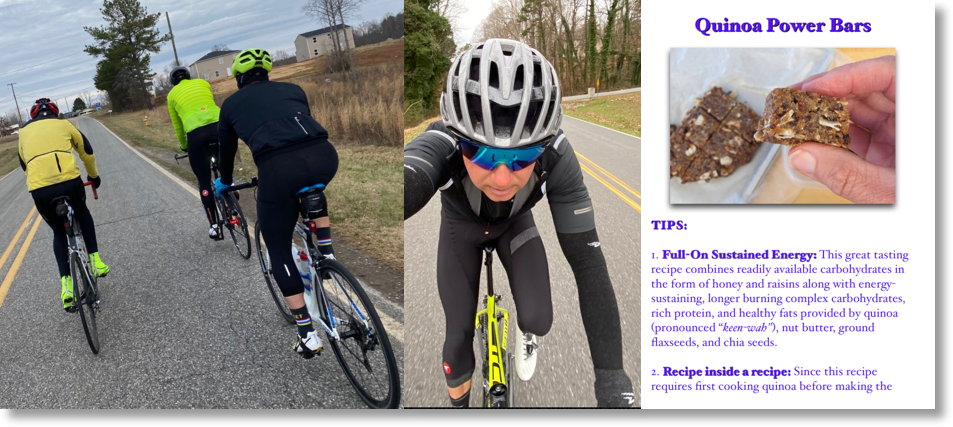
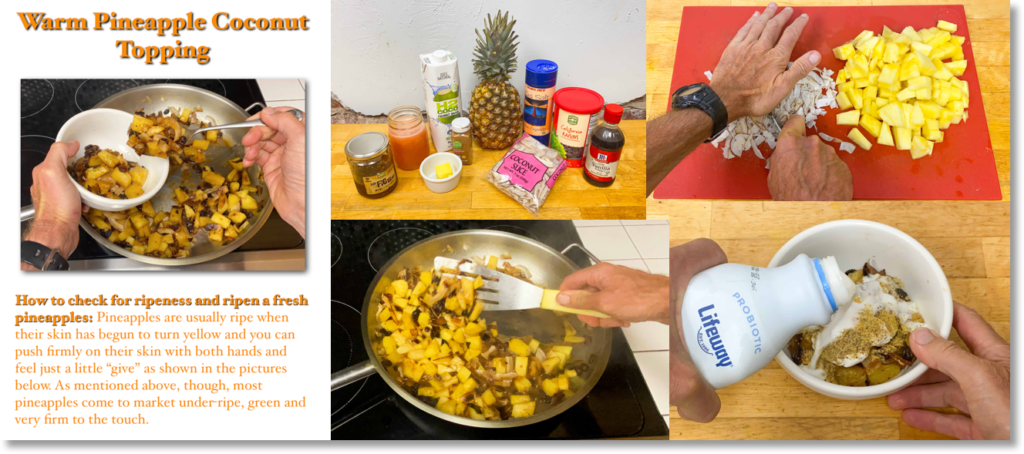
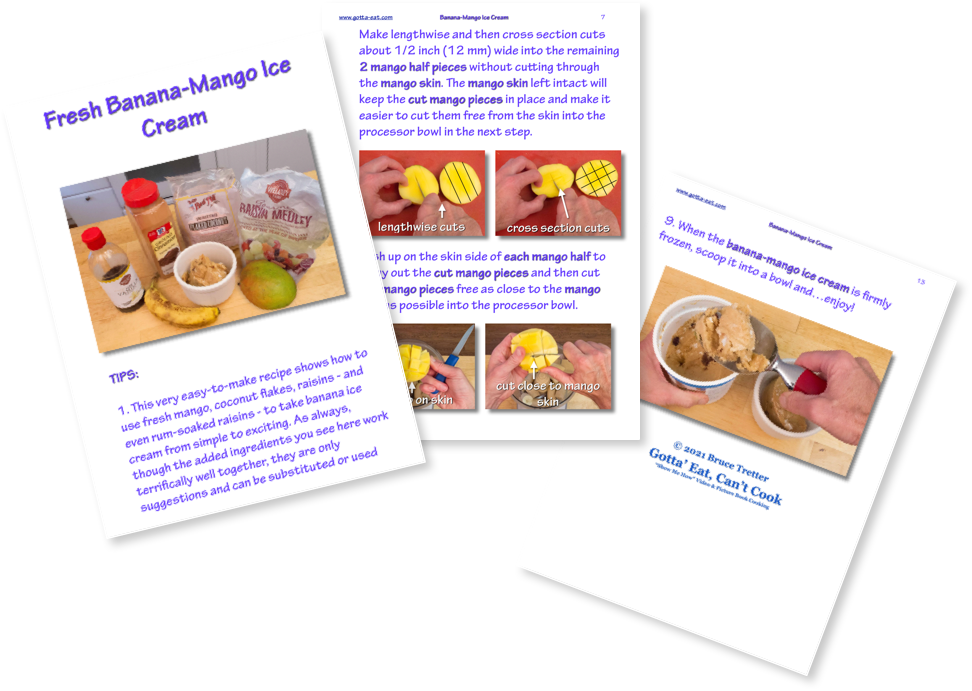
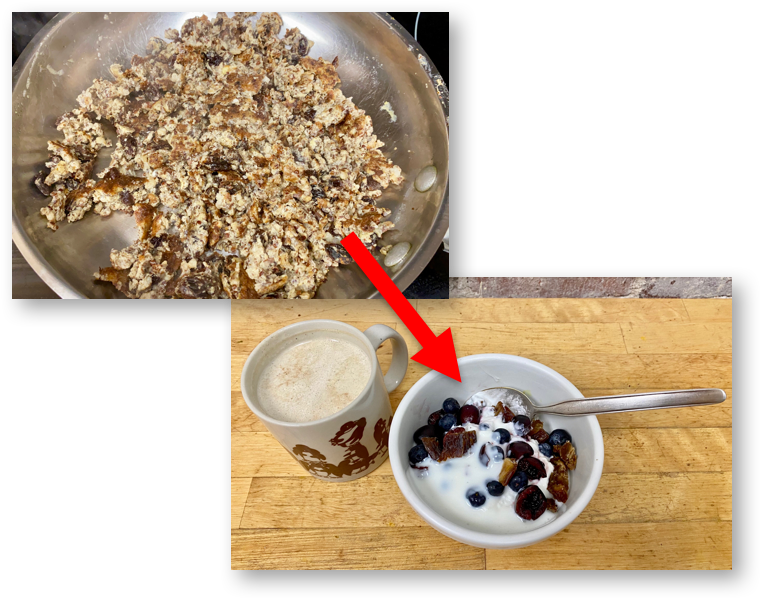
These potently flavorful, easy to make banana nut butter power bars work great for dessert or as an on-the-go sport power bar. As you see in the picture above, I prefer making them in the toaster oven for ease and speed, though the picture book directions linked to this post also show how to bake them in a standard kitchen oven.
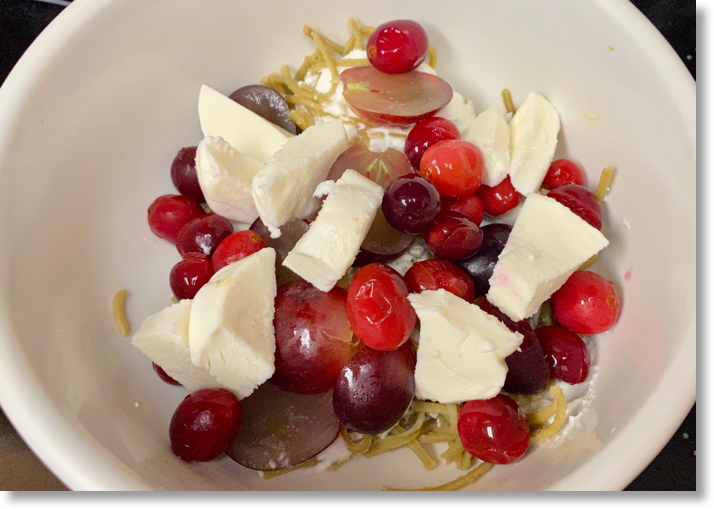
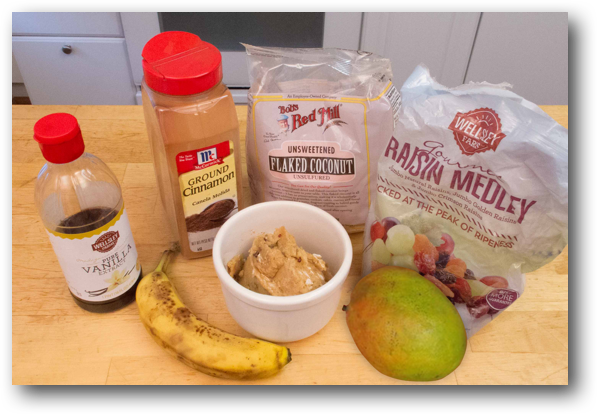
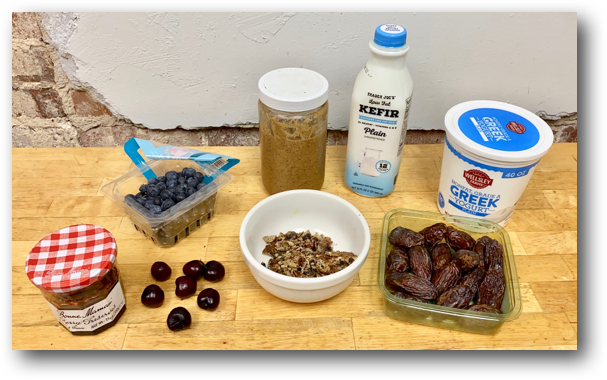
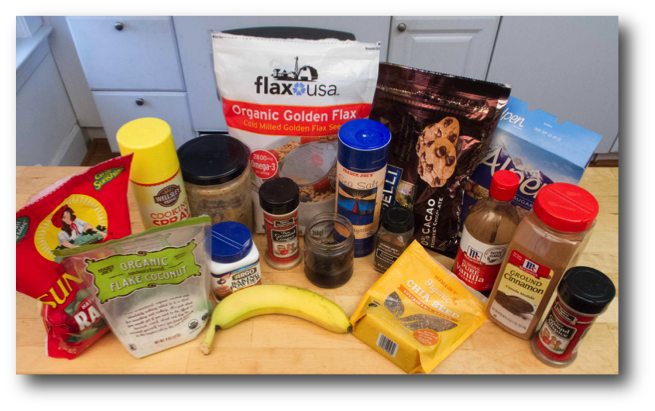
Regarding the ingredients shown above and below, I know it looks like a lot – but don’t panic. The spices (cinnamon, ginger, allspice, and nutmeg) along with vanilla extract are the cornerstones of the full flavor of these bars. If you don’t have some of those spices, just use a little more of what you do have. You can also use juice (apple cider works great) instead of coffee and substitute ground flaxseeds, chia seeds, and whole grain cereal with any other ground similar type of ingredient, like ground nuts or your favorite cereal. The bottom line: imagination and available ingredients are your only limits.
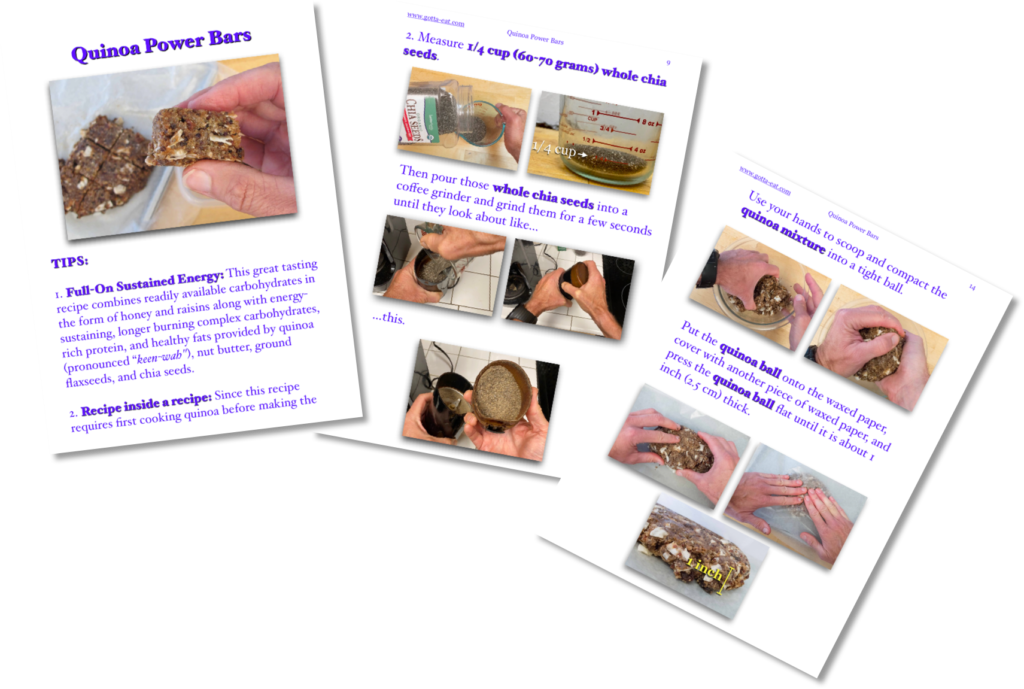
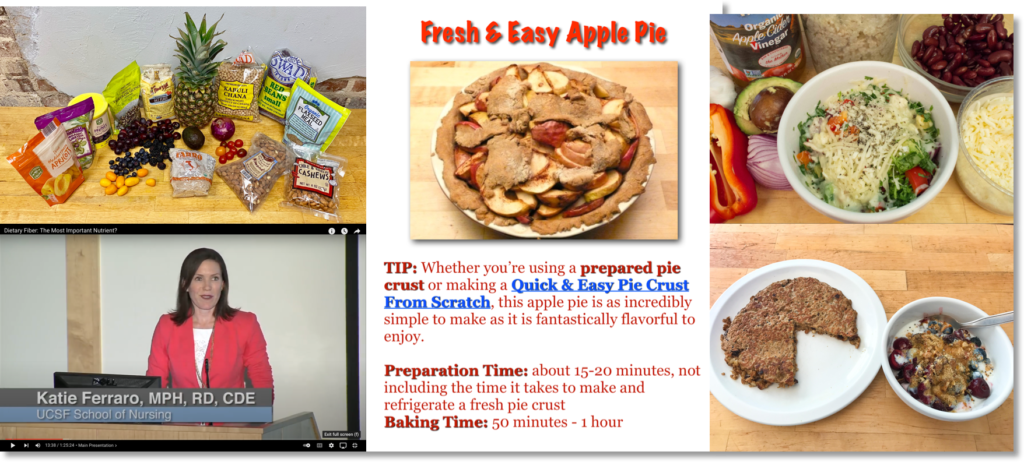
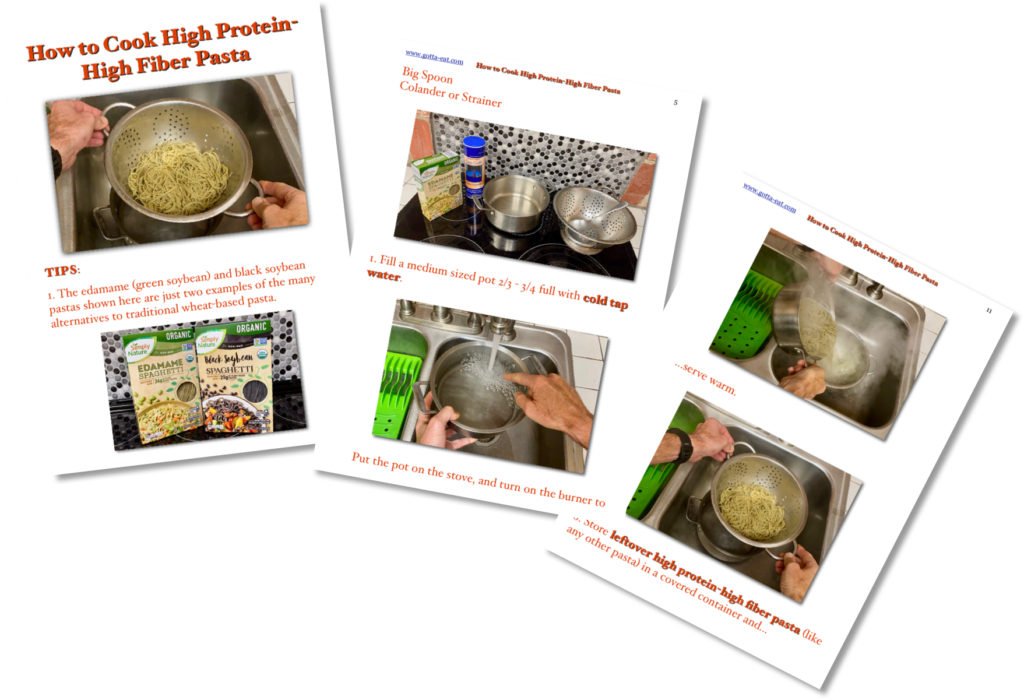
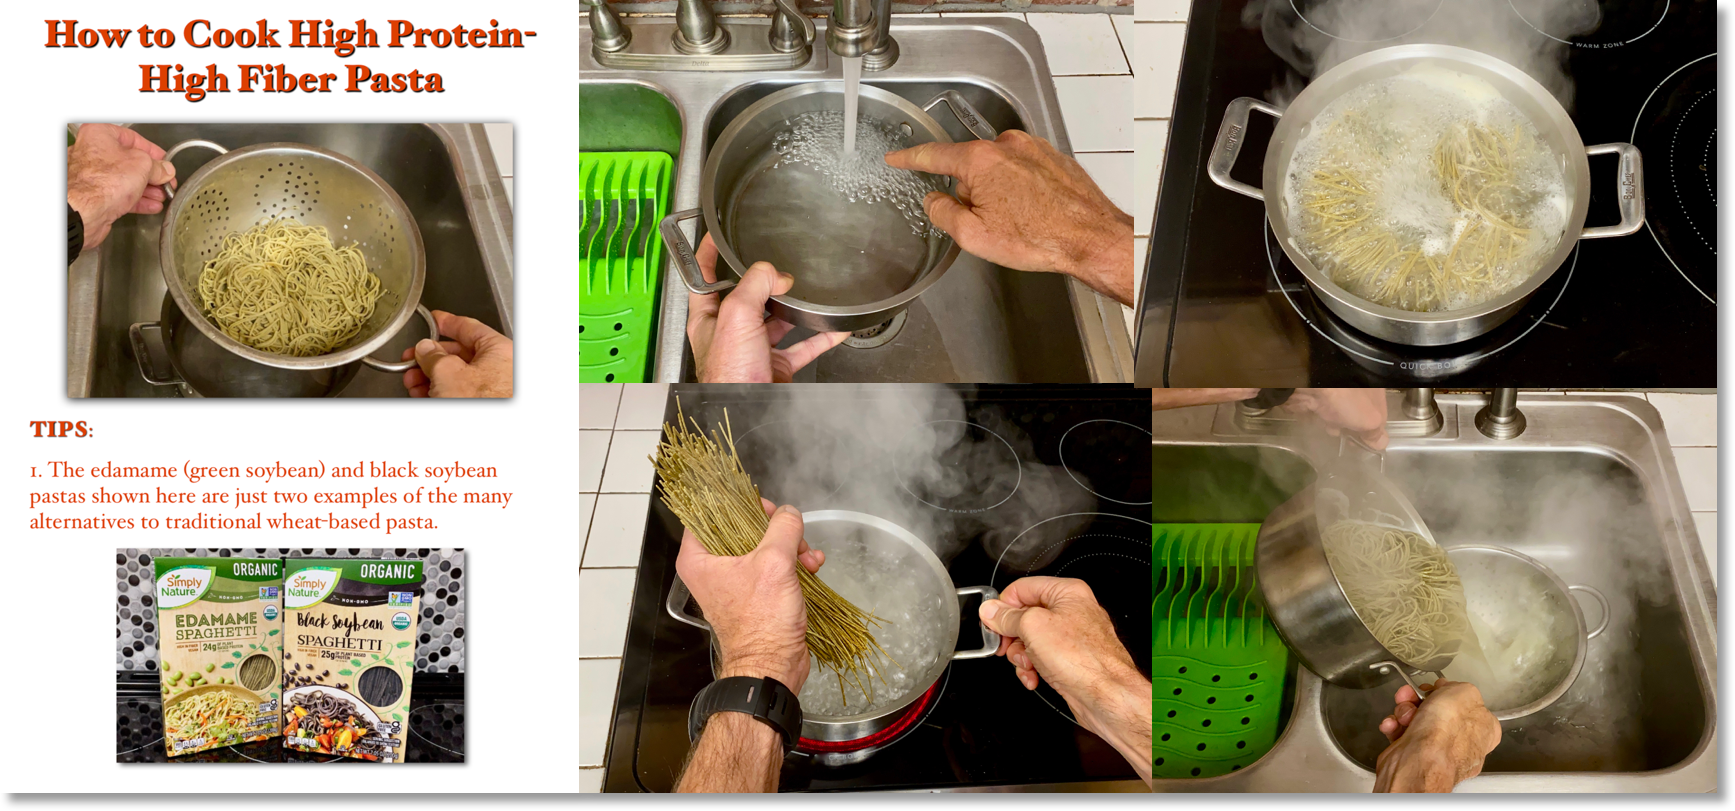
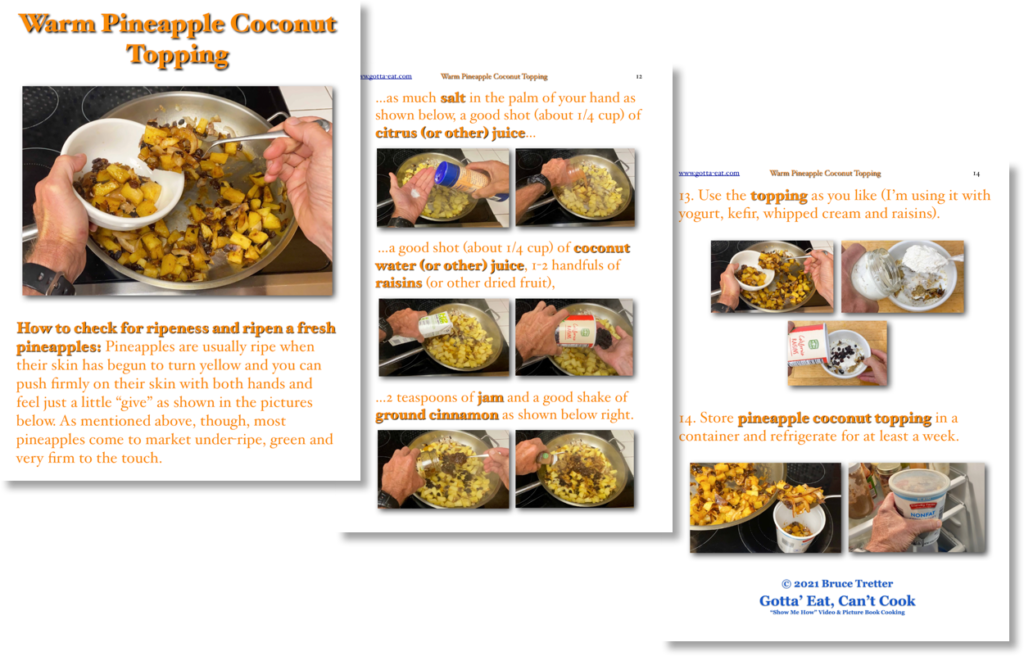
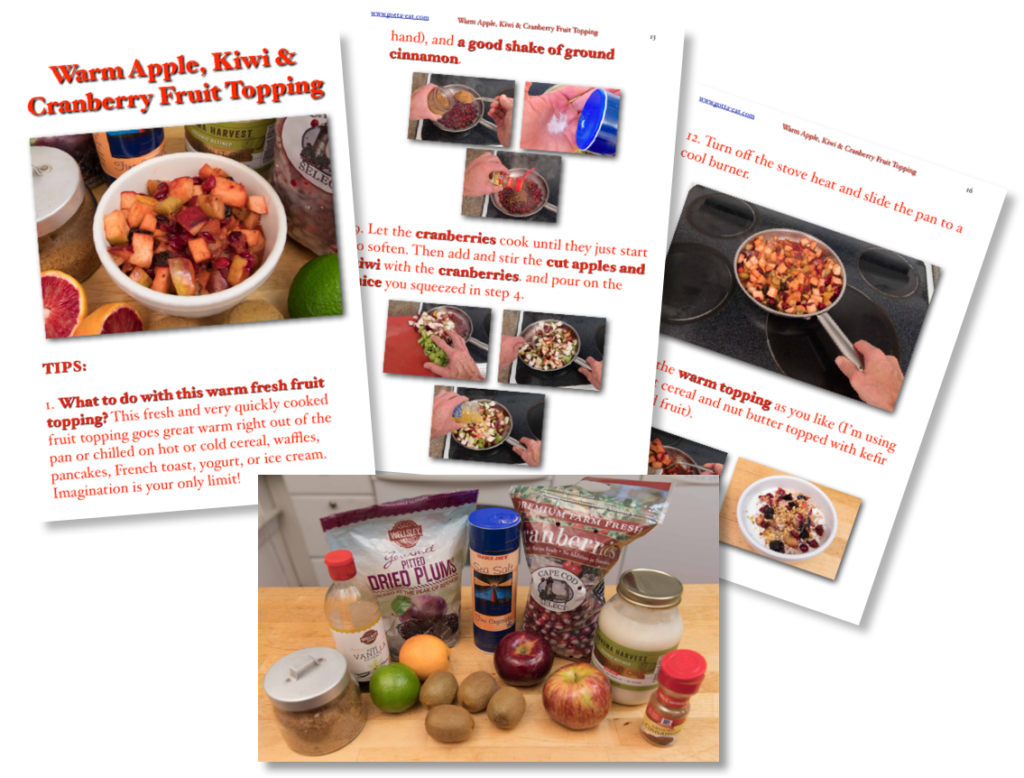
 Click this link or any picture on this page for a complete, easy-to-follow step-by-step picture book recipe.