Archive for the ‘Nuts’ Category

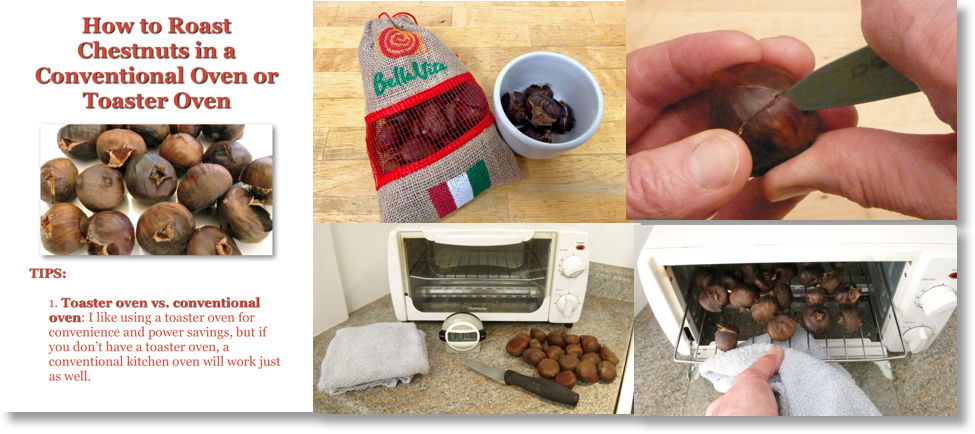
How to Roast Chestnuts in a Conventional Oven or Toaster Oven


Just seeing fresh chestnuts in the store at this time of year, which is a little tough where I now live in Hickory, NC, with one brilliant exception – more about that very soon – brings back vivid memories: from seeing and smelling them roast, or burn, on New York City sidewalks on bone cold winter nights to my dad roasting them in an electric pan and all of us cracking them open parked in front of a blazing fire in the living room when I was a much younger kid than I am now.

Roasting chestnuts is very easy, especially in a toaster oven, and well worth the flavor payoff. Here are some quick tips.

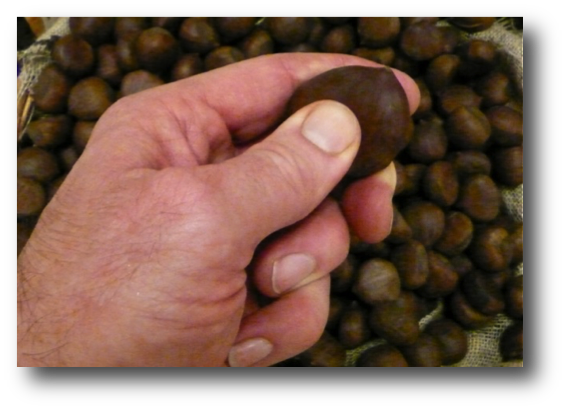
1. Select fresh chestnuts that are both heavier in weight and firm to the touch, not spongy. Also, give the chestnuts a quick look for small circular holes in their shell as any holes you find are a sure sign that pests have entered the nut.
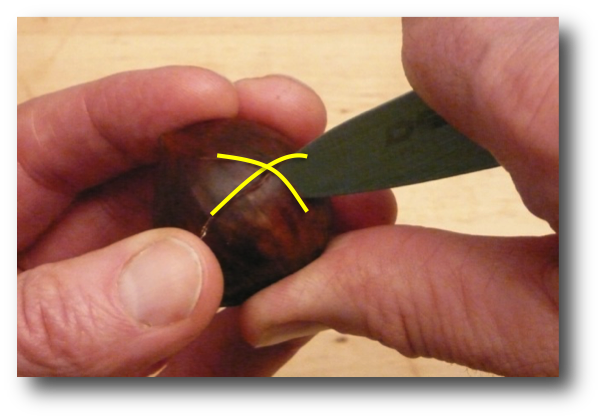
Selecting Fresh Chestnuts2. Before roasting chestnuts, make sure to give them a good cross cut on both the top and bottom of the nut that penetrates the shell and thin membrane inside, as shown below. Making those cuts allows steam to escape as the chestnuts roast. Not making those cuts will allow trapped steam to build up inside the shell to the point of explosion – great, loud sound but annoying mess to clean up, which I DO know from experience.
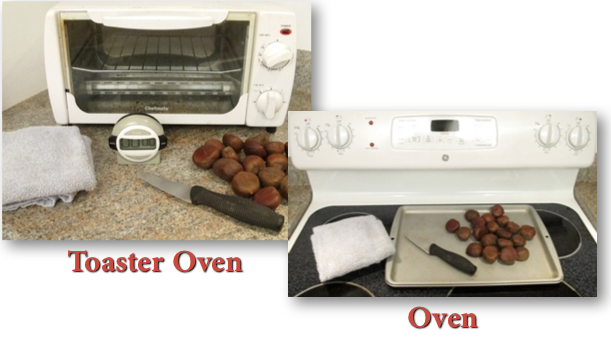
Chestnut cross cut3. Here is all you need to roast chestnuts either in a toaster oven (more energy efficient) or conventional oven.

Needed to Roast Chestnuts


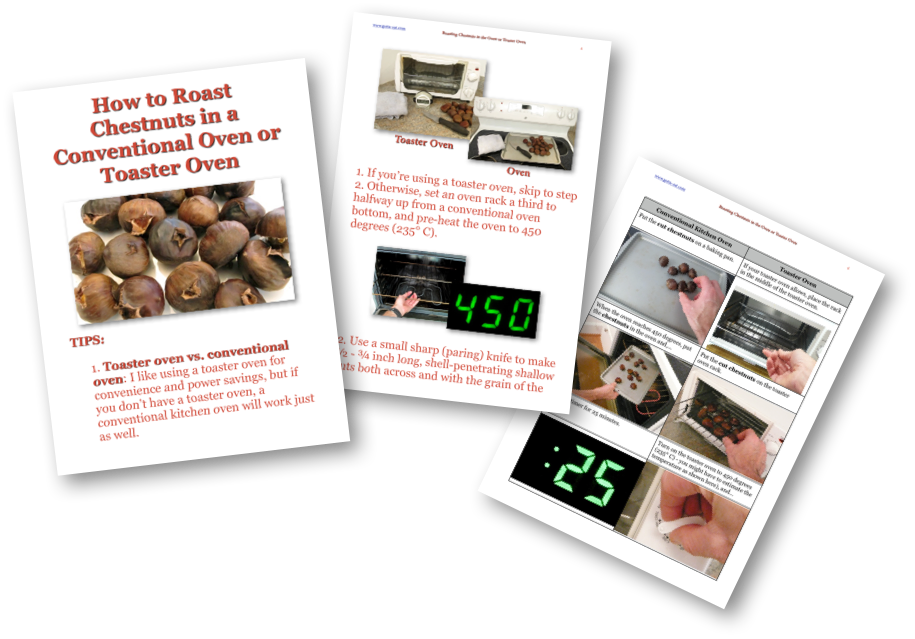
Click this link or any picture on this page for complete picture book directions – and enjoy!

Banana Nut Butter Power Bar Picture Book Recipe


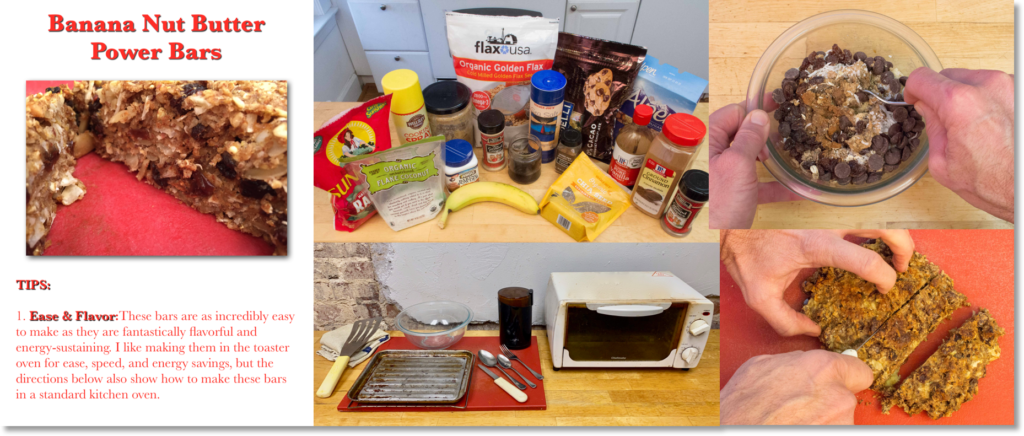
These potently flavorful, easy to make banana nut butter power bars work great for dessert or as an on-the-go sport power bar. As you see in the picture above, I prefer making them in the toaster oven for ease and speed, though the picture book directions linked to this post also show how to bake them in a standard kitchen oven.

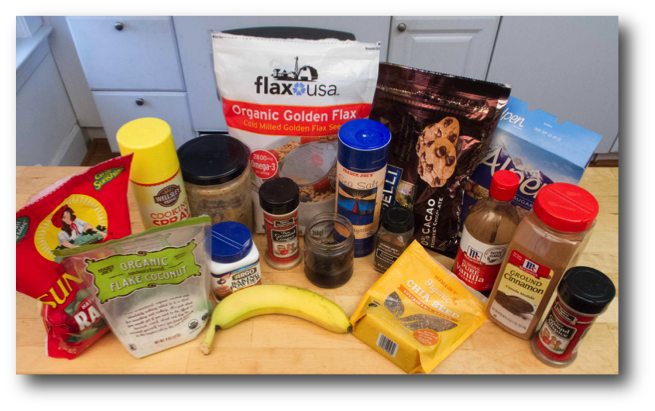
Regarding the ingredients shown above and below, I know it looks like a lot – but don’t panic. The spices (cinnamon, ginger, allspice, and nutmeg) along with vanilla extract are the cornerstones of the full flavor of these bars. If you don’t have some of those spices, just use a little more of what you do have. You can also use juice (apple cider works great) instead of coffee and substitute ground flaxseeds, chia seeds, and whole grain cereal with any other ground similar type of ingredient, like ground nuts or your favorite cereal. The bottom line: imagination and available ingredients are your only limits.

Banana Nut Butter Power Bar IngredientsClick this link or any picture on this page for a complete, easy-to-follow step-by-step picture book recipe.

Easy Chopped Nuts Picture Directions

Last post mentioned that I’d next show how to make a mix of chopped nuts and ground flaxseed that I use with much more than the Bell Pepper with Cilantro Pesto-Hummus and Cheese I showed how to make. As a first step, though, I thought I’d show here how to chop nuts as quickly and easily as possible.

Nuts are a fantastic source of plant-based protein and healthy fats. I put them in cereal, with fruit and yogurt, in salads, with pasta or grains, and much more. The only thing to watch for with nuts is that they are packed with calories. Moderation is key.

And, that’s why I find it best to use chopped nuts exactly as needed instead of having a bag of those same nuts at my side to feed from, which I certainly have done – and paid for dearly.

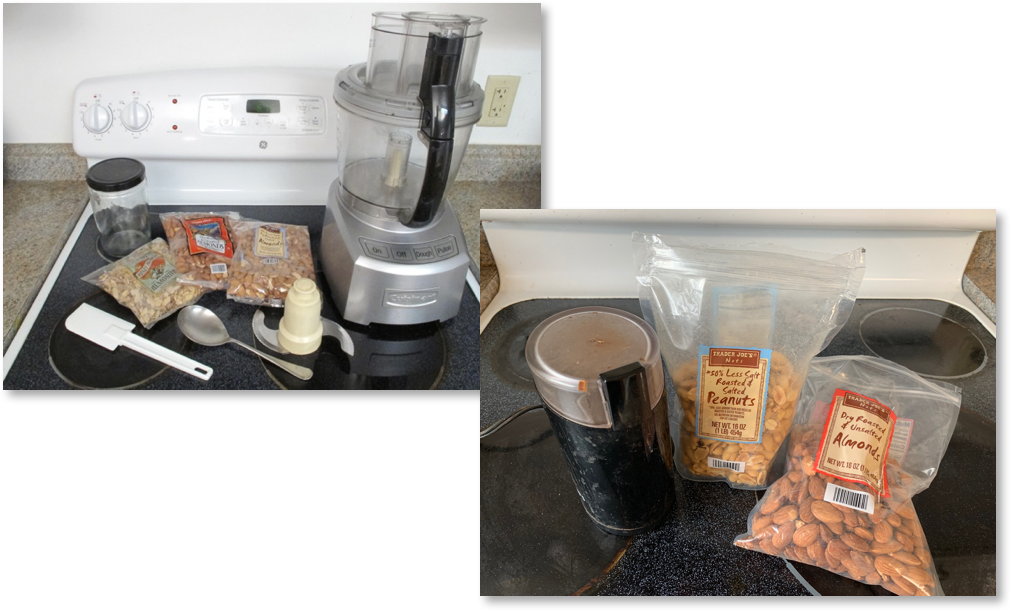
There are two ways I chop nuts: with a food processor (preferred) or with a coffee grinder (fine for small amount but takes a bit of care).

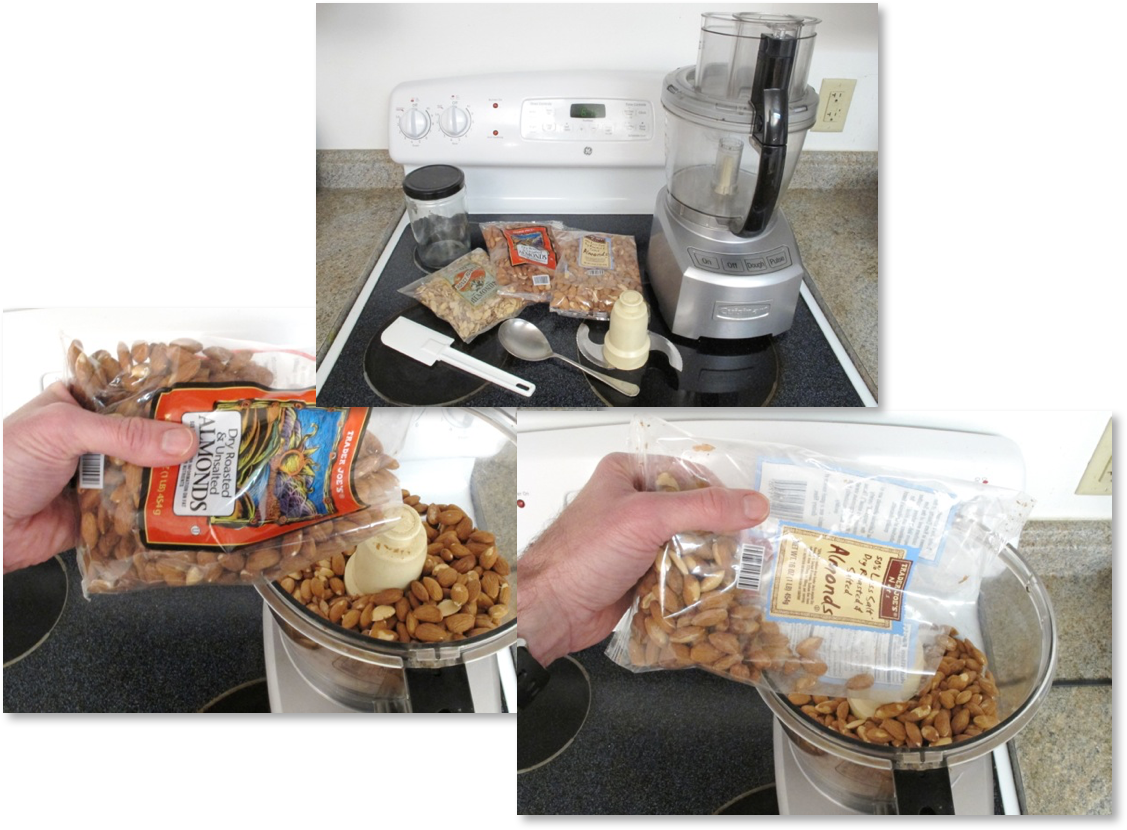
Here’s how to chop nuts with a food processor. Use the S-shaped processor blade as shown in the top picture below and add as many nuts as needed to the food processor.

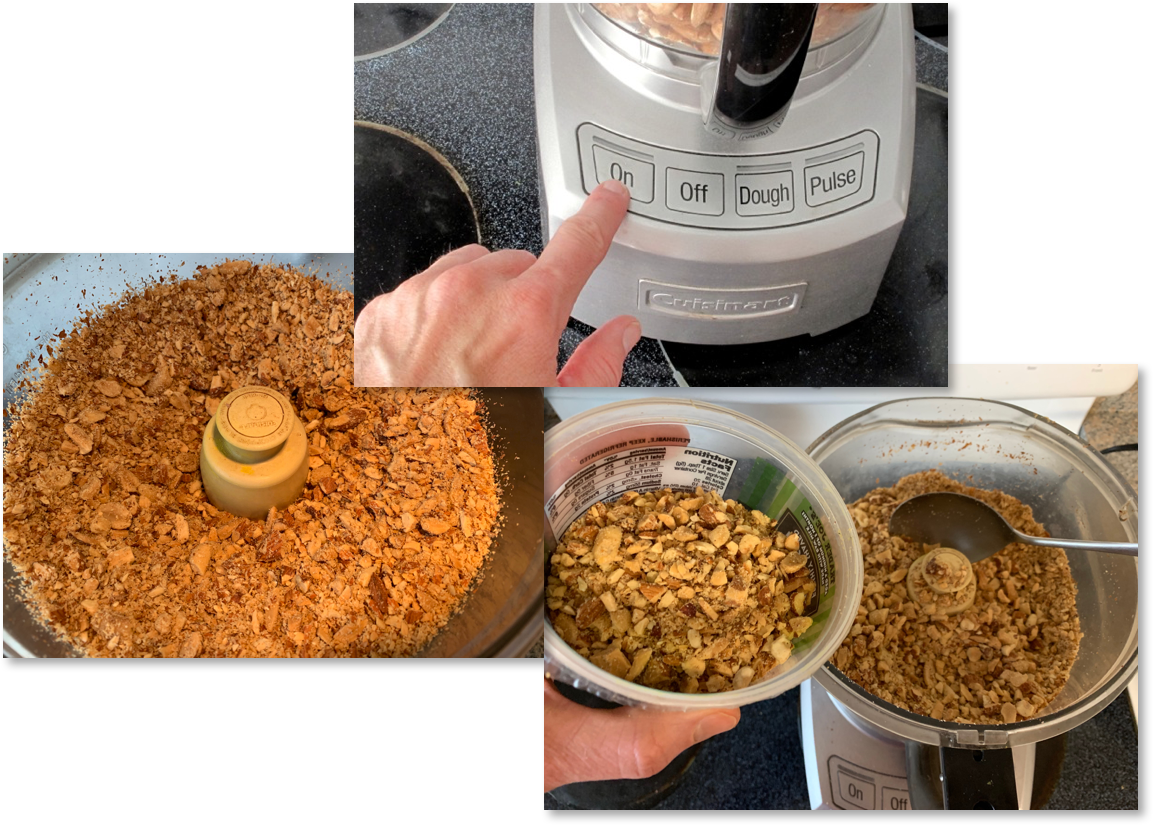
Close the processor top and turn on the processor for about 10 seconds until the nuts look about as shown in the bottom left picture.

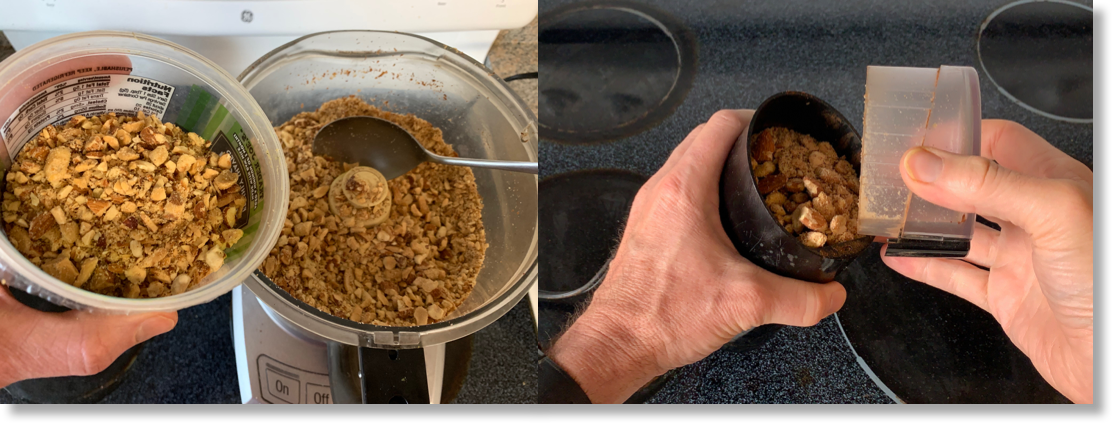
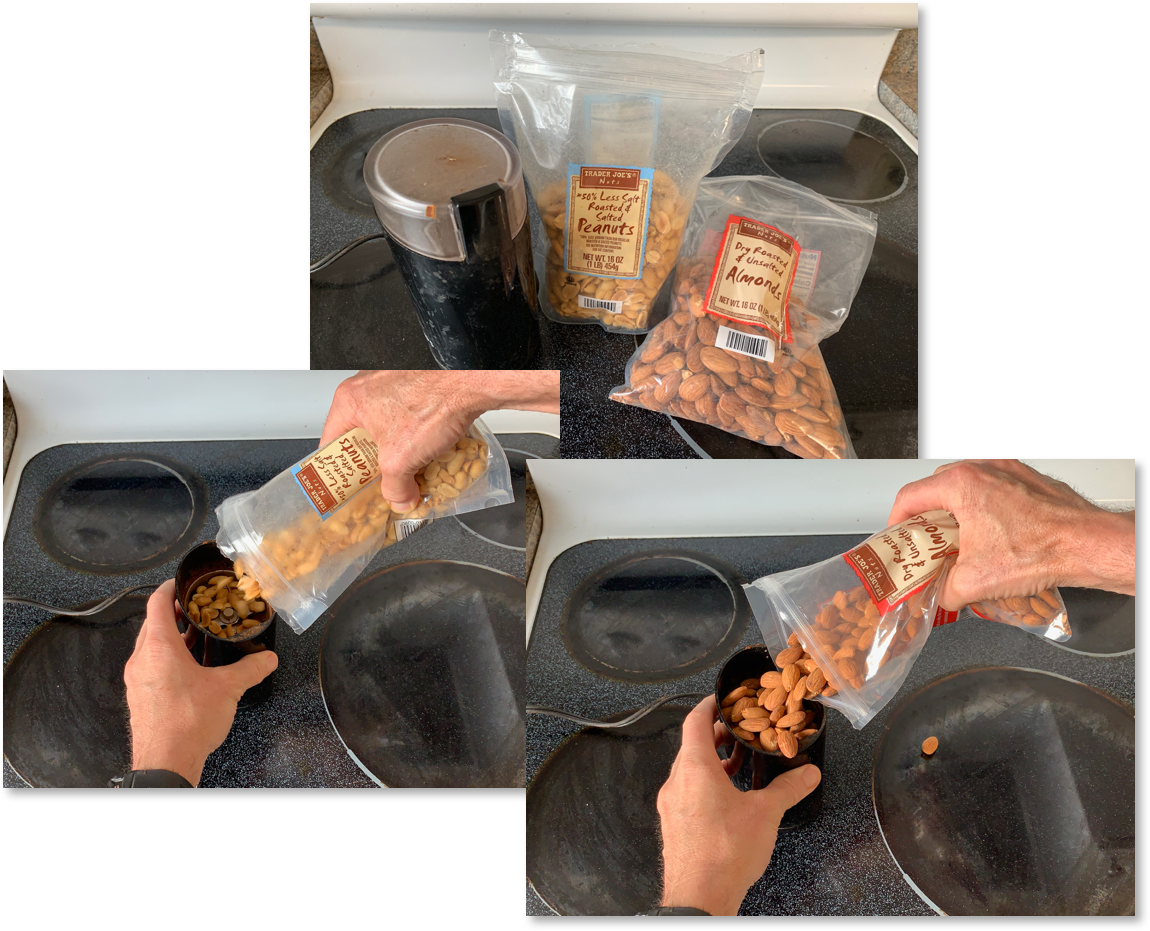
To chop nuts in a coffee grinder, which works fine for small amounts, add nuts to the coffee grinder,…

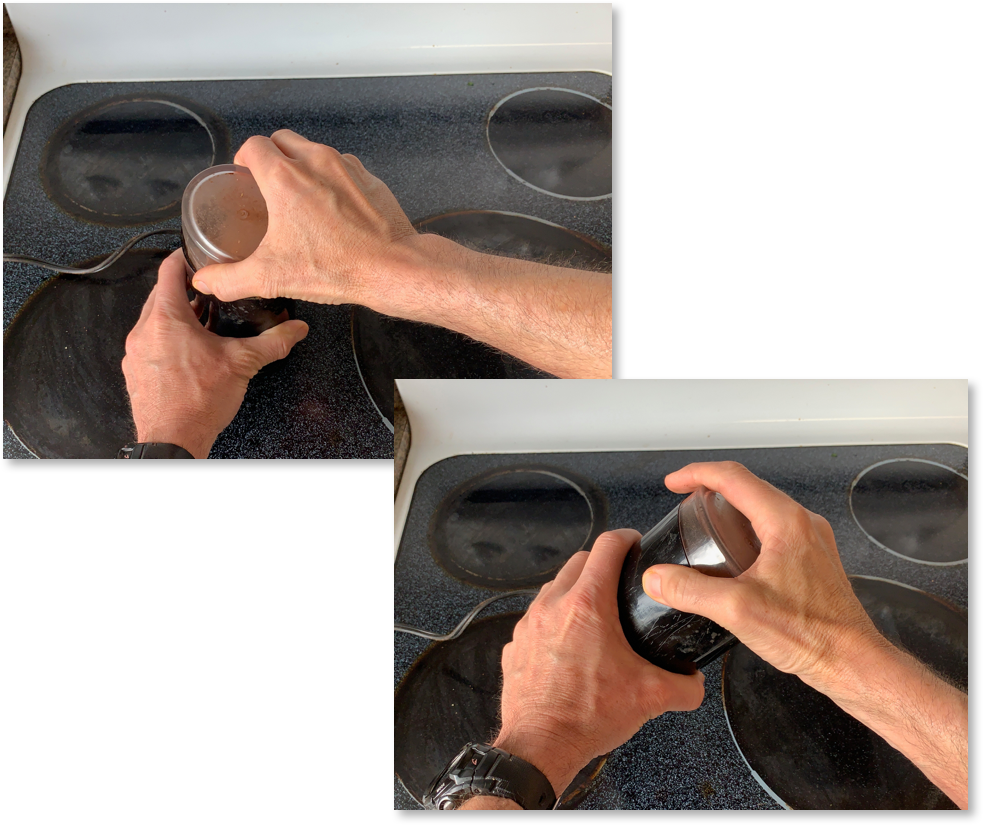
…close the top, keep the top held firmly in place, and shake the grinder while keeping the grinder on for 5 or so seconds.

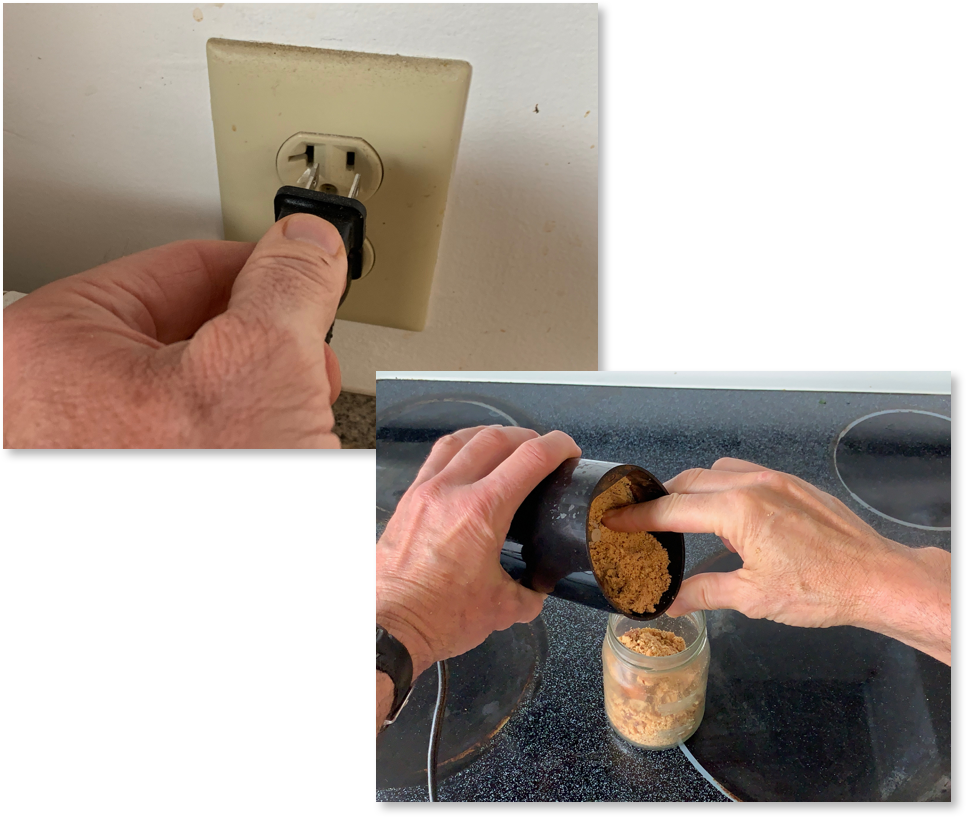
Make sure to unplug the grinder from the outlet, and then scoop out the chopped nuts as well as possible – without making yourself, well, nuts. Grinding your next batch of coffee with do a great job cleaning the grinder.

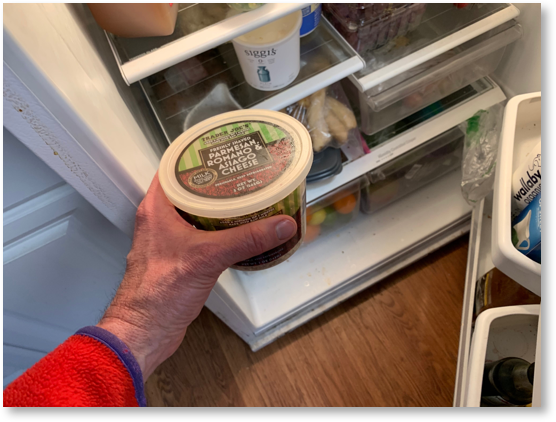
Store the chopped nuts in the refrigerator, where they will keep fresh for at least a few weeks – as long as the nuts you used were fresh when you chopped them.


Designed by Free Wordpress Themes and Sponsored by Curry and Spice