Category: How To & Tips
-
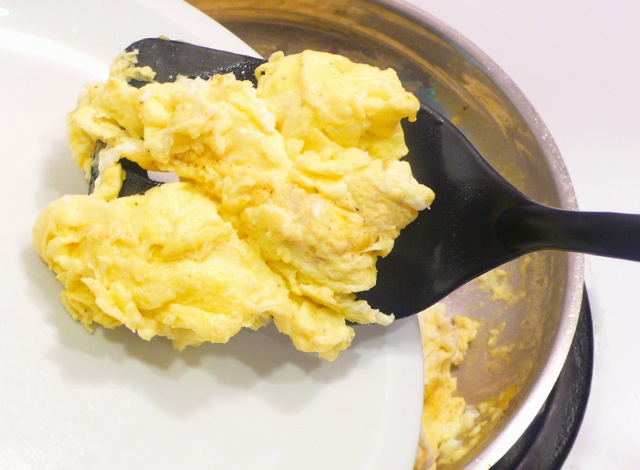
Scrambled Eggs So Easy You’ll Laugh — All in Pictures!
Think you can’t cook? Think again. This picture-only scrambled eggs recipe is where confidence begins. No jargon, no stress—just clear steps, two game-changing tips, and a smile-worthy story from my own kitchen disaster. Let’s make cooking your new superpower—one egg at a time.
-
Nutty Cilantro Pesto Picture Book Directions
Step-by-step picture book directions show how to make nutty cilantro pesto.
-
Hand-Chopped Basil Pesto Picture Book Directions
I promised in my last post that showed how to make fresh basil pesto using a food processor that I’d put together picture book directions showing how to hand-chop basil pesto if you don’t have – or don’t like cleaning – a food processor and, boy, I hopped on it with a “let’s get it…
-
Warm Overnight Oats with Chickpeas, Pesto and Cheese Picture Directions
Picture book directions show how to make and improvise on overnight oats with chickpeas, basil pesto and cheese.
-
Overnight Water-Soaked Oats Picture Directions
There’s no such thing as a particular “superfood”, or one food that will work miracles on your body to make you feel stronger, become healthier and prevent disease all on its own. The real “open secret” is enjoying a varied diet rich in whole foods – whole foods are key – and oats, with their…
-
Only You Have the Power to Empower You!
Self-empowerment comes from within and is key to living positively. This site, with its picture book recipes, will help enable self-empowerment in the kitchen even if you’ve never cooked before.
-
Warm Apple Fruit Topping From Simple to Exciting Picture Book Directions
Picture book recipe guided demonstration showing how to improvise on a base recipe to make that recipe all your own regarding flavor and/or personal dietary needs.
-
Fast 5-Ingredient with Fresh Garlic Salad Dressing Picture Book Directions
Picture book recipe shows how to make an easy, richly versatile 5-ingredient salad dressing with fresh garlic.
-
2 Keys to Kitchen Knife Safety: Keeping Knives Sharp and Hand Position While Cutting
Keeping kitchen knives sharp and using curled fingers both to grip food and as a knife guide are keys to kitchen knife safety.