Posts Tagged ‘picture book recipe’

Only You Have the Power to Empower You!

Bringing self-empowerment to life is entirely your own superpower

No one, no matter what they say – even with best intentions, can empower you. Only you can empower you. The reason: empowerment doesn’t come from without or outside you. Empowerment comes from within. Yes, you can get help to learn the skills you need. But that help itself won’t empower you. You then have to internalize what you learn and make those learned skills a living part of you – and that is nothing like what you see in the magically blissful and freeing but cliched, unrealistic images below.

Empowerment comes from within and is not a magical blissful feel good moment

No. Real empowerment starts with awareness that will probably be uncomfortable to acknowledge. That’s exactly how it has been for me on many fronts, including cooking – and that’s normal. That awareness means knowing, really knowing and feeling inside you completely, that you want to empower yourself in a specific manner, like develop the self-confidence to stand up for yourself, overcome a particular fear, manage emotions better, forgive others, forgive yourself, or, right here, adopt life-promoting eating habits and feel confidently comfortable in the kitchen making meals that support those quality-of-life enriching habits.

Awareness is step one, and it’s an empowering first step in itself because it requires you to admit, with strength, your want and need to change.

The next step is finding trusted, verified guidance that really can help you learn and adopt the skills you need. That guidance can come in the form of a friend, a mentor, a course, a book – or a resource like this site when it comes to empowering yourself in the kitchen. Just bear in mind, and this is most important, that taking on trusted guidance can only provide you with the skills you need to empower yourself. The rest: learning, adopting and internalizing those skills so that you can apply them in real life circumstances, is up to you exactly as well-recognized spiritual and secular leaders and teachers have said completely correctly forever, “I can show you the path, but you have to do the work”.

Don’t let that four-letter “work” word stop you. The work is entirely achievable and noble, and you have the no-kidding power to do it, especially if, just as it is necessary when building any foundation, you take it one doable step at a time.

When it comes to empowering yourself to make and enjoy quality-of-life enriching foods, I look forward to helping you develop the skills you need, all step-by-step and in pictures – and, most of all, having fun doing it!

Any questions or suggestions, just pop me a note at bruce@gotta-eat.com.

Best always,

Warm Apple Fruit Topping From Simple to Exciting Picture Book Directions

Warm simple to exciting apple fruit topping with link to picture book recipe directions

As mentioned in the first “Tip” you might be able to see in the banner shot above, “simple to exciting” is all about improvising on a base or foundational recipe to make it your own by adding or changing ingredients so that what you end up with suits your taste and/or your dietary needs?

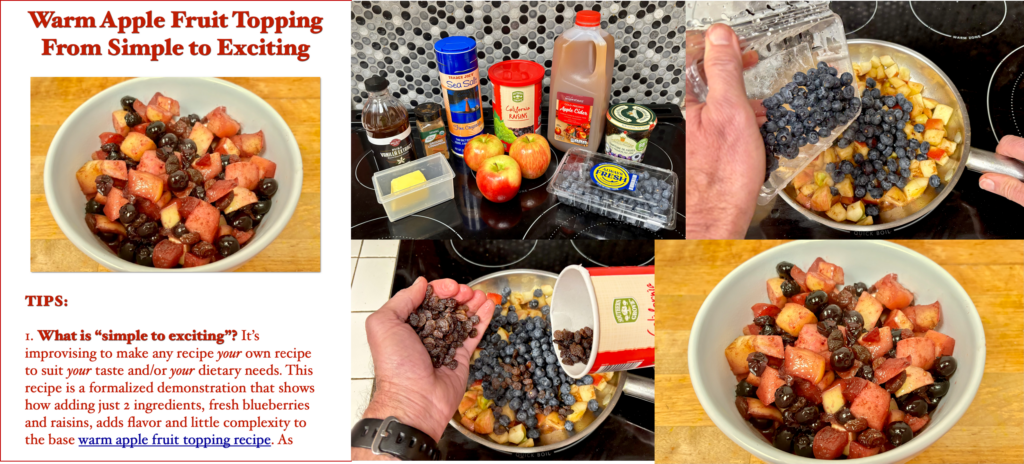
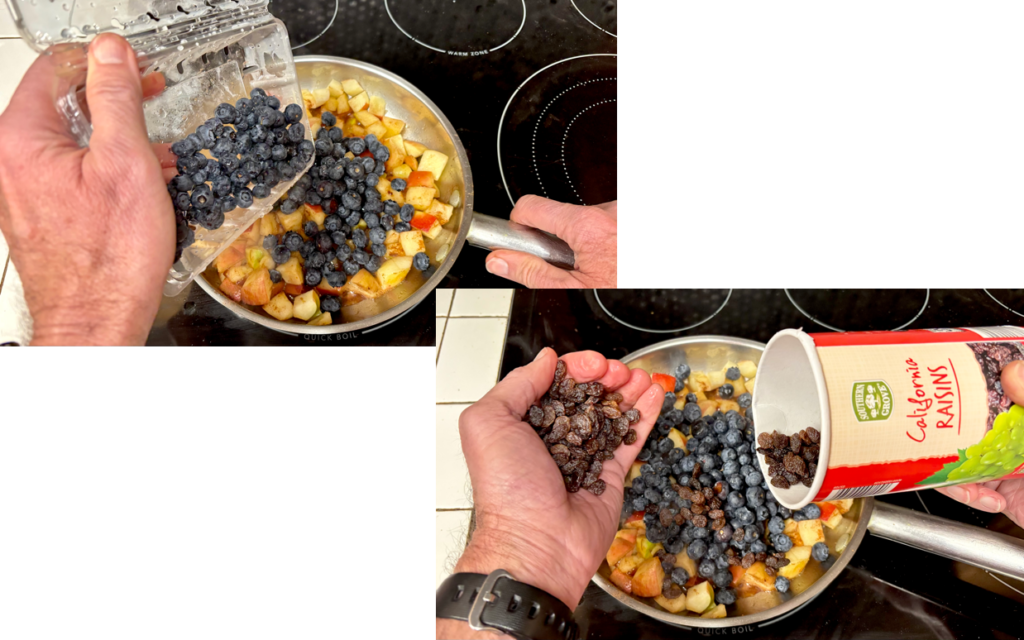
If you’ve already checked out the base – and fully flavorful – warm apple fruit topping I posted last time, you’ll see that all I did to add flavor in the “simple to exciting” recipe was add blueberries and raisins.

Adding blueberries and raisins to apple fruit topping warming on the stove with link to picture book recipe

As always, those two additions are only suggestions. You can replace them – or add to them – however you like to make the recipe your own. The purpose of putting together and posting this “simple to exciting” recipe is to show directly how improvising works. And, really, aside from suggesting other ingredients to spark your imagination, the most important guidance in the base recipe and the “simple to exciting” recipe is the order in which to add ingredients to the pan, which, for the most part, is also no absolute golden rule. Yes, though it is better regarding texture to add firmer fruits, like apples, to the pan first before adding softer fruits, like berries, because softer fruits take less time to cook than firmer fruits, you certainly won’t ruin the recipe if you accidentally add one firmness of fruit before the other.

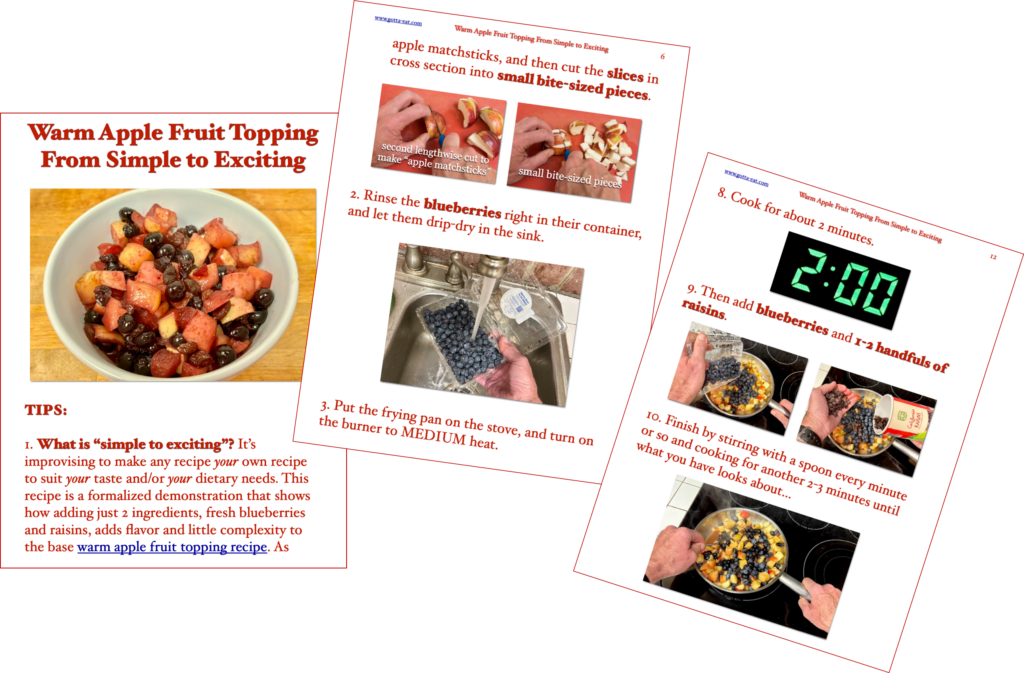
That said, please click this link or any picture on this page for the full warm apple fruit topping from simple to exciting picture book recipe – and have fun! Regarding fun,…

Pages of warm simple to exciting apple fruit topping with link to full picture book recipe directions

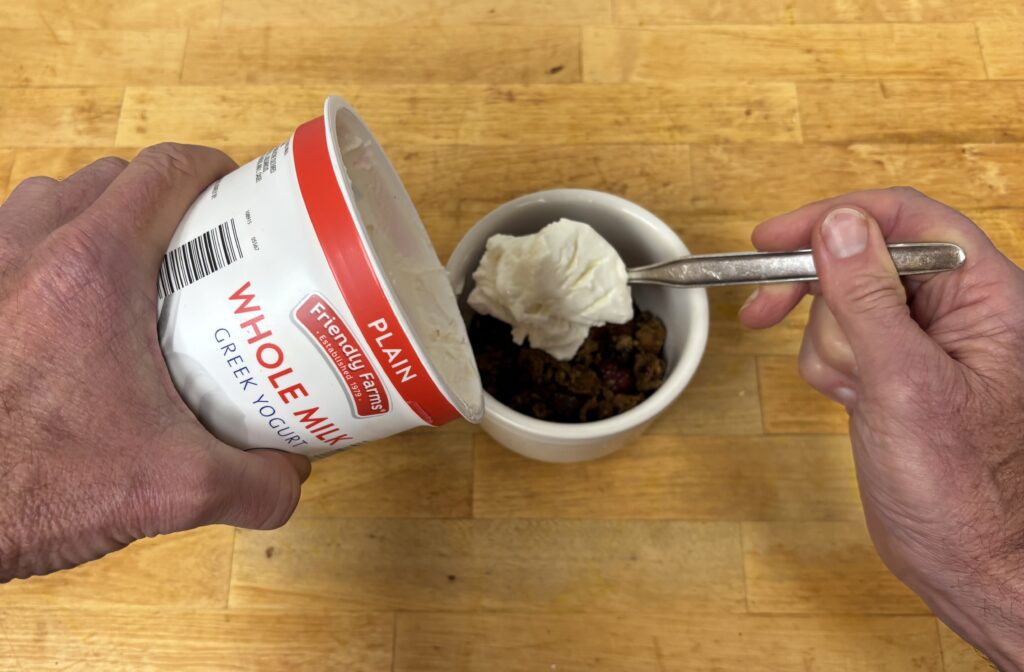
…here’s how I had it last night for dessert: microwave warmed with a crumbled piece of chocolate chip cookie, Greek yogurt and jam. Killer!

Apple fruit topping with blueberries and raisins with crumbled chocolate chip cookie piece, Greek yogurt and jam with link to full picture book warm apple topping from simple to exciting link.

Next post: Only you can empower yourself – from an entirely positive perspective!

Stress-Free Thanksgiving Dinner Planning & Timing Guide With Recipe Links

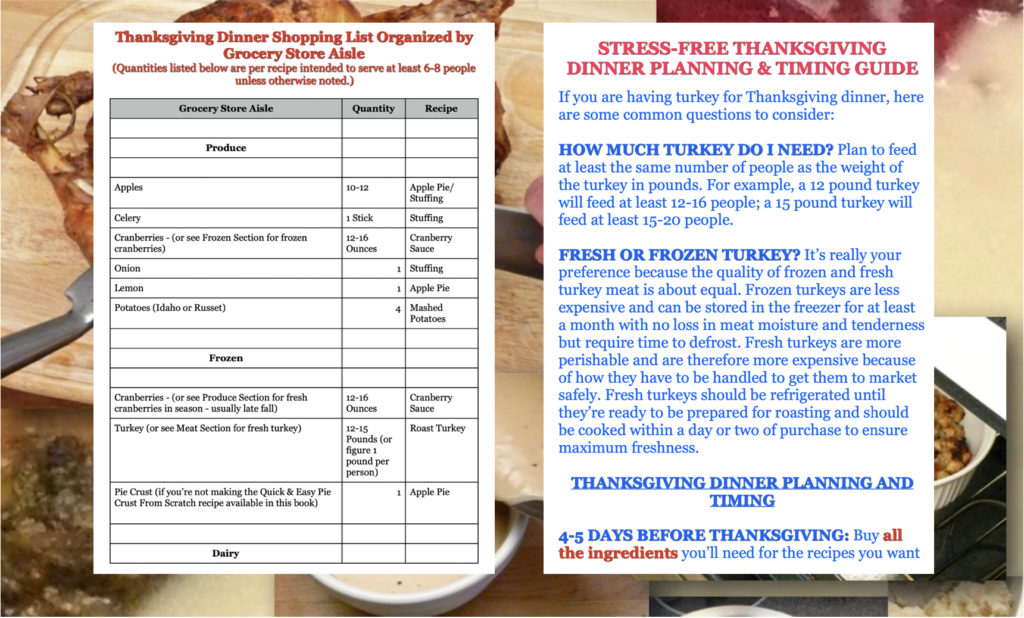
Thanksgiving food shopping list by grocery store aisle and stress-free Thanksgiving dinner planning and timing guide blog banner image.

All right! Thanksgiving’s just 3 days away, and if you’re the one on the hook to make Thanksgiving dinner, it’s time to flip the action switch to on – without making yourself crazy.

First, if you haven’t yet gotten all the ingredients you need to make Thanksgiving dinner, please get to the grocery store today (Monday) or tomorrow (Tuesday), especially if you’re roasting a frozen turkey as frozen turkeys take at least 2 days to defrost properly. To make grocery shopping as easy as possible either click this link or the picture below to download a Thanksgiving Dinner Shopping List Organized By Grocery Store Aisle.

Thanksgiving Food Shopping List Organized By Grocery Store Aisle

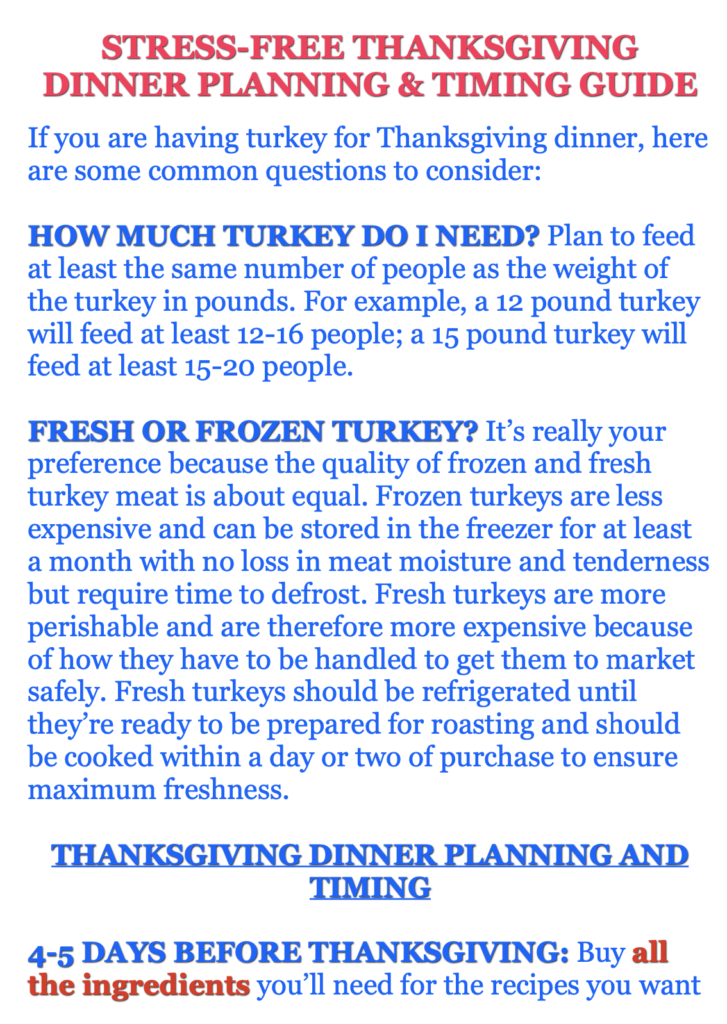
Next, either click this link or the picture below to download the Stress-Free Thanksgiving Planning and Timing Guide so you know in advance what to expect realistically over the next few days, which is all manageable even if you have little to no experience in the kitchen.

Next couple days: fully flavorful and easy-to-make Thanksgiving Day recipes.

Stress-Free Picture Book Thanksgiving Dinner Help

I know it’s just the beginning of November, and Thanksgiving comes late this year: November 28th. But time flies, and these next posts will be about how make the most of that most excellent holiday.

First, Thanksgiving is by far my favorite holiday. All that’s expected is a fully flavorful meal with good friends and family. Great – unless you’re the host AND you’re stressed about how to put that meal together.

Breathe easy – no problem!

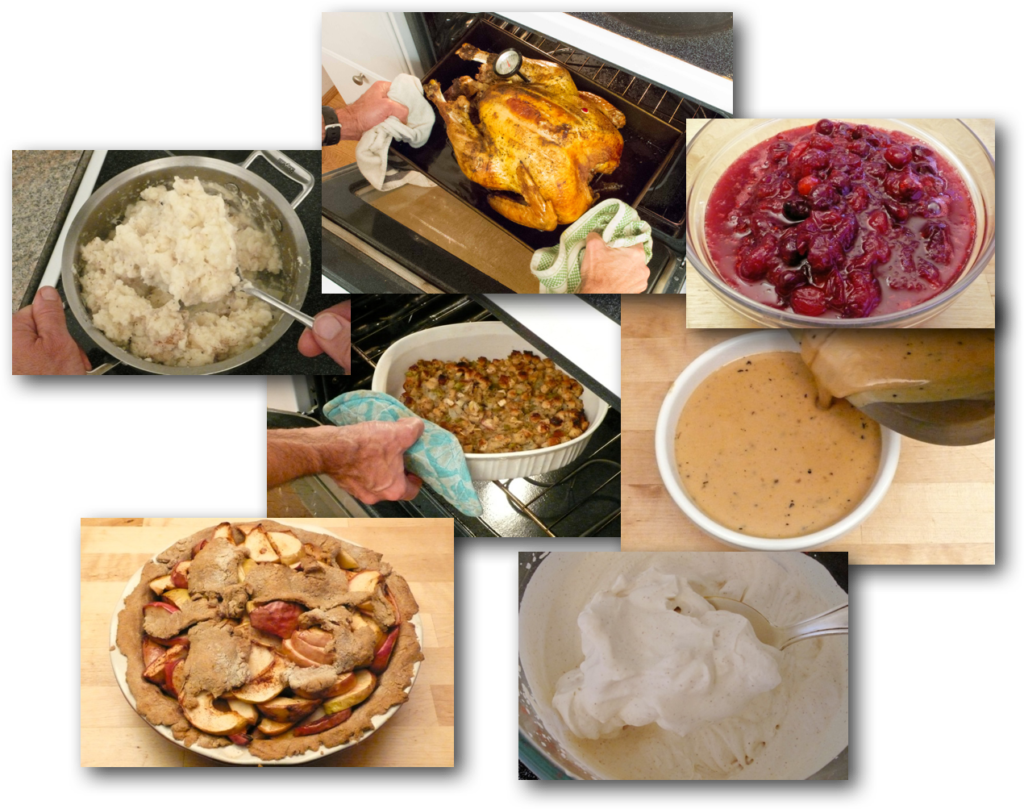
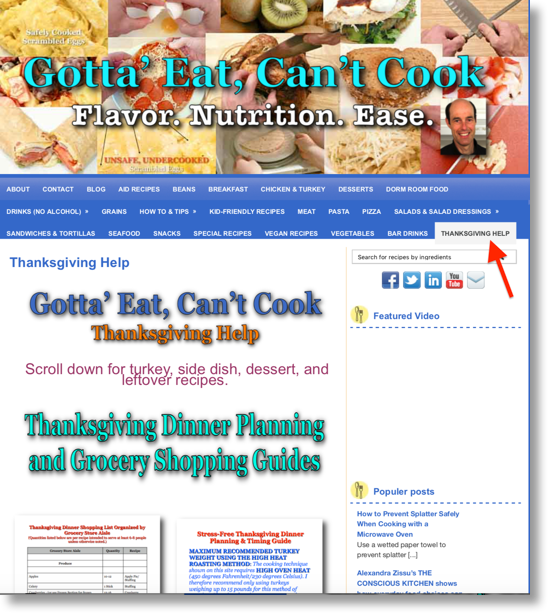
To make any of the standard Thanksgiving dishes you see above – and more – as stress-free as possible, just click any picture on this page or this link to the Gotta’ Eat, Can’t Cook Thanksgiving Help page for step-by-step picture directions that will show how how to make any of the fully flavorful Thanksgiving dishes you see above – and more – as easily as possible.

In following posts, I’ll highlight some of those recipes along with other recipes and tips to help you make your Thanksgiving as fun and flavorful as possible.

More soon!

Best Chestnuts Foreign and Domestic

Here’s a piece I posted a couple years ago that still rings entirely true and follows up last week’s Killer Flavorful Roasted Chestnuts: Picture Book Directions piece.

Roasted chestnuts have been a big part of Tretter family tradition for many decades. And though I knew we had some chestnut trees here in the US, almost every chestnut I’d had until 2022 came from Italy. That’s because American chestnut trees, billions of them that were a staple for both food and lumber, were decimated by an Asian blight beginning in the 1880’s (for more information, click this American Chestnut Foundation link) and therefore made US chestnuts hard to find, though there is a bright light at the end of the tunnel, as you’ll see below.

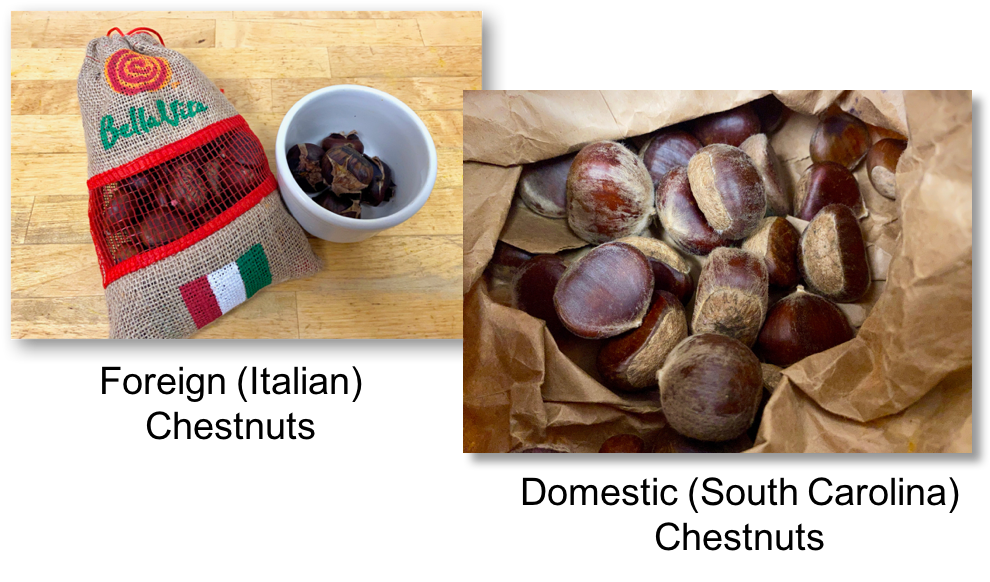
Regarding chestnuts from Italy, by far the most explosively flavorful Italian chestnuts I’ve ever had I found in an Acme grocery store imported by Bella Vita (“beautiful life”) while visiting my stepmom in Greenwich, CT. Those chestnuts roasted so well, had such a comforting chewy texture and tasted so fantastically good that I had to call the company to let them know how much I liked them.

I called, and funny thing, Bella Vita is headquartered in Harrison, NY, and its smart, personable owner, Celso Paganini, lives within a half mile of where I grew up in that same Town of Harrison. You bet, small world. And, though those killer flavorful chestnuts are not yet available in North Carolina, something I hope we can change, please do look and ask for them if you live in the Northeast. They are well worth the effort and price.

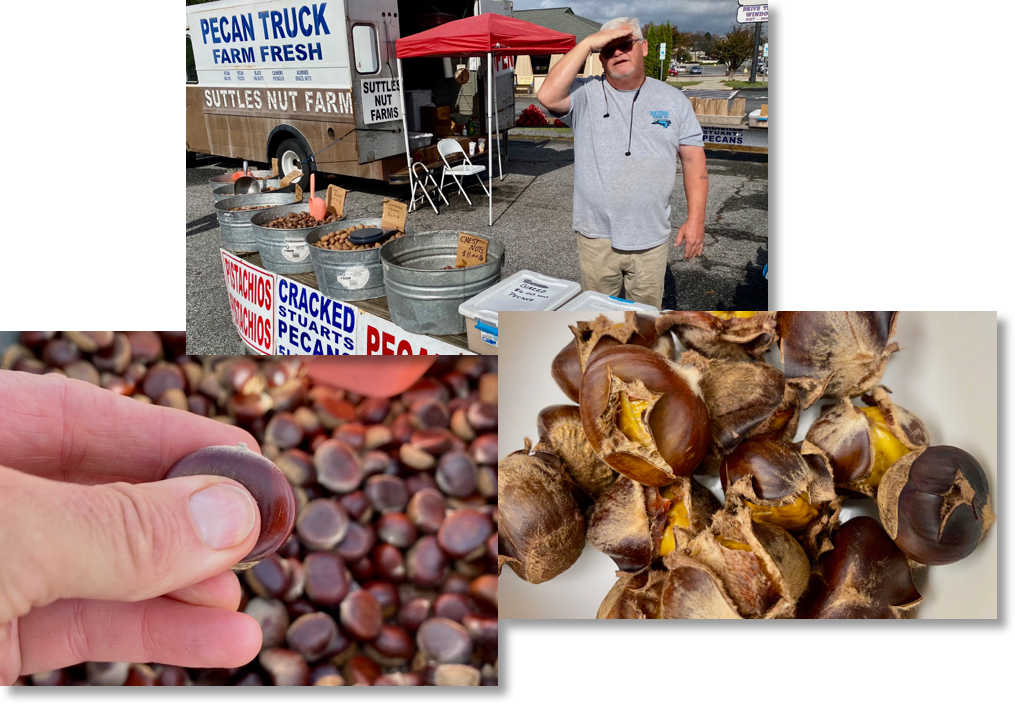
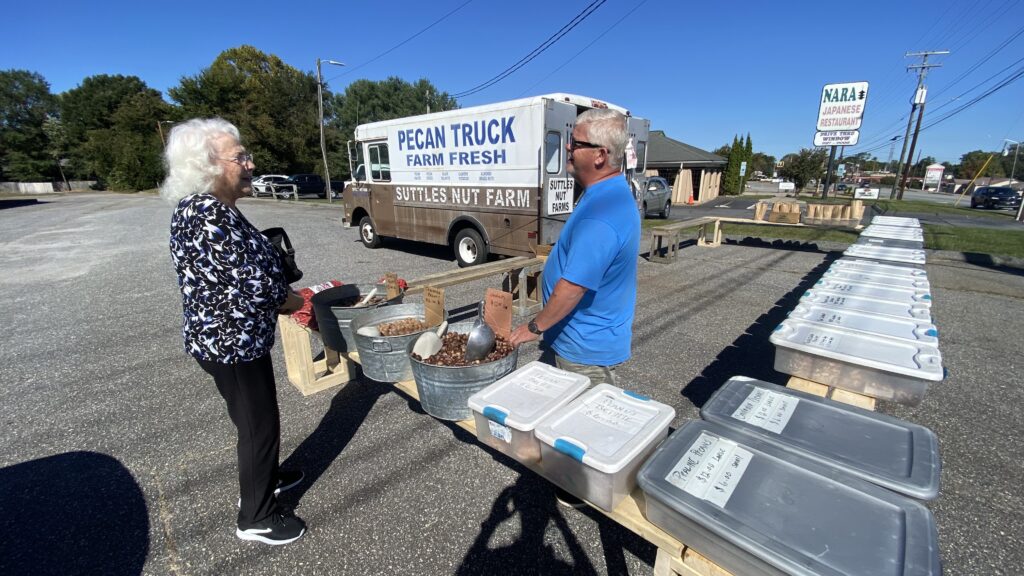
Regarding the domestic “bright light” mentioned above, I just found an exceptionally rich resource for American-grown chestnuts available from early November to mid-December through Suttle’s Farm out of Pelzer, South Carolina. Those fresh-off-the-tree chestnuts, along with other fresh nut varieties, come to Hickory, North Carolina, where I live, by the truck shown below staffed by Shane Stuart (great guy) and his team. I have to say, with decades of chestnut roasting experience, those South Carolina chestnuts are the freshest, easiest peeling, and sweetest tasting chestnuts I’ve ever had – exactly as noted by the American Chestnut Foundation.

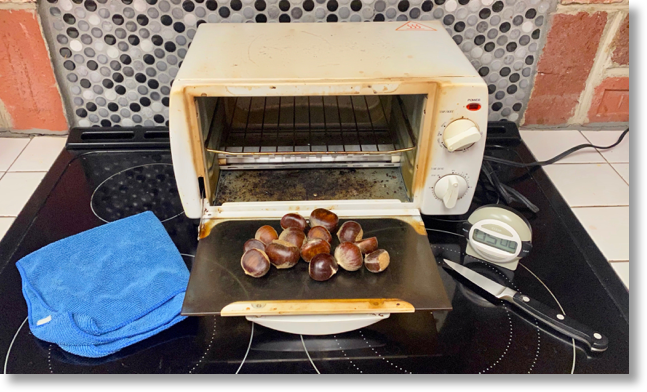
Like I mentioned in the last post, roasting chestnuts is very easy, especially in a toaster oven. Here’s all you need.

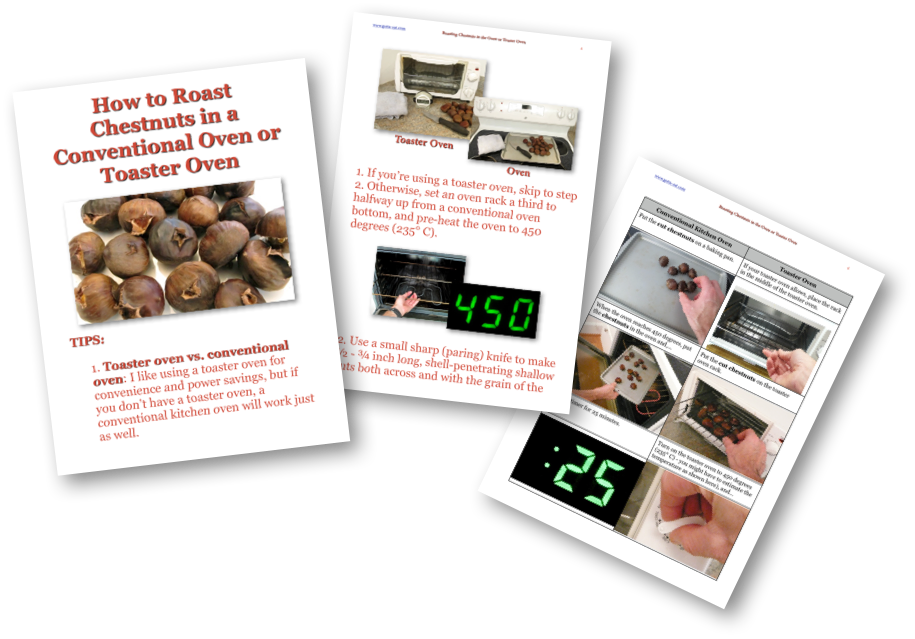
You can get complete picture book directions that show both how to roast chestnuts in a toaster oven or a standard kitchen oven by clicking this link or any picture on this page.

Killer Flavorful Roasted Chestnuts: Picture Book Directions

Good friend, Shane Stuart, rolled into Hickory with his Suttle’s Nut Farm truck 2 weekends ago with my favorite fresh chestnuts, South Carolina grown North American chestnuts. 

“How’re things looking this year, Shane?” 

“Great! Last year we harvested 6000 pounds. This year we have 9000 pounds.”

I picked up a 2 pound bag and have been loving them for evening dessert, especially as the nights get cooler.

Roasted chestnuts have been a warm, richly flavorful rite of winter all my life. And though I’ve seen and used different methods of roasting, the easiest, most practical way I’ve found to roast chestnuts is with a toaster oven.  

As shown in the step-by-step picture book conventional oven/toaster oven chestnut roasting directions you can get by clicking this link or any picture below, here are four tips before actually getting to the roasting:

  1. I like using a toaster oven for convenience and power savings, but if you don’t have a toaster oven, a conventional kitchen oven will work just as well. Also note: if you’re using American chestnuts, which are half the size of Italian chestnuts, cut roasting time in half.
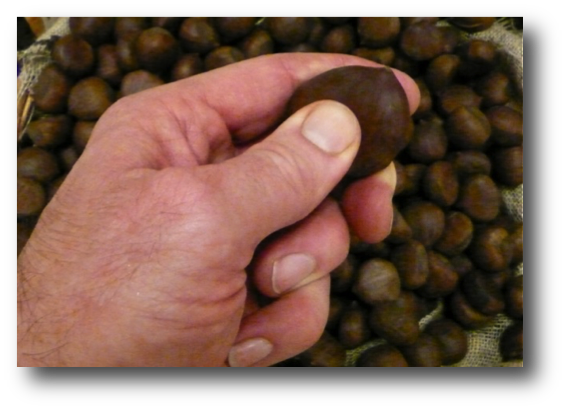
  2. When buying fresh chestnuts, select those that are firm to the touch – the shell should not give when squeezed with your thumb as shown in the picture below. Also, choose those chestnuts that are heavier rather than lighter in weight and don’t have any signs of mold or small round wormholes in their shells. 
Select fresh chestnuts that are firm to the touch

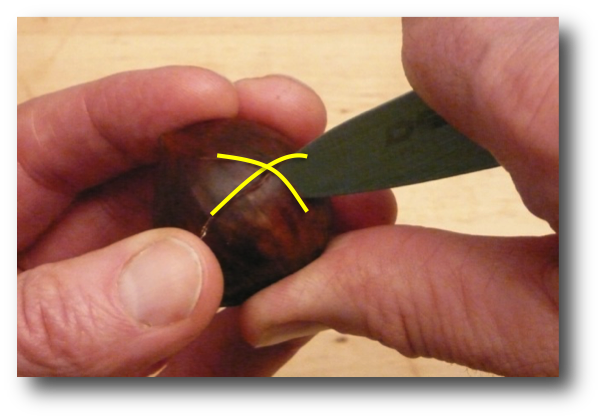
3. To prevent chestnuts from exploding while roasting and avoid a nasty mess to clean up (you bet, I know this from experience), make sure to cut into the shells before roasting chestnuts. 

Cutting an "X" through chestnut shells to prevent chestnuts from exploding while roasting

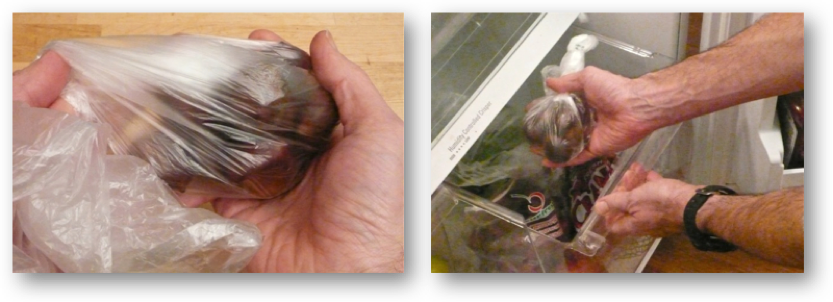
4. If you’re not roasting fresh chestnuts the same day you bought them, put them in a plastic bag and store them in the refrigerator for at least 1 week. Just beware that the meat of the chestnut inside the shell dries out steadily over time.

Putting fresh chestnuts in a plastic bag and refrigerating them to preserve them best

If you live in the Hickory area, check out the Suttle’s Farm Fresh Nut truck loaded with nuts grown in South Carolina and parked at 2231 N. Center St. (Rt. 127).

Most of all, roast on and enjoy!

Banana Ice Cream Full-On! Picture Directions

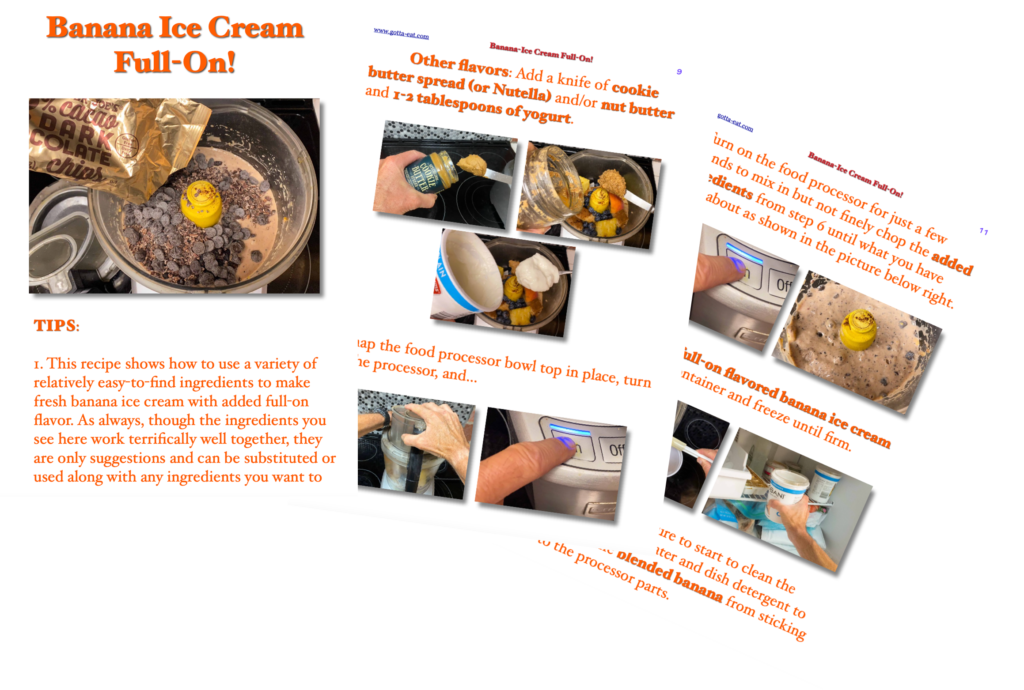
Adding commonly found ingredients to make banana ice cream with full-on flavor

Last post showed how to make fully flavorful (non-dairy) banana ice cream using only 3 ingredients: frozen bananas, vanilla extract and ground cinnamon. (Please also see Bananas Are Good Food! if you haven’t seen that post before or have been informed incorrectly by other sources that bananas are not good for you.)

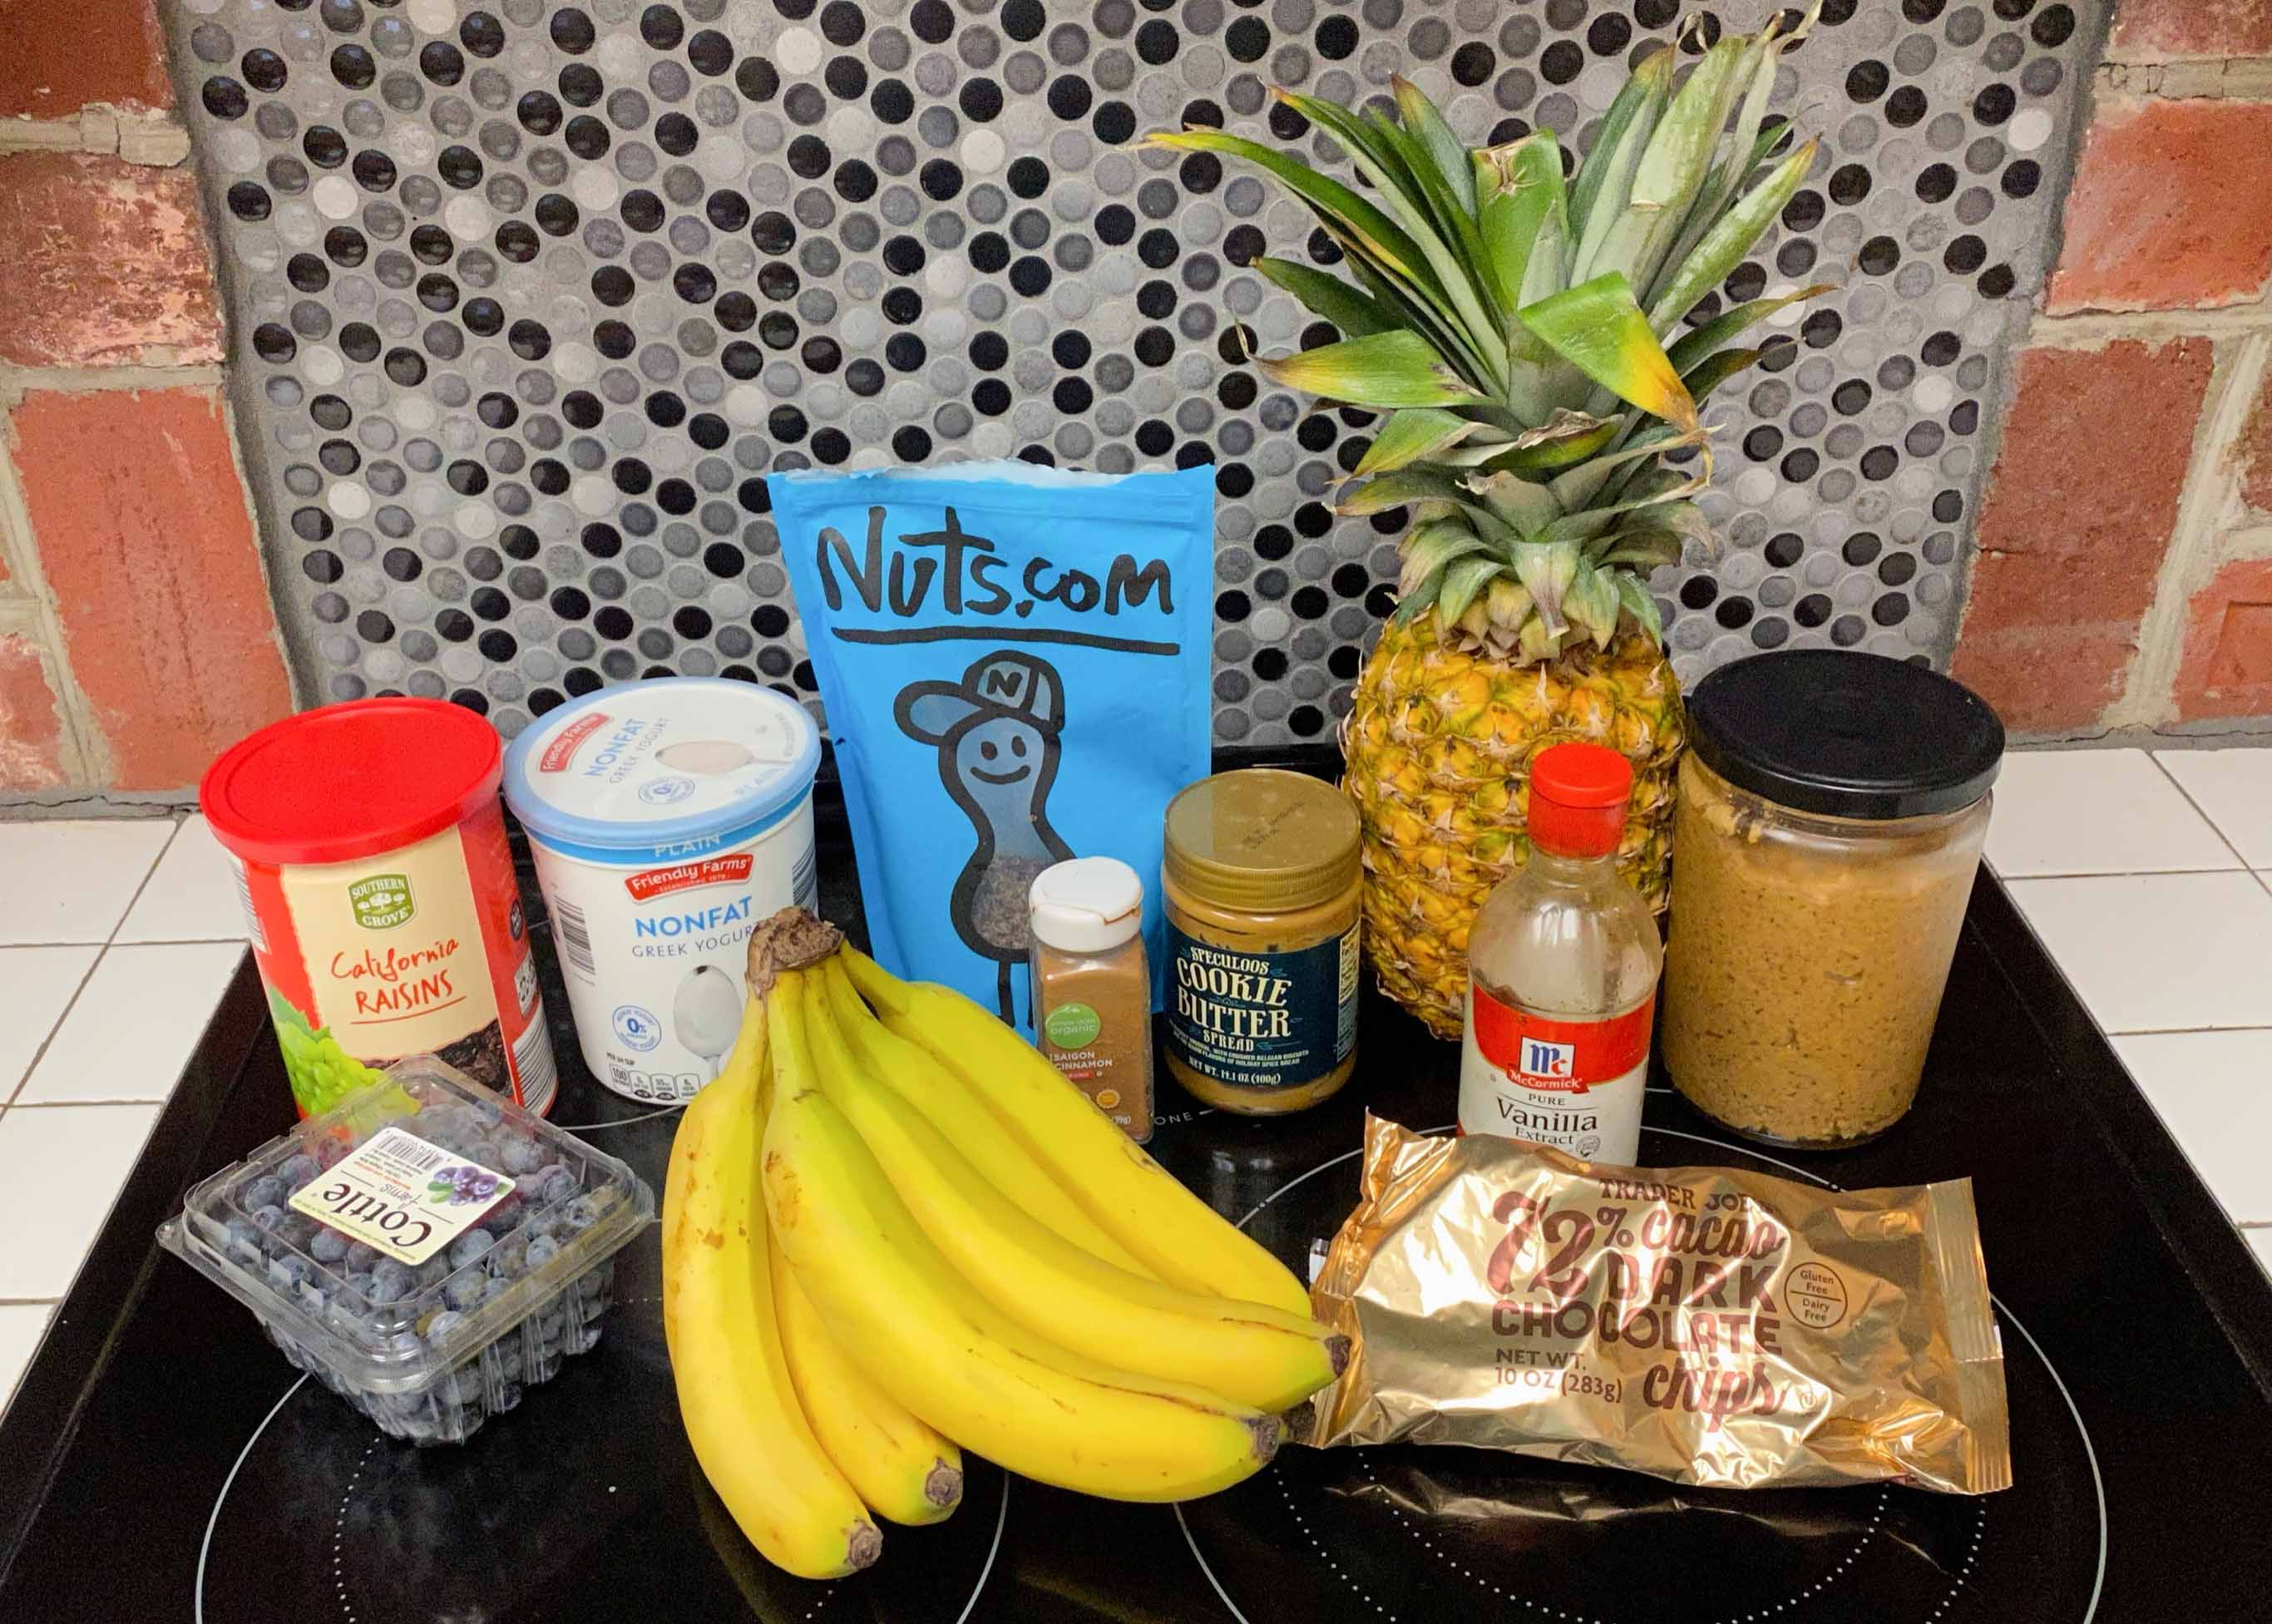
This post show how you can easily use some of the commonly found ingredients in your kitchen to take that simple banana ice cream to full-on exciting. Here’s an example of what I used recently to help kick your imagination in gear.

Commonly found kitchen ingredients to take simple banana ice cream to full-on flavorful exciting

When you download the recipe, you’ll see I point out that I added a fresh peach not shown in the above ingredients. That’s exactly what I mean about improvising on the fly to suit your taste and/or dietary needs.

Please click this link or any picture on this page for complete step-by-step picture book Banana Ice Cream Full-On! directions.

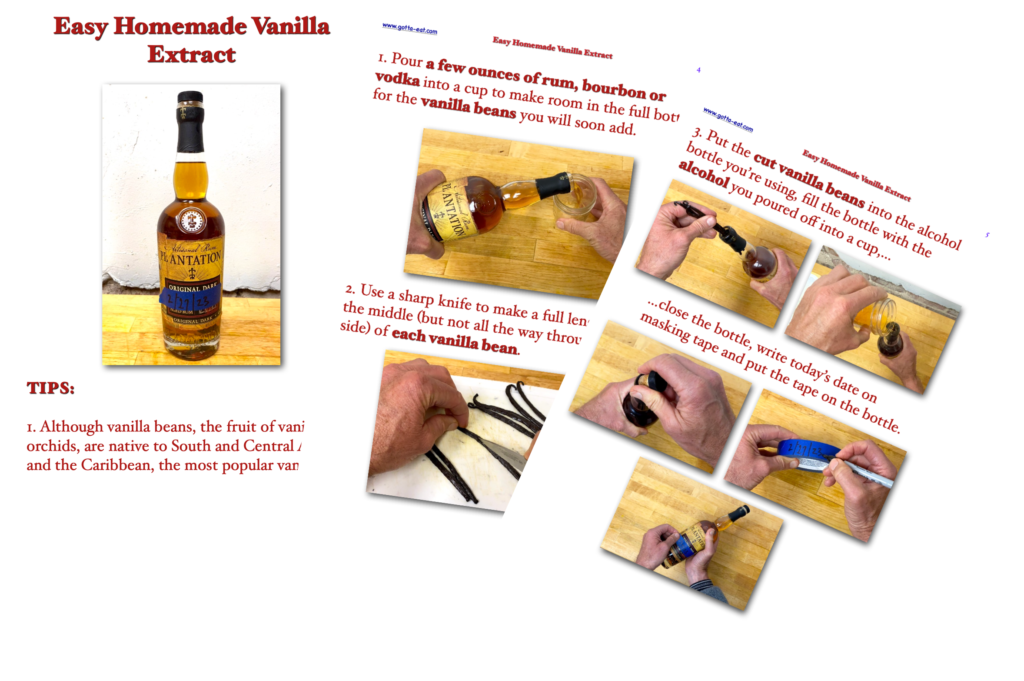
Easy Homemade Vanilla Extract

Picture book recipe shows how to make homemade vanilla extract

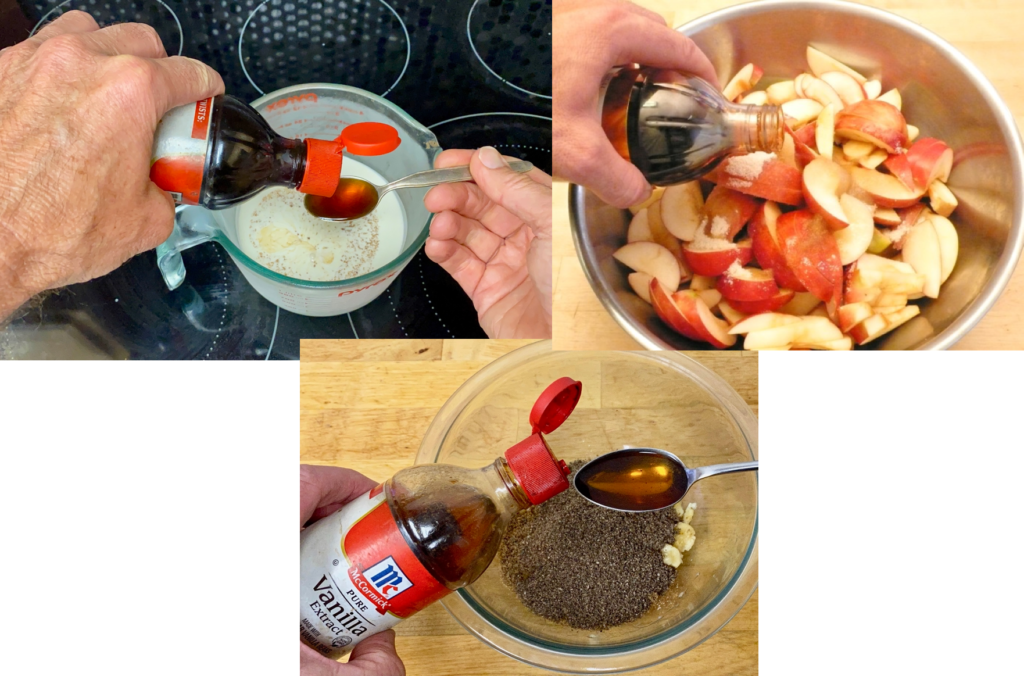
I’m a BIG fan of real vanilla extract. I love how it enriches the flavor of whipped cream, desserts, fruit pancakes, warm fruit toppings, breakfast cereals and much more as shown in a few examples below.

You’ll notice I’m using commercial or store-bought vanilla extract in the pictures above. Nothing wrong with that – except that the price shot through the roof years ago and is still high. The reason: Madagascar, the largest and most popular producer of vanilla beans, experienced storms, deforestation and labor shortages that meant that vanilla bean supply couldn’t meet worldwide demand (actually, vanilla beans aren’t real beans, like string beans, but are the fruit of the vanilla orchid).

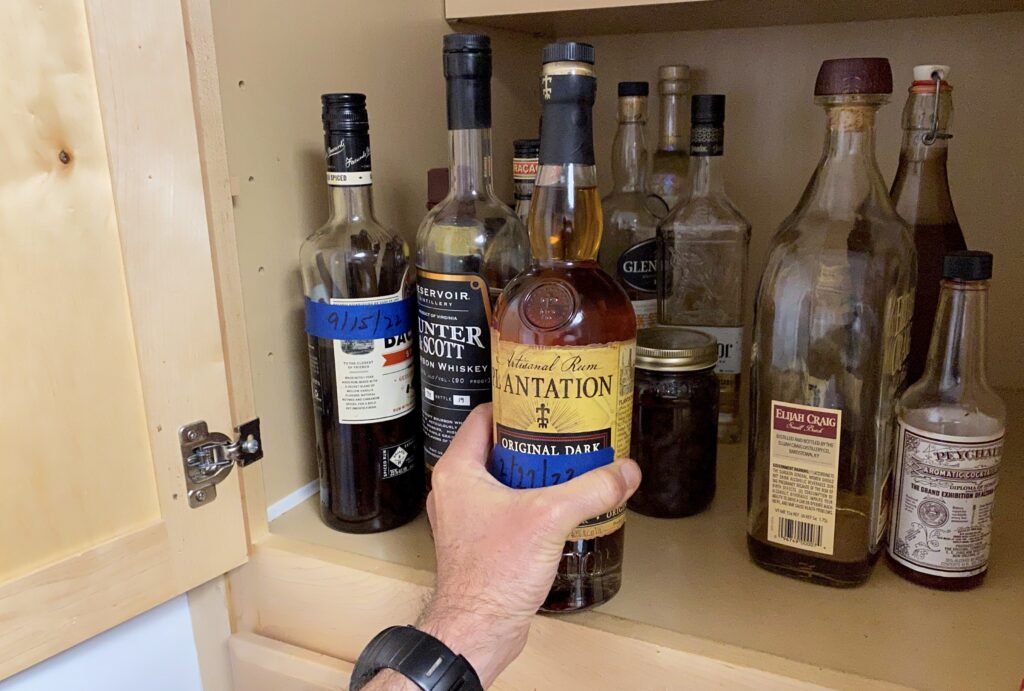
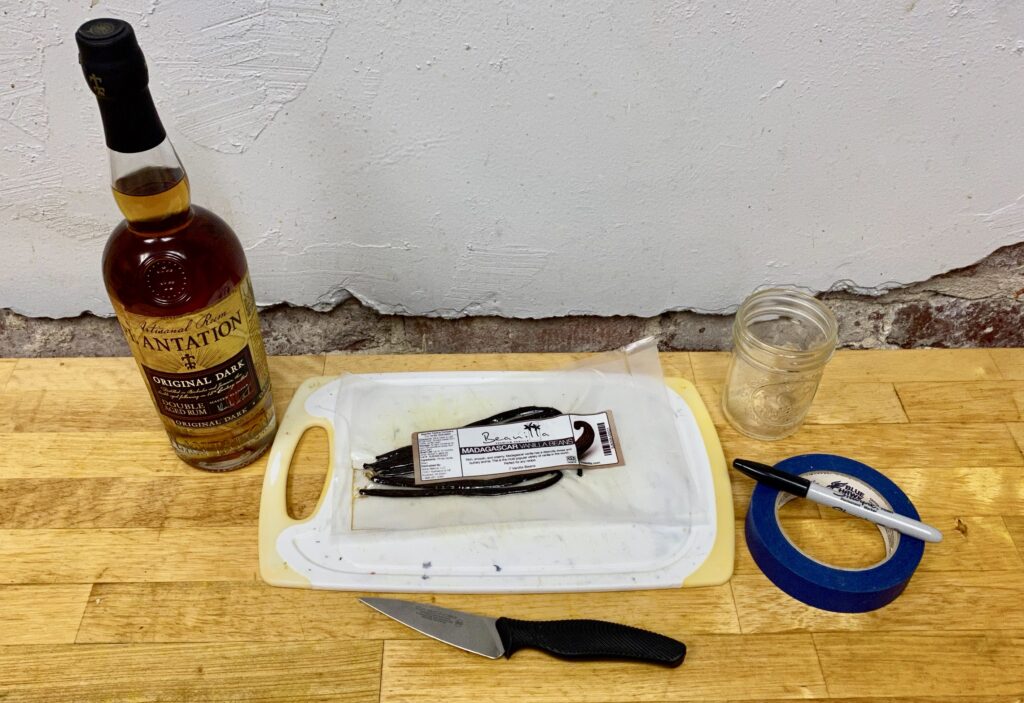
.For me personally, that supply/price problem was a great nudge to learn how to make vanilla extract on my own – and it’s all very easy. All you need are vanilla beans, liquor that’s at least 35% alcohol content (70 proof), a container to pour off excess alcohol if you’re using a full bottle, sharp knife, cutting board, and then masking tape and a pen to mark the date, as shown below.

The toughest part of the whole process is ordering vanilla beans, which I recommend you do by searching “how to buy vanilla beans” online. Here are some links I’ve used: Beanilla and Amazon.

The next step is deciding what flavor of 80 proof (40%) alcohol to use: rum, bourbon or vodka. I’m a big fan of either rum or bourbon for their added flavor.

After that, it’s just cut into the vanilla beans to expose their flavorful middle where the small black seeds are, put the beans in the liquor bottle, close the bottle, mark the date you put the ingredients together with masking tape and a pen and store the bottle in a cabinet for at least 3 months to allow the vanilla flavor to infuse the alcohol.

Click this link or any picture on this page for step-by-step picture book directions – and enjoy!

Homemade Tomato Ketchup: “Super” Easy, Fully Flavorful, All in Pictures

As shown in the Statistica graph below, ketchup was the number 3 selling condiment in the US between 2019-2021. I can’t imagine that’s changed between then and now.

At the same time, as shown in the images of store-bought ketchup nutrition/ingredient labels below, most of those store-bought ketchups contain about 1 teaspoon of sugar per tablespoon of ketchup (3 teaspoons = 1 tablespoon).

Through most of my adult life, I’ve backed off ketchup mostly because I found it too sweet. But then, not too long ago, I found a sugar-free ketchup at a fresh food market in Easton, Pennsylvania. And though I loved the taste: fresh, zesty and rich tomato flavor, I wasn’t too hot on the price, something like $8.00 for the bottle you see below – and I found that price consistent for similar sugar-free ketchups on other store shelves across the country.

So, how ’bout I learn to make it on my own?

First step, find a decent recipe on line, like the one you see here from Tastes Better From Scratch.

As noted in red above, though the recipe above looks perfectly fine (thanks, Lauren!), I improvised (any recipe is only a guide) by:

  • using crushed tomatoes because I like that better than tomato sauce
  • cutting the sugar amount from 4 tablespoons to one tablespoon
  • skipping water – no flavor – and because I used a can of crushed tomatoes (14.5 ounces) that was almost twice the size of the 8 ounce can of tomato sauce called for in the recipe above
  • cutting out the salt because I didn’t think it needed it
  • skipping the onion powder because I didn’t have it on hand and, instead, used 1 full teaspoon of garlic powder
  • added 1/4 teaspoon of ground clove because I love that flavor
  • skipped the red pepper/hot sauce just to find out how the ketchup would taste without it – I could always add either later

Bottom line: here’s what I came up with that’s “super” easy to make (no cutting needed), low in sugar and salt, and, most importantly, fully flavorful – that you can see how to make by clicking this link!

Pumped Up Flavor Fresh Whipped Cream With Cinnamon and Coconut Sugar

The other day I mentioned that I keep a vat of fresh whipped cream in the fridge. That vat went dry just after I wrote that. So, what a great opportunity to whip up a new one – and add flavor, all fun and very easily. As shown below, all I did was add a good shake of ground cinnamon (I do that all the time now) and use coconut sugar instead of regular white table sugar.

Whipping then took only 2 minutes as I’d used heavy cream right out of the fridge and a frosted glass measuring cup I’d put in the freezer over night.

You’ll notice in the last shot above that I didn’t whip the cream until it was firm enough to keep the ejected hand mixer blades standing. All fine. That’s the consistency I like, as it dissolves more easily in coffee, works great on anything else I top with it and makes it easy to pour into a “vat” I put in the fridge for easy access anytime I want it.

Click any picture on this page for step-by-step picture book Fresh Whipped Cream directions that you can vary however your personal taste desires.

Enjoy & have fun!

Designed by Free Wordpress Themes and Sponsored by Curry and Spice