November 25th, 2021

First, I wish you, your family and your friends a fun, relaxing (ha!) and fully flavorful Thanksgiving!
A very close second: there’s not a lot that feels and smells better than being in a kitchen while a turkey roasts in the over and all the side dishes cook on the stove. Terrific stuff!
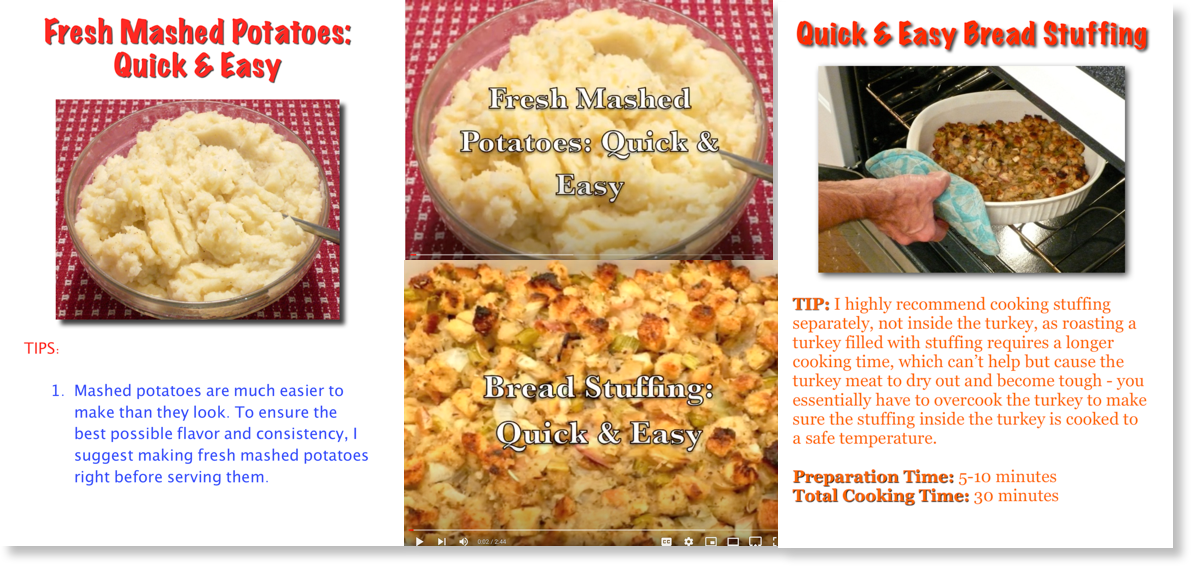
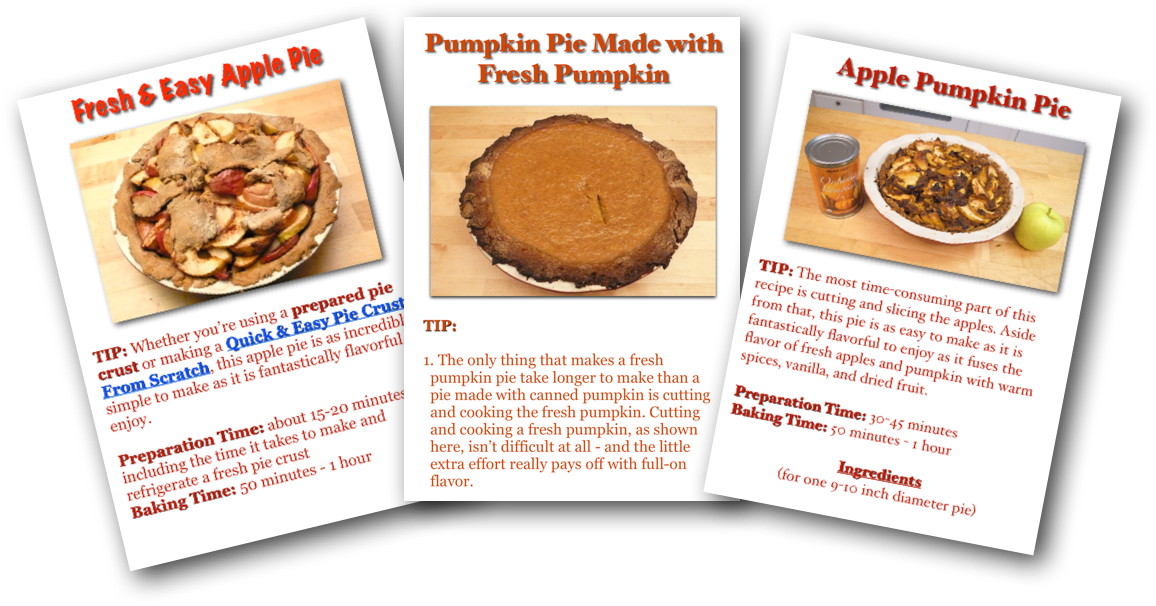
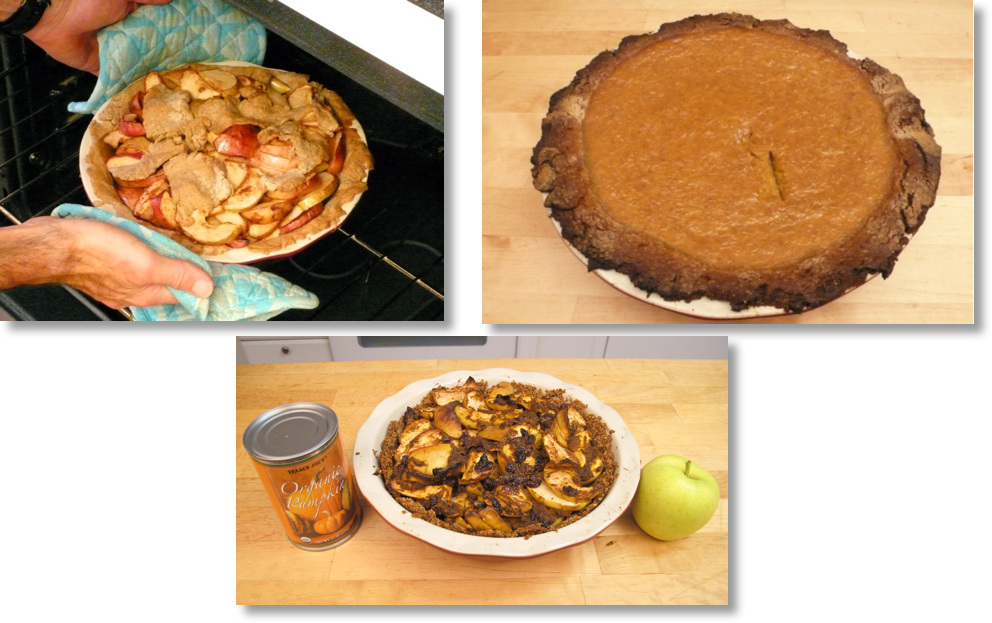
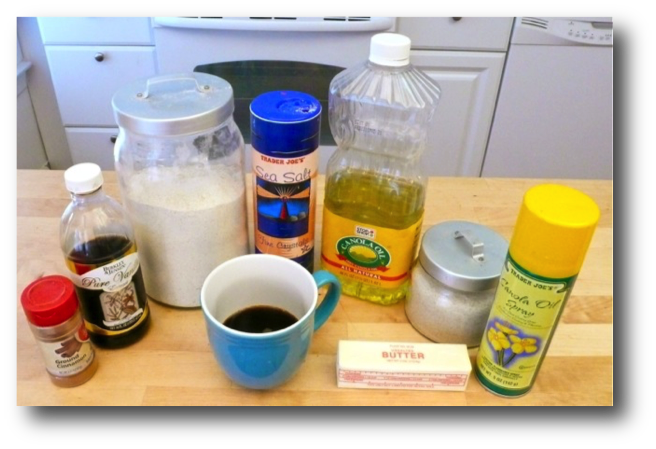
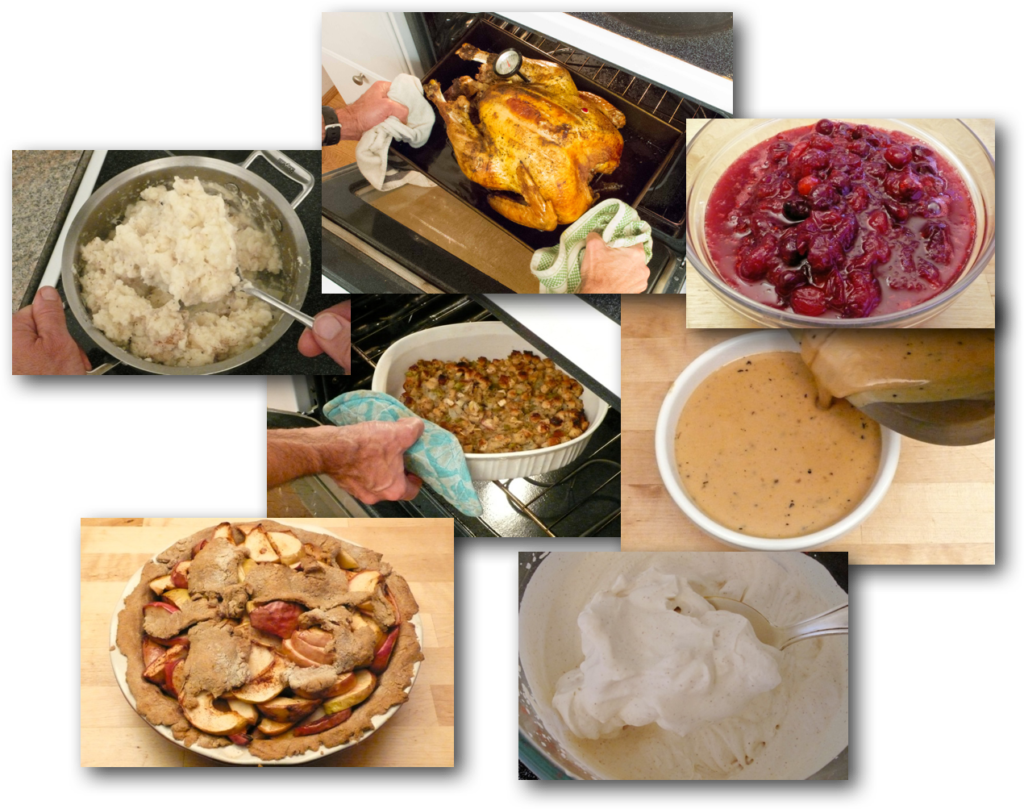
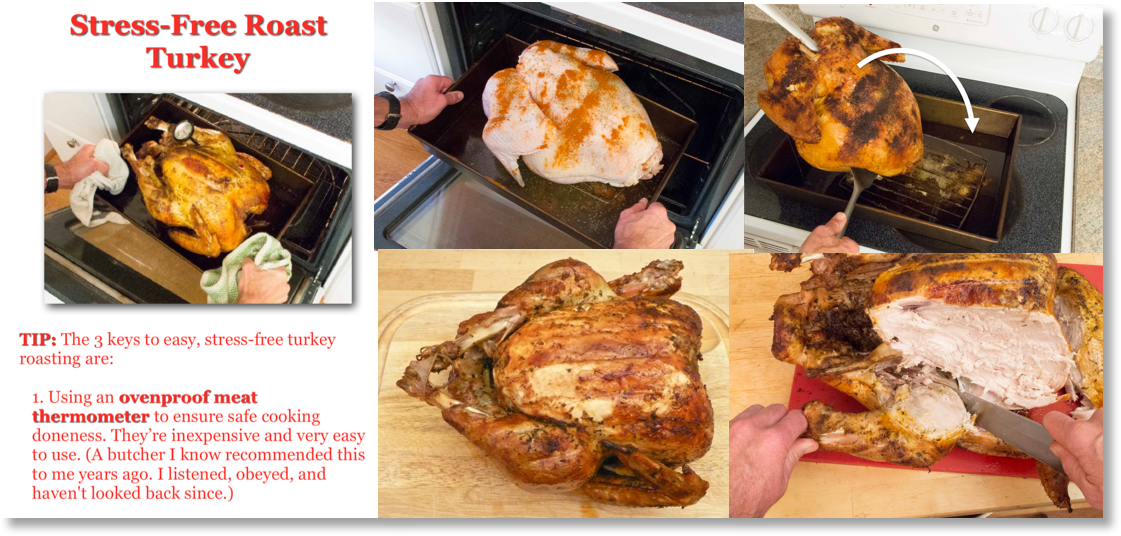
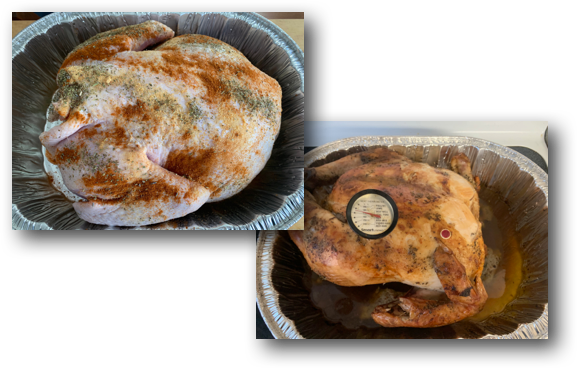
The last few posts showed how to prepare Thanksgiving side dishes and desserts. This post shows how to make the traditional Thanksgiving centerpiece, roast turkey, which I found best to roast at high heat – and upside down – to start and then finish off a more moderate heat, as shown below.
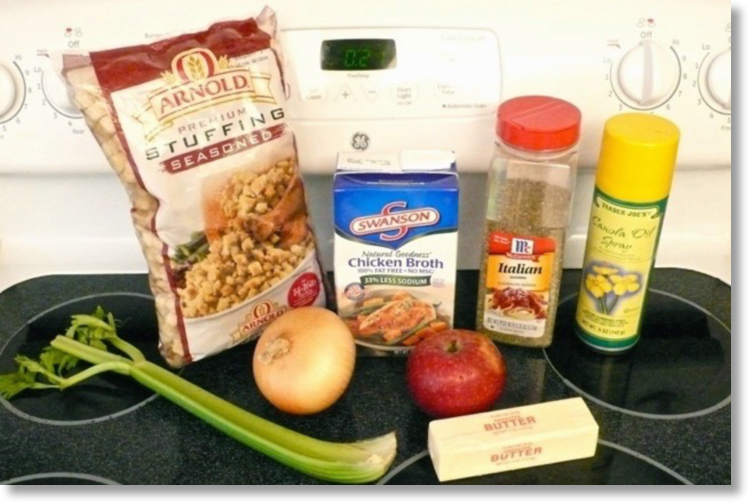
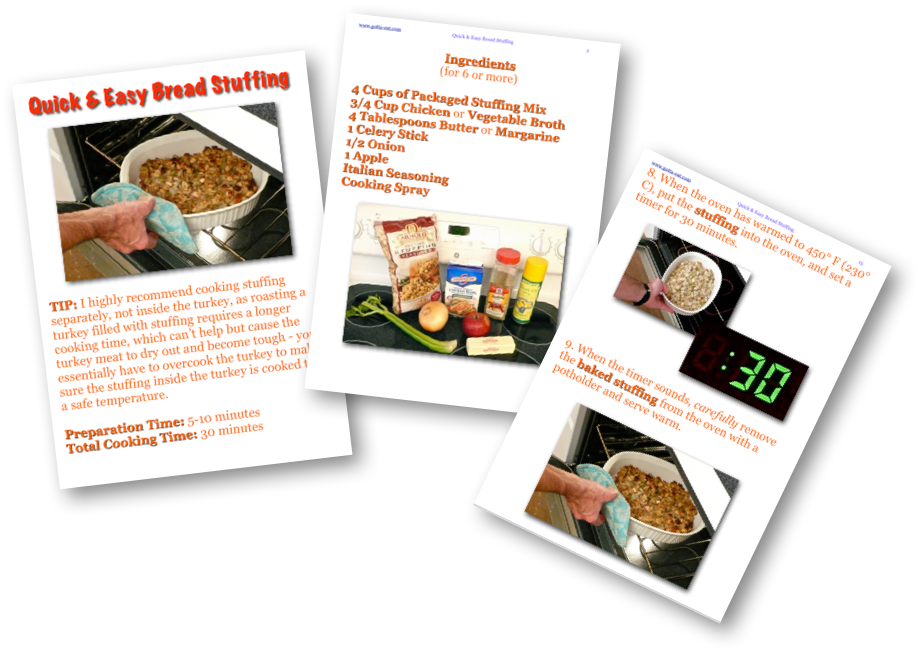
I also strongly suggest not cooking the turkey stuffed but instead cooking the turkey and stuffing separately. The reason: roasting a stuffed turkey only adds mores cooking time and causes the meat to dry out.
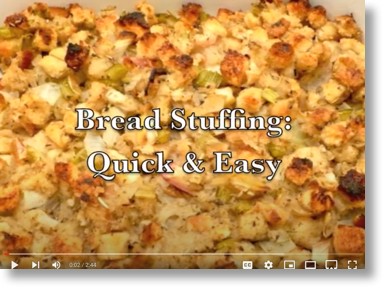
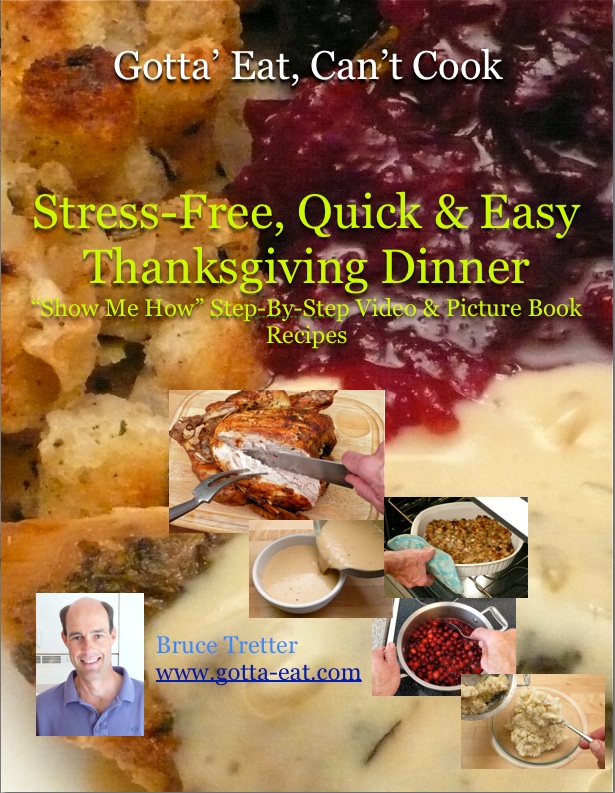
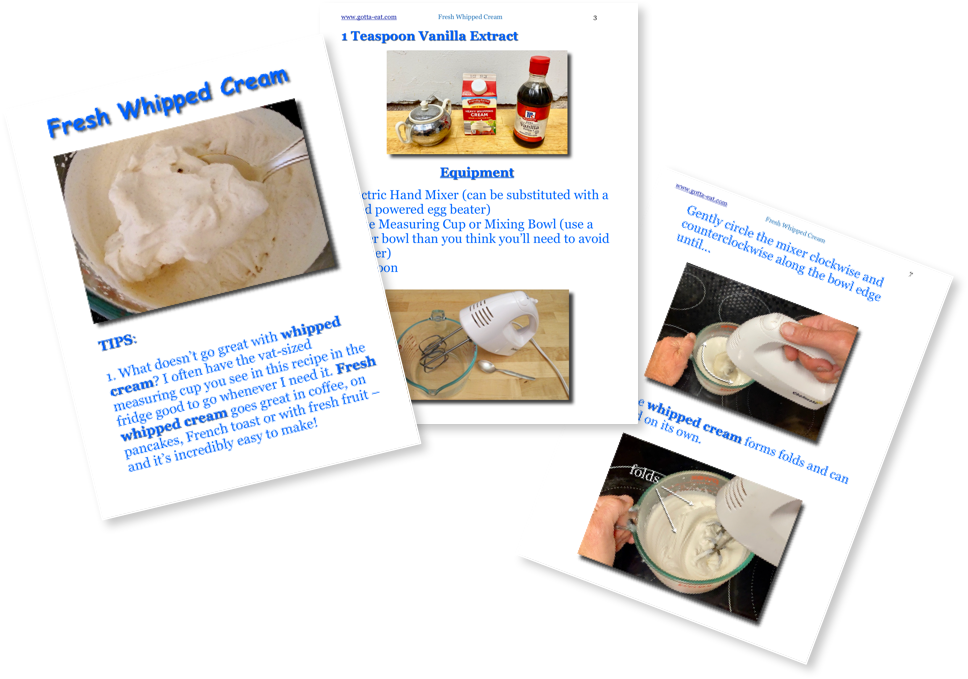
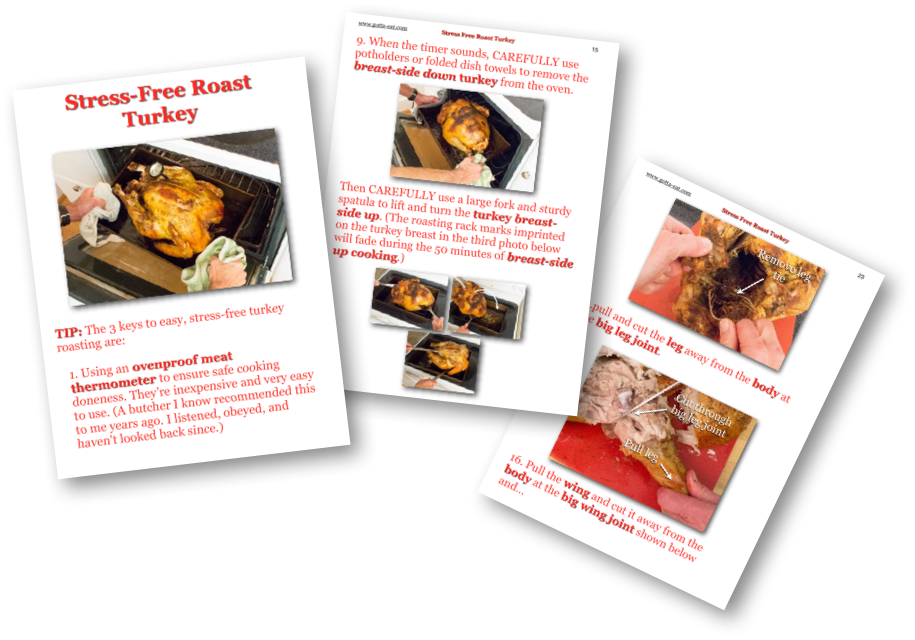
Click this link or the picture below for step-by-step picture book directions that show both how to roast a turkey and remove the meat from the bird.
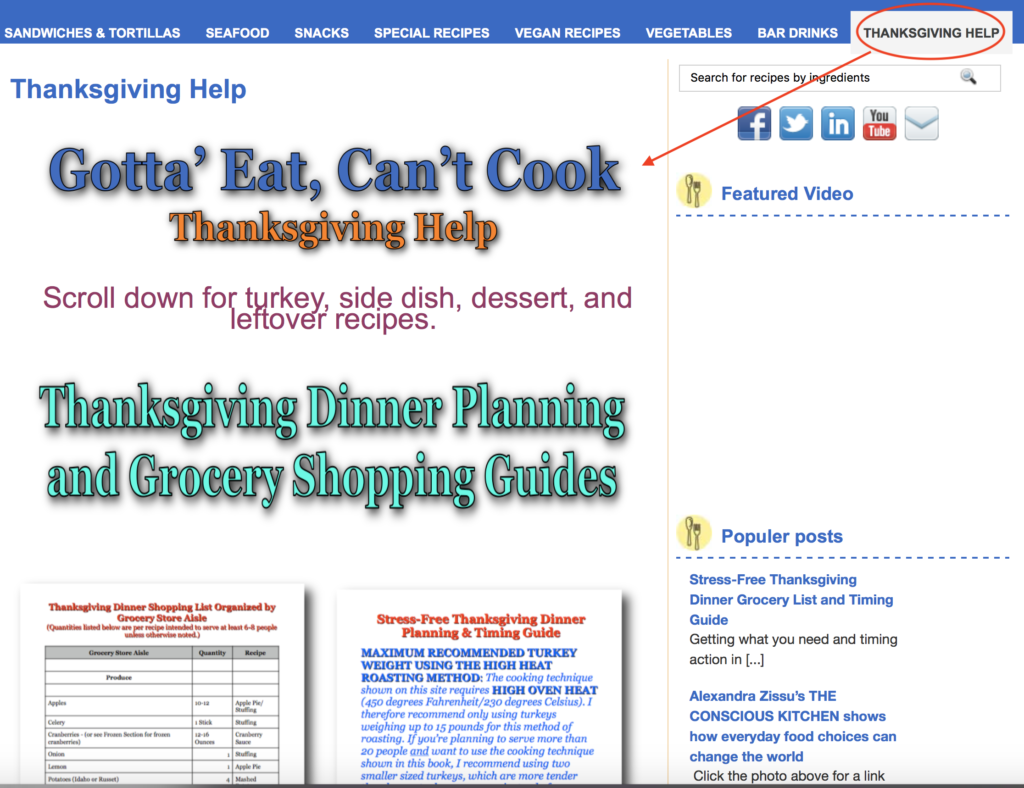
You can also click this link or picture below for complete Gotta’ Eat, Can’t Cook Thanksgiving help.

Happy Thanksgiving!