Archive for the ‘Special Recipes’ Category

Fantastic – and Developing – Bella Vita Chestnut Roasting Learning Experience

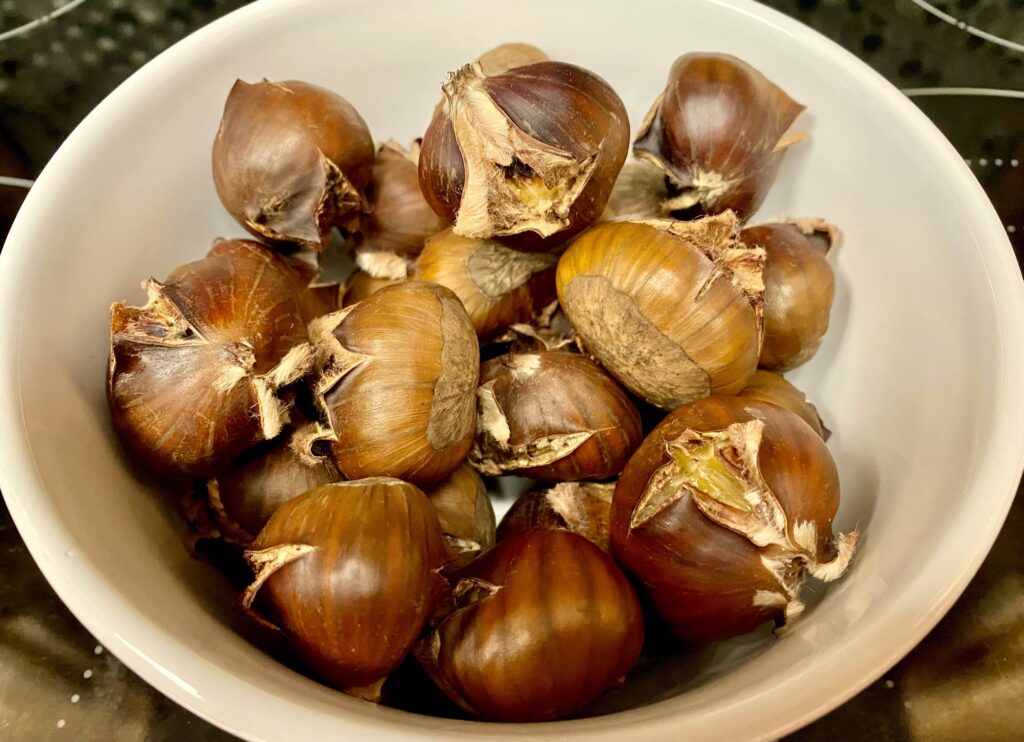
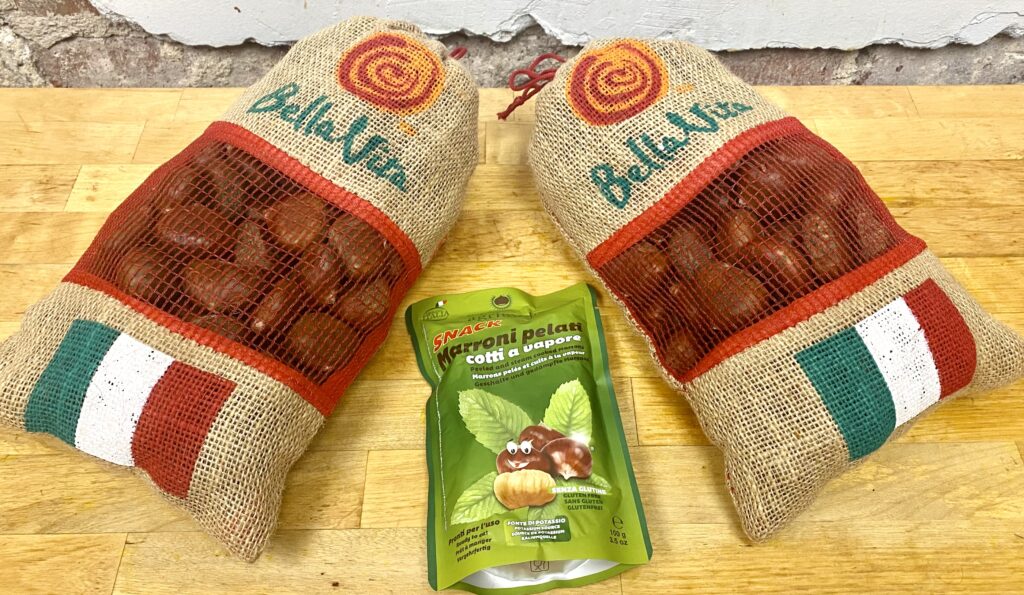
Bags of fresh and vacuum packed Italian Bella Vita chestnuts.

You can’t have Christmas without hearing “Chestnuts Roasting on An Open Fire” – many, many times. Chestnuts and Christmas just go together.

And then there’s something about always learning something new and applying what you’ve just learned. You might have seen my posts hear about roasting chestnuts in a conventional kitchen oven or toaster oven. Roasting chestnuts has been family tradition beyond my lifetime.

Then, very recently, I met with Celso Paganini, owner of Bella Vita, Italian foods importer. I got some of his chestnuts at a Greenwich, CT, supermarket 2 years ago. I was so taken by their consistently rich flavor and how well they peeled after roasting that I had to call to let him know they were the best chestnuts I’d ever had. We’ve been in touch since. When we met a couple weeks ago, I asked how he roasts chestnuts.

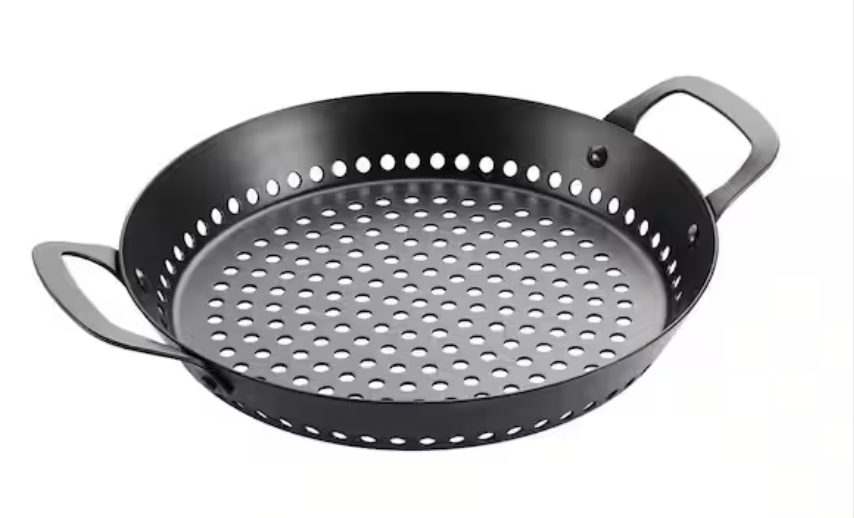
Celso’s favorite roasting method is over an open fire. Killer, and I have to try that sometime. But, when that isn’t possible, he roasts them in a pan with holes in it, like the one shown below, in a conventional oven, first at high heat, 550° F, to char the shells and then reduces the oven heat to 425° F for most of the roasting time.

Chestnut roasting pan with holes in the bottom of the pan.

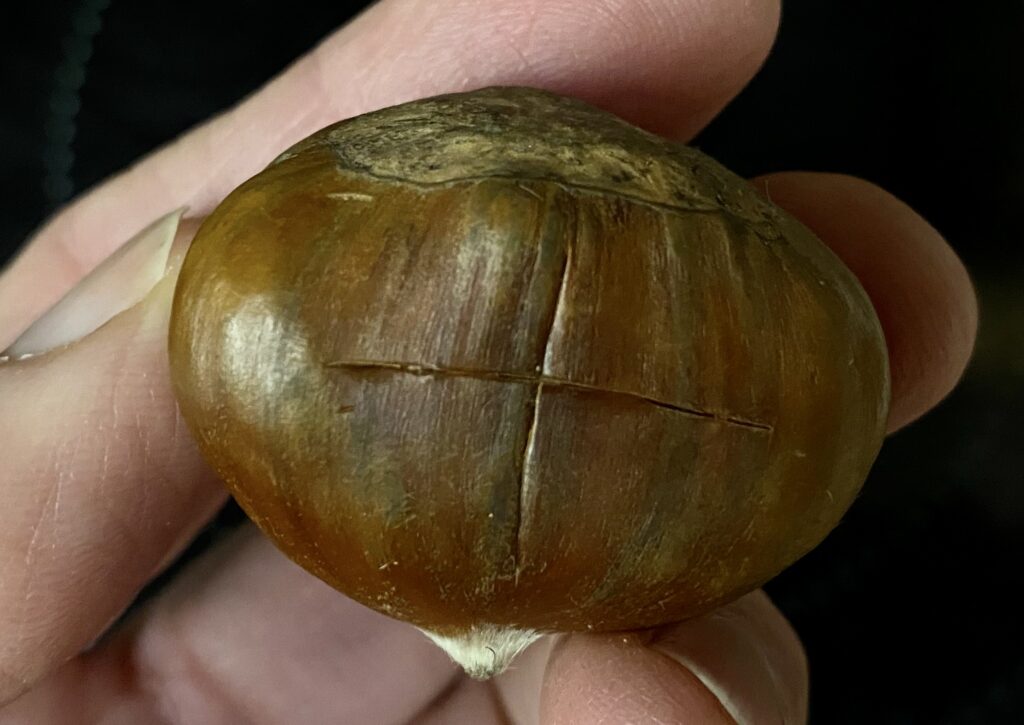
Interestingly, when I went to the Bella Vita site to look up Celso’s chestnut roasting directions, I saw that he includes an extra step. After making crosscuts into the shells of both sides of the chestnuts to keep the chestnuts from exploding under high heat, which is a must no matter what roasting technique you use,…

Chestnut with crosscuts in the shell to prevent the chestnut from exploding under high roasting heat.

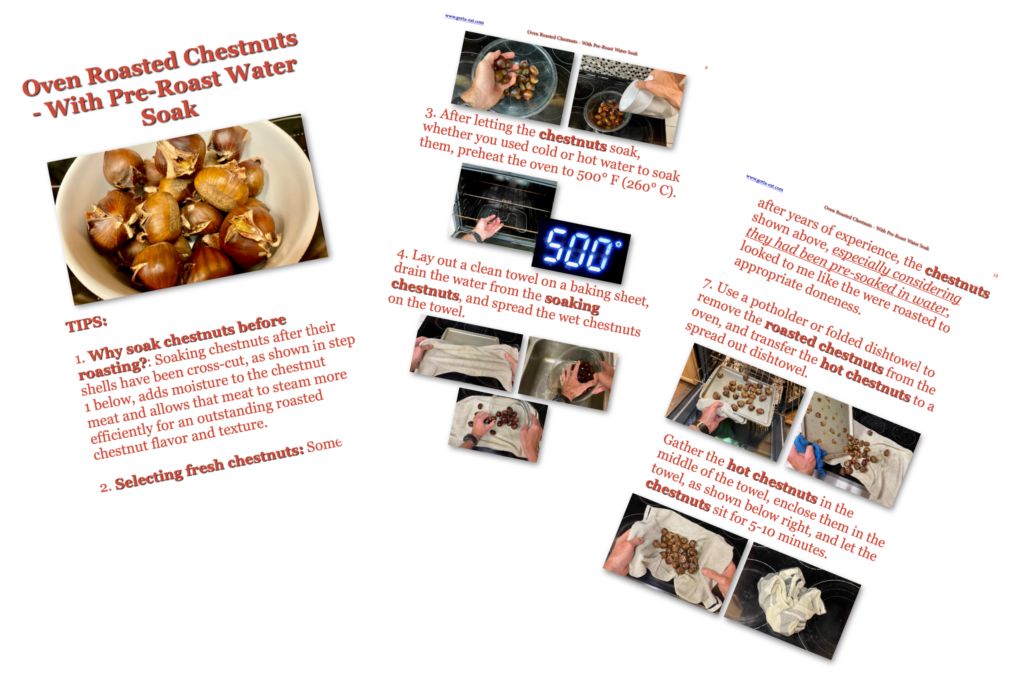
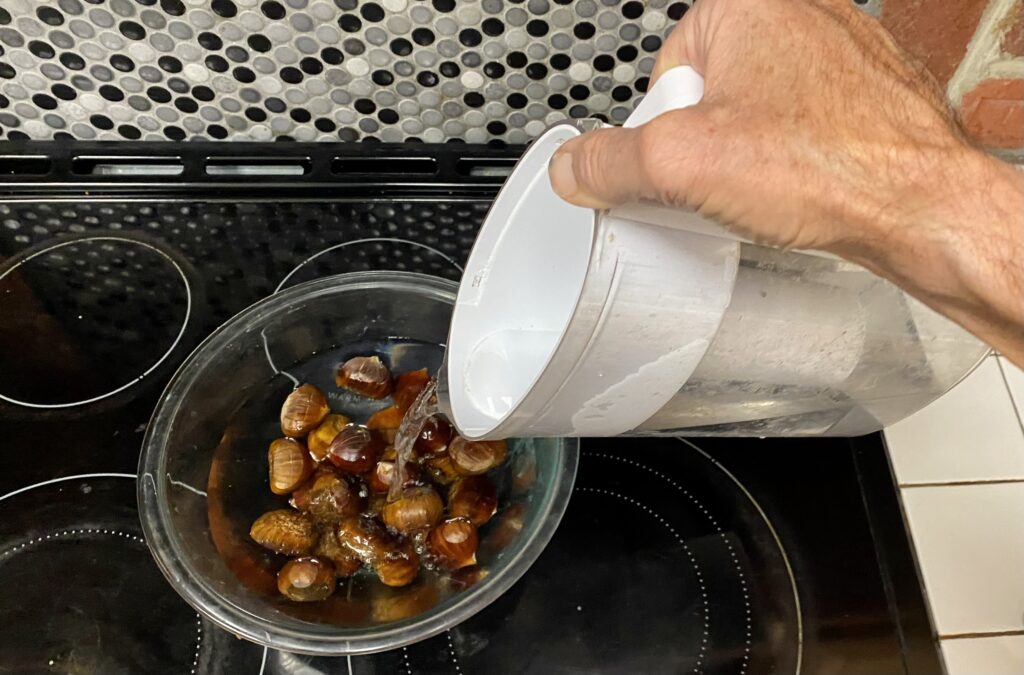
…he also recommends soaking the freshly scored chestnuts in water before roasting.

Soaking freshly crosscut chestnuts in water before roasting.

I’d never heard of pre-soaking chestnuts before roasting them. Right away, I checked other top hit chestnut roasting directions, and though some of them suggested doing the same, one of them, Foolproof Living said they saw no difference between soaking and not soaking chestnuts, as explained below.

Still, I gave the soaking technique a try, and though the result turned out great, and I put together drafted picture book directions to make that technique easy to learn and use, I’m going to use the same chestnuts from one of the bags shown above and roast them exactly as I did the soaked chestnuts only without soaking and compare results.

Yep, that means more to follow. And that’s what learning and adapting – or maybe confirming – is all about.

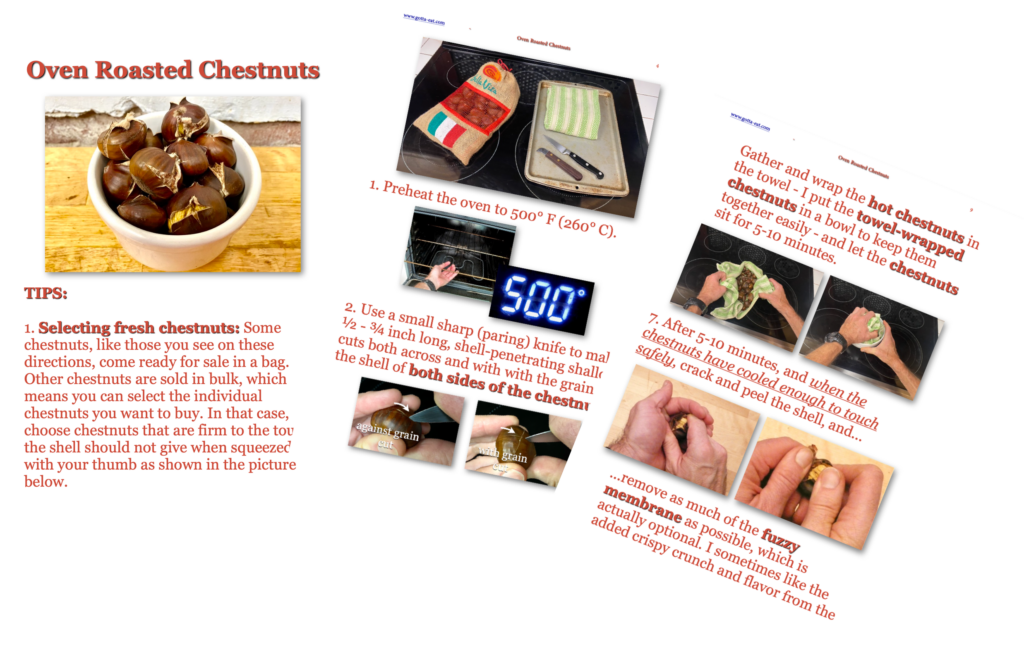
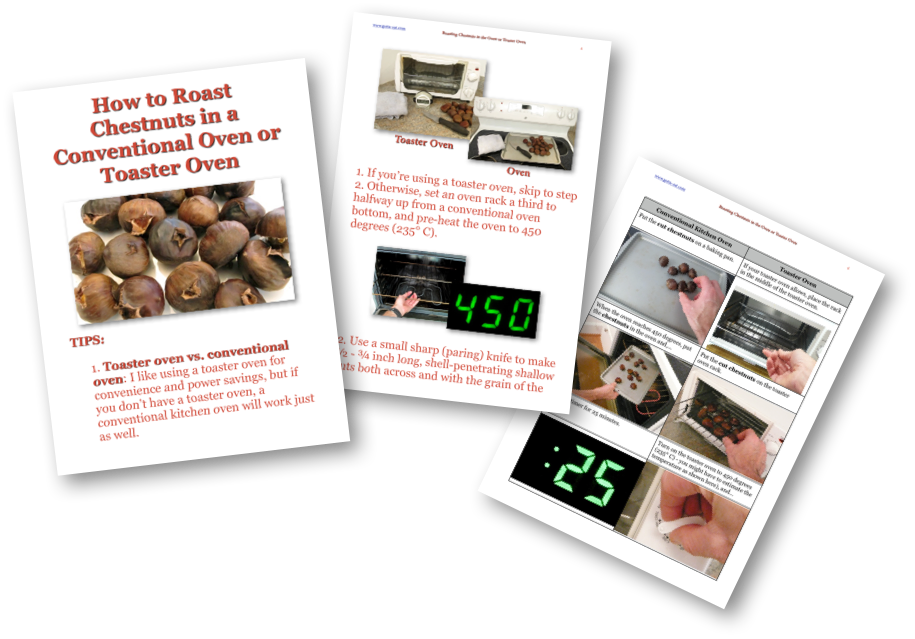
In the meantime, I still stand by the easy, straightforward directions I’ve had here on the site and have posted about recently that you can get by clicking this link or the picture book directions image below.

More soon!

Fresh Cranberry Sauce and More Thanksgiving Help

Fresh homemade cranberry sauce blows the canned version out of the water and is as easy to make as boiled water

Only two days til Thanksgiving but no need to make yourself – or anyone else – crazy.

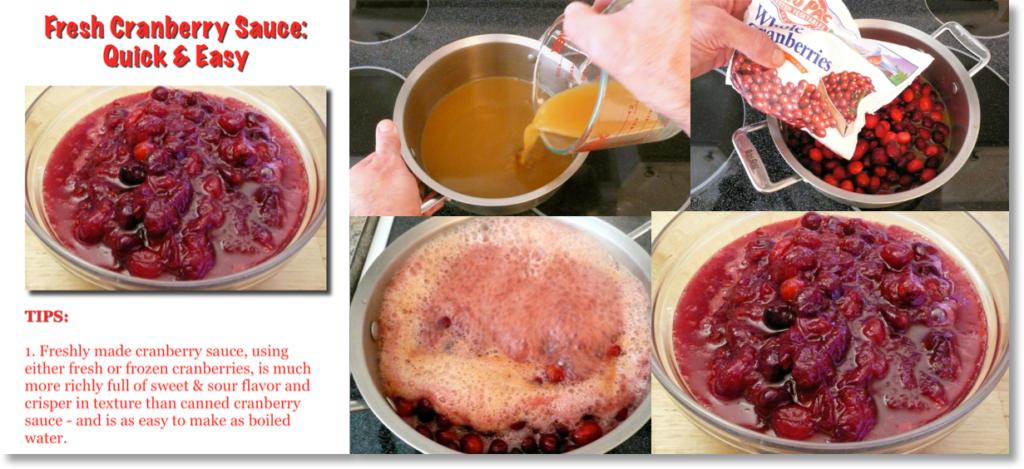
One of the best ways to make Thanksgiving Day as fun as possible is to get some easy dishes made in advance, like fresh cranberry sauce. Fresh, homemade cranberry sauce, with its rich sweet and sour flavor and mouth pleasing snap-pop, blows canned cranberry sauce out of the water, is no-kidding just as easy to make as boiled water and keeps fresh for weeks in the refrigerator.

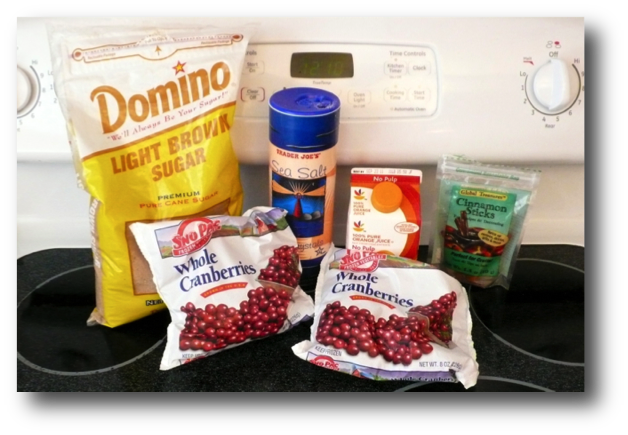
Here’s all you need for ingredients. You’ll see a carton of orange juice in the picture below. Most cranberry sauce recipes call for cooking the berries in water. Instead of water, I like cooking fresh cranberries with fruit juice – orange juice as shown or apple or any other juice – for added flavor.

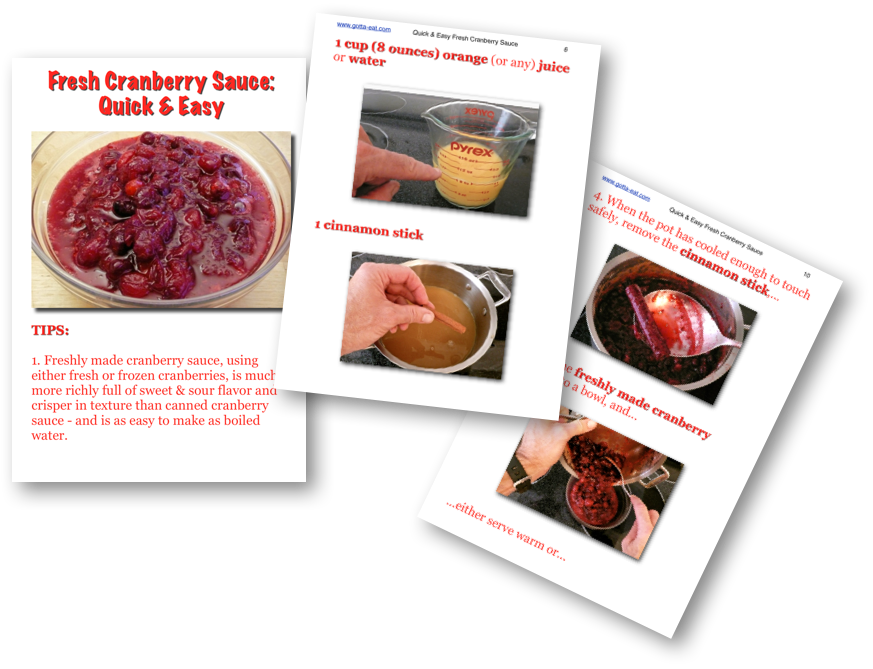
Click this link or any picture above or directly below for an easy to follow picture book recipe and/or…

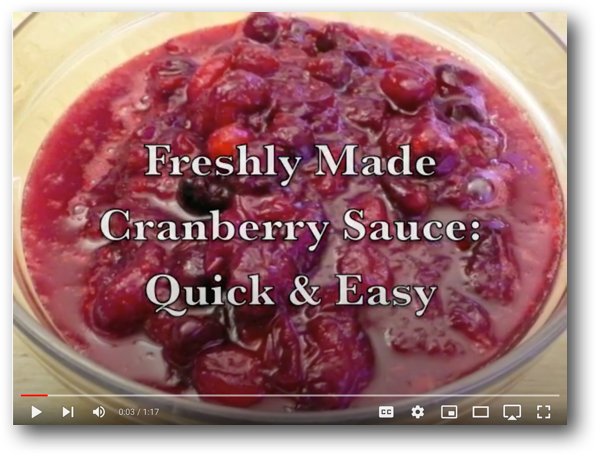
…this link for a short step-by-step video.

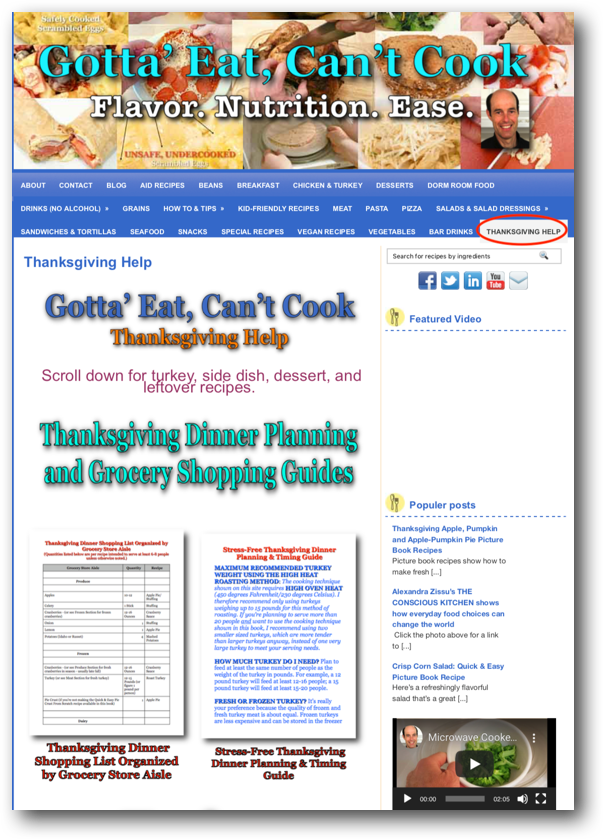
You can also click this link or the picture below for the Gotta’ Eat Thanksgiving Help page that I’ve been updating with additional recipes to give you more freedom of choice.

Killer Flavorful Roasted Chestnuts: Picture Book Directions

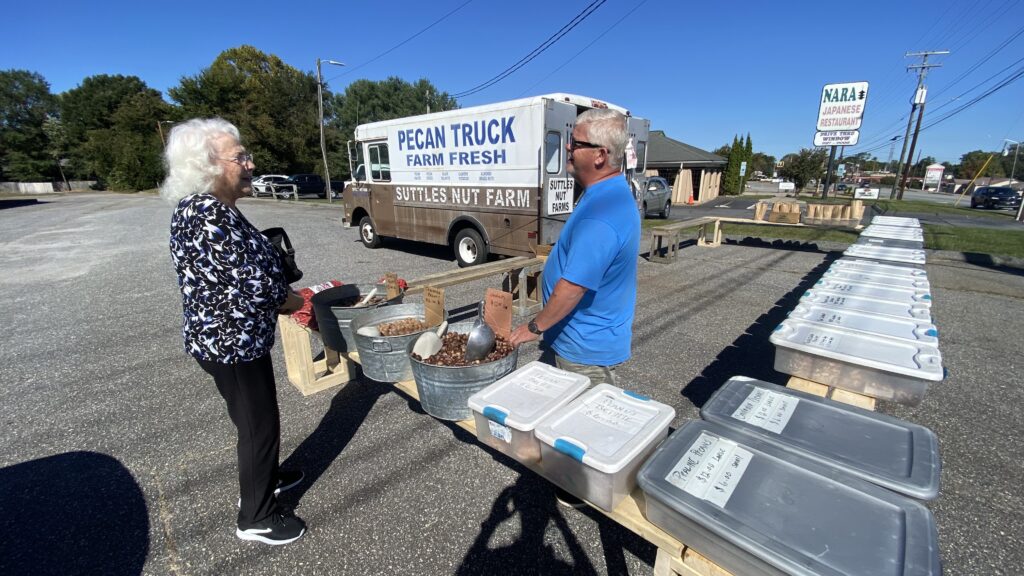
Good friend, Shane Stuart, rolled into Hickory with his Suttle’s Nut Farm truck 2 weekends ago with my favorite fresh chestnuts, South Carolina grown North American chestnuts. 

“How’re things looking this year, Shane?” 

“Great! Last year we harvested 6000 pounds. This year we have 9000 pounds.”

I picked up a 2 pound bag and have been loving them for evening dessert, especially as the nights get cooler.

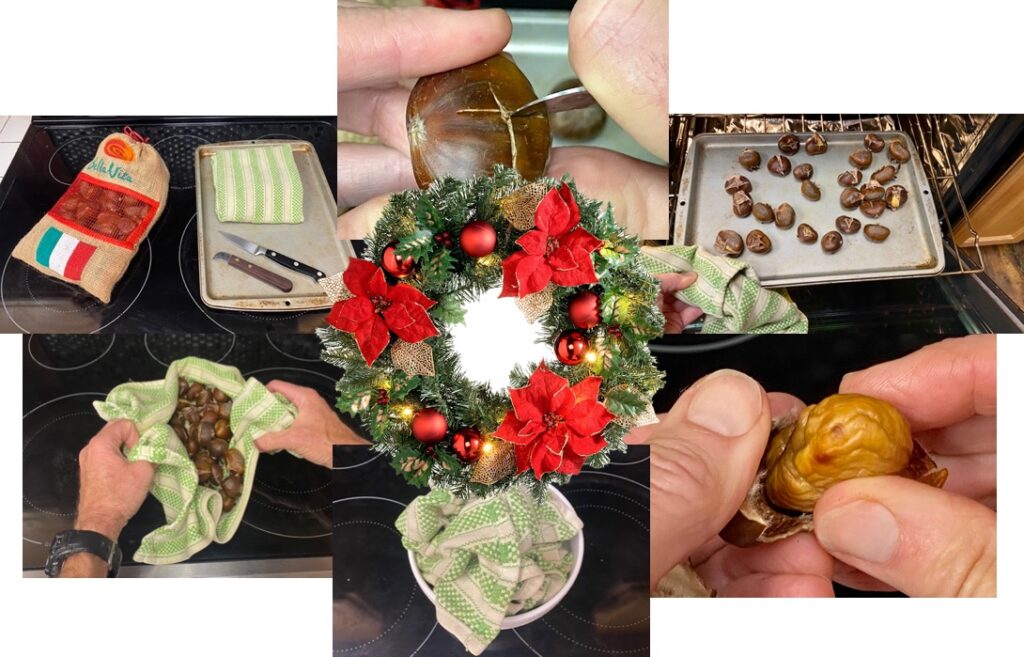
Roasted chestnuts have been a warm, richly flavorful rite of winter all my life. And though I’ve seen and used different methods of roasting, the easiest, most practical way I’ve found to roast chestnuts is with a toaster oven.  

As shown in the step-by-step picture book conventional oven/toaster oven chestnut roasting directions you can get by clicking this link or any picture below, here are four tips before actually getting to the roasting:

  1. I like using a toaster oven for convenience and power savings, but if you don’t have a toaster oven, a conventional kitchen oven will work just as well. Also note: if you’re using American chestnuts, which are half the size of Italian chestnuts, cut roasting time in half.
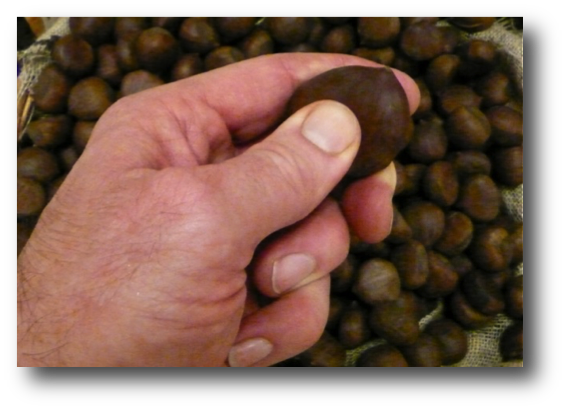
  2. When buying fresh chestnuts, select those that are firm to the touch – the shell should not give when squeezed with your thumb as shown in the picture below. Also, choose those chestnuts that are heavier rather than lighter in weight and don’t have any signs of mold or small round wormholes in their shells. 
Select fresh chestnuts that are firm to the touch

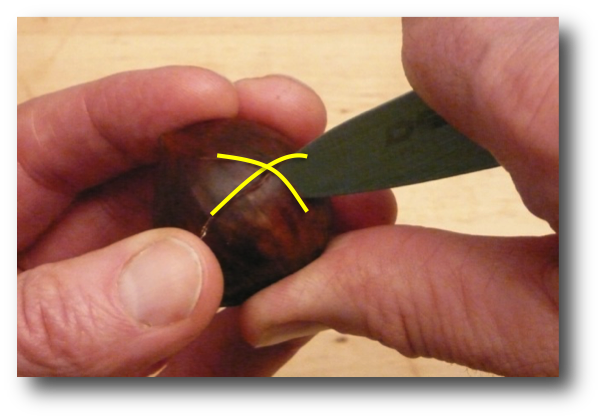
3. To prevent chestnuts from exploding while roasting and avoid a nasty mess to clean up (you bet, I know this from experience), make sure to cut into the shells before roasting chestnuts. 

Cutting an "X" through chestnut shells to prevent chestnuts from exploding while roasting

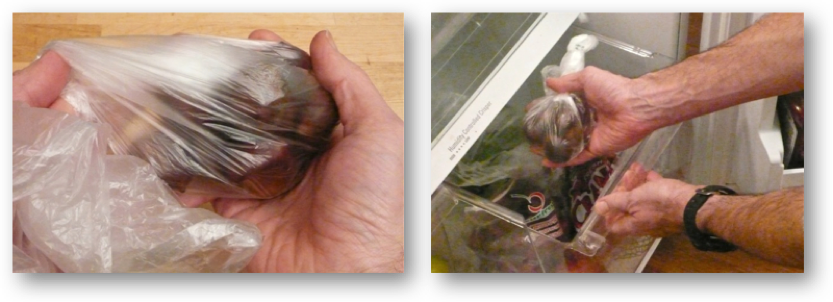
4. If you’re not roasting fresh chestnuts the same day you bought them, put them in a plastic bag and store them in the refrigerator for at least 1 week. Just beware that the meat of the chestnut inside the shell dries out steadily over time.

Putting fresh chestnuts in a plastic bag and refrigerating them to preserve them best

If you live in the Hickory area, check out the Suttle’s Farm Fresh Nut truck loaded with nuts grown in South Carolina and parked at 2231 N. Center St. (Rt. 127).

Most of all, roast on and enjoy!

Easy Homemade Vanilla Extract

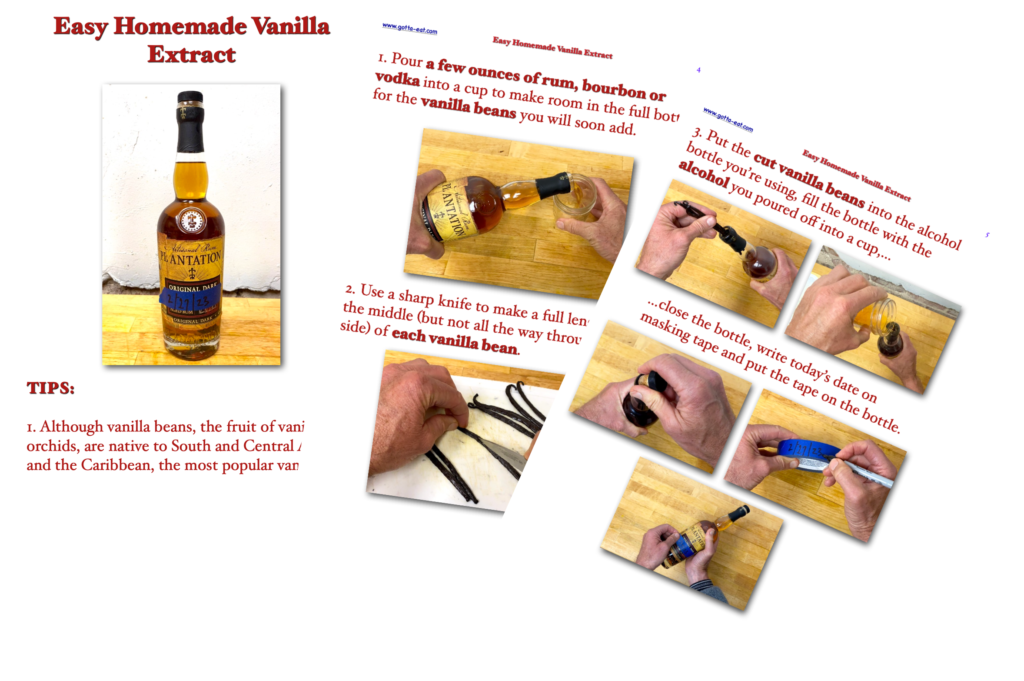
Picture book recipe shows how to make homemade vanilla extract

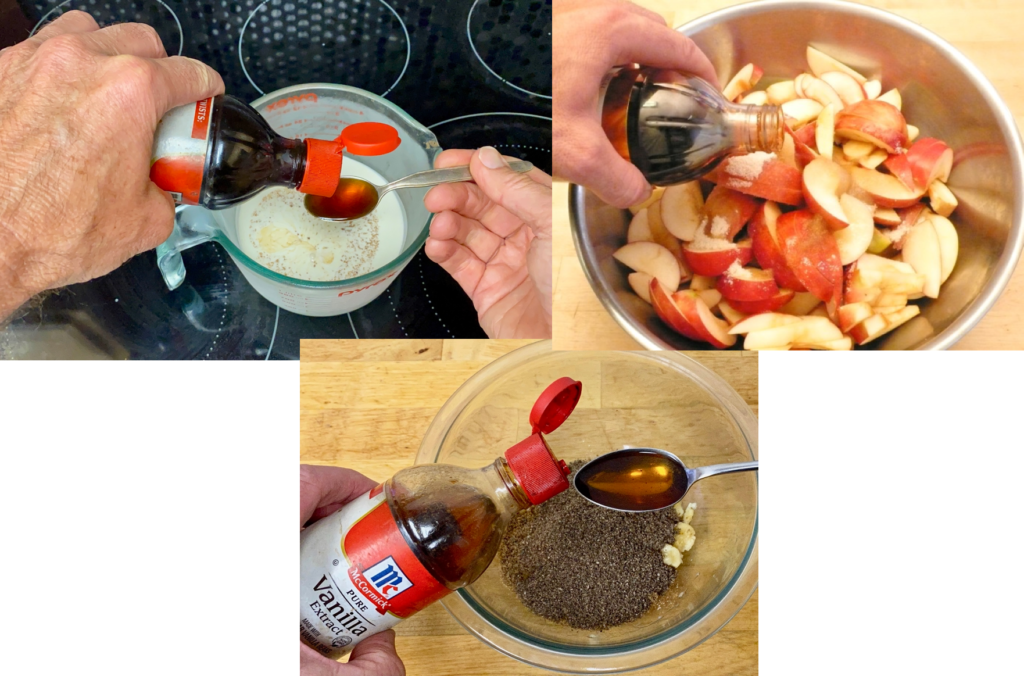
I’m a BIG fan of real vanilla extract. I love how it enriches the flavor of whipped cream, desserts, fruit pancakes, warm fruit toppings, breakfast cereals and much more as shown in a few examples below.

You’ll notice I’m using commercial or store-bought vanilla extract in the pictures above. Nothing wrong with that – except that the price shot through the roof years ago and is still high. The reason: Madagascar, the largest and most popular producer of vanilla beans, experienced storms, deforestation and labor shortages that meant that vanilla bean supply couldn’t meet worldwide demand (actually, vanilla beans aren’t real beans, like string beans, but are the fruit of the vanilla orchid).

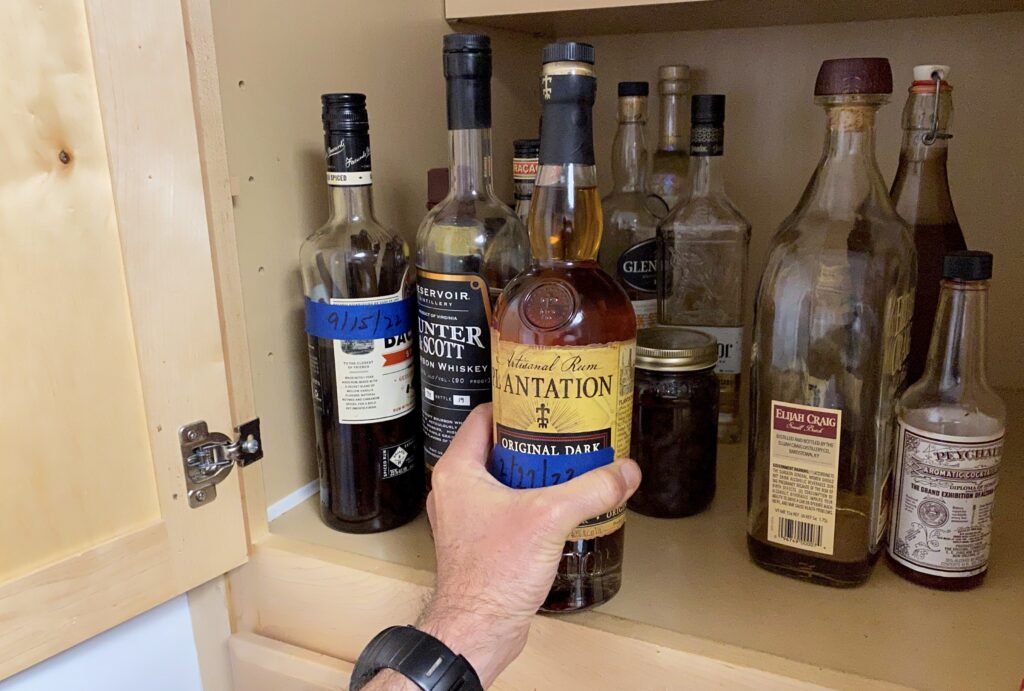
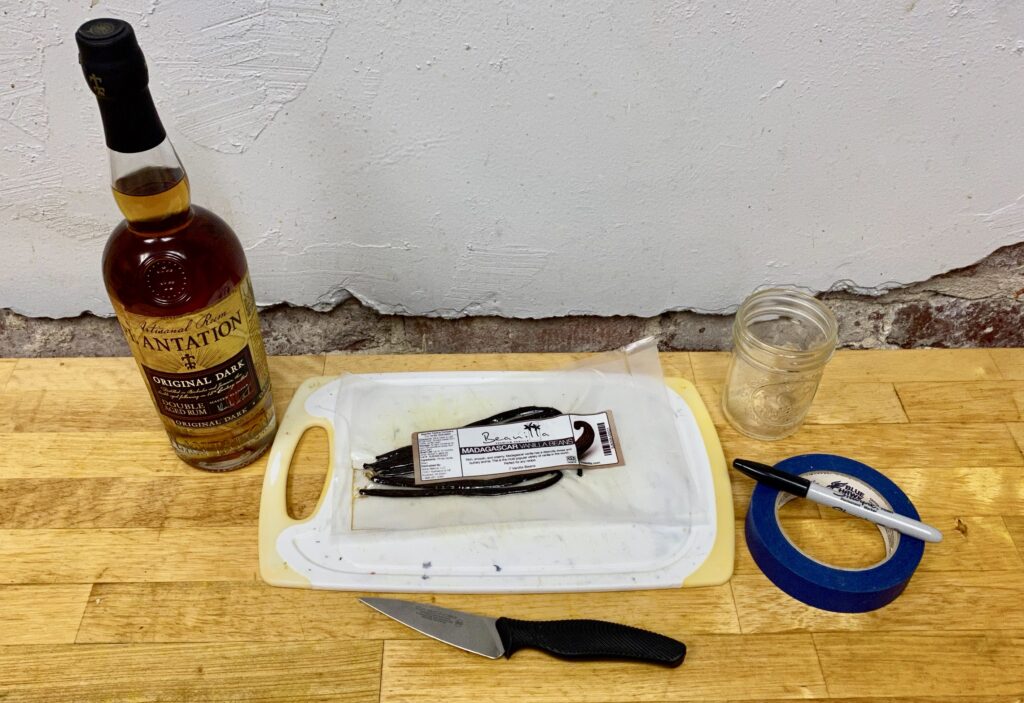
.For me personally, that supply/price problem was a great nudge to learn how to make vanilla extract on my own – and it’s all very easy. All you need are vanilla beans, liquor that’s at least 35% alcohol content (70 proof), a container to pour off excess alcohol if you’re using a full bottle, sharp knife, cutting board, and then masking tape and a pen to mark the date, as shown below.

The toughest part of the whole process is ordering vanilla beans, which I recommend you do by searching “how to buy vanilla beans” online. Here are some links I’ve used: Beanilla and Amazon.

The next step is deciding what flavor of 80 proof (40%) alcohol to use: rum, bourbon or vodka. I’m a big fan of either rum or bourbon for their added flavor.

After that, it’s just cut into the vanilla beans to expose their flavorful middle where the small black seeds are, put the beans in the liquor bottle, close the bottle, mark the date you put the ingredients together with masking tape and a pen and store the bottle in a cabinet for at least 3 months to allow the vanilla flavor to infuse the alcohol.

Click this link or any picture on this page for step-by-step picture book directions – and enjoy!

Homemade Tomato Ketchup: “Super” Easy, Fully Flavorful, All in Pictures

As shown in the Statistica graph below, ketchup was the number 3 selling condiment in the US between 2019-2021. I can’t imagine that’s changed between then and now.

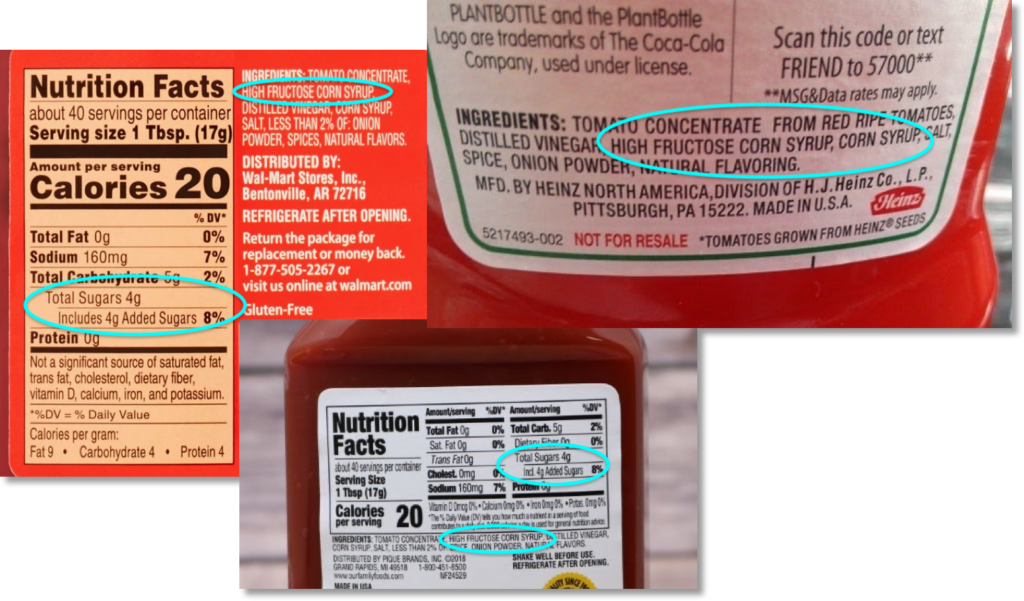
At the same time, as shown in the images of store-bought ketchup nutrition/ingredient labels below, most of those store-bought ketchups contain about 1 teaspoon of sugar per tablespoon of ketchup (3 teaspoons = 1 tablespoon).

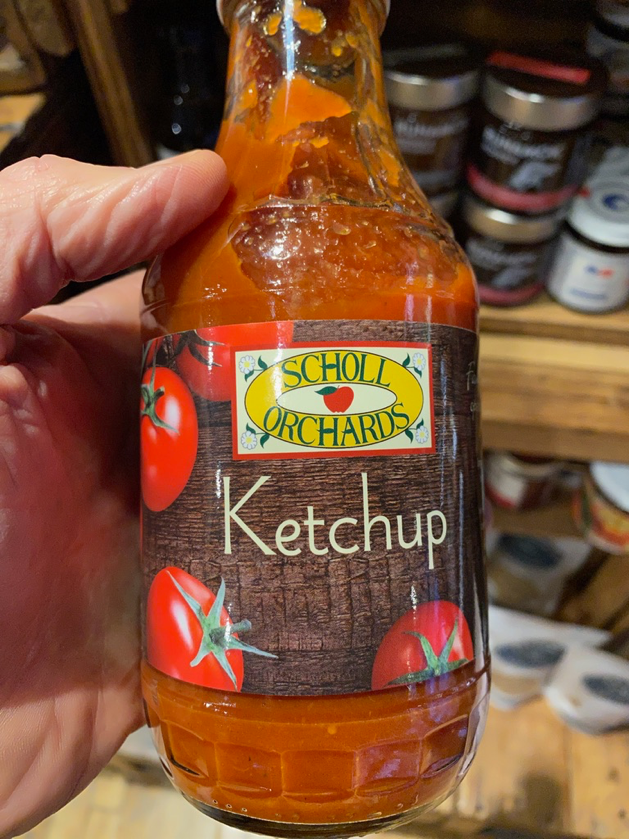
Through most of my adult life, I’ve backed off ketchup mostly because I found it too sweet. But then, not too long ago, I found a sugar-free ketchup at a fresh food market in Easton, Pennsylvania. And though I loved the taste: fresh, zesty and rich tomato flavor, I wasn’t too hot on the price, something like $8.00 for the bottle you see below – and I found that price consistent for similar sugar-free ketchups on other store shelves across the country.

So, how ’bout I learn to make it on my own?

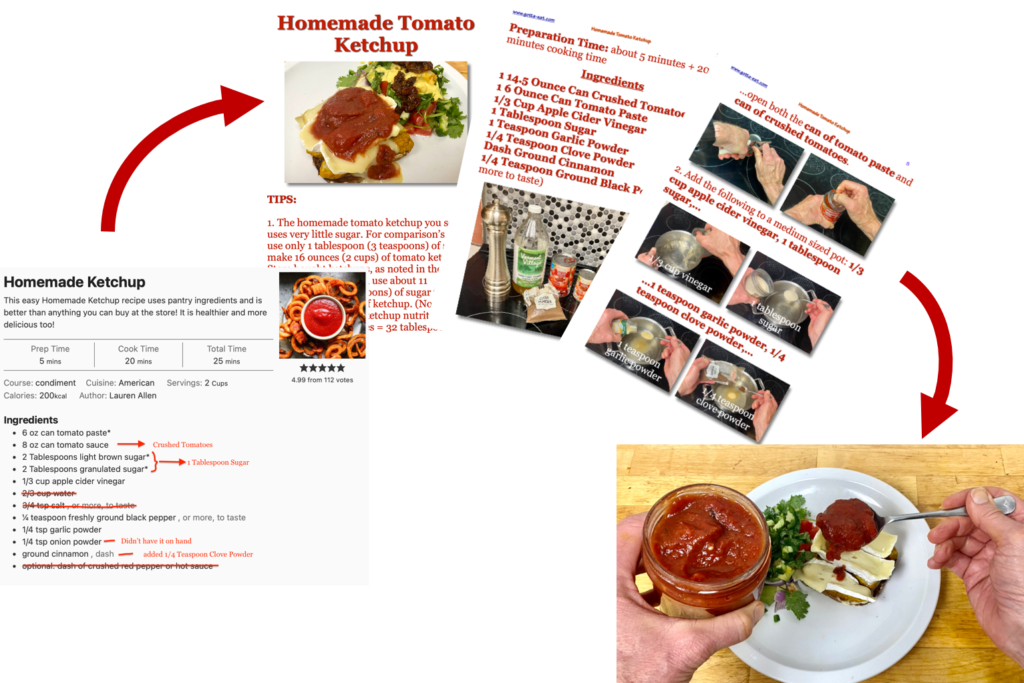
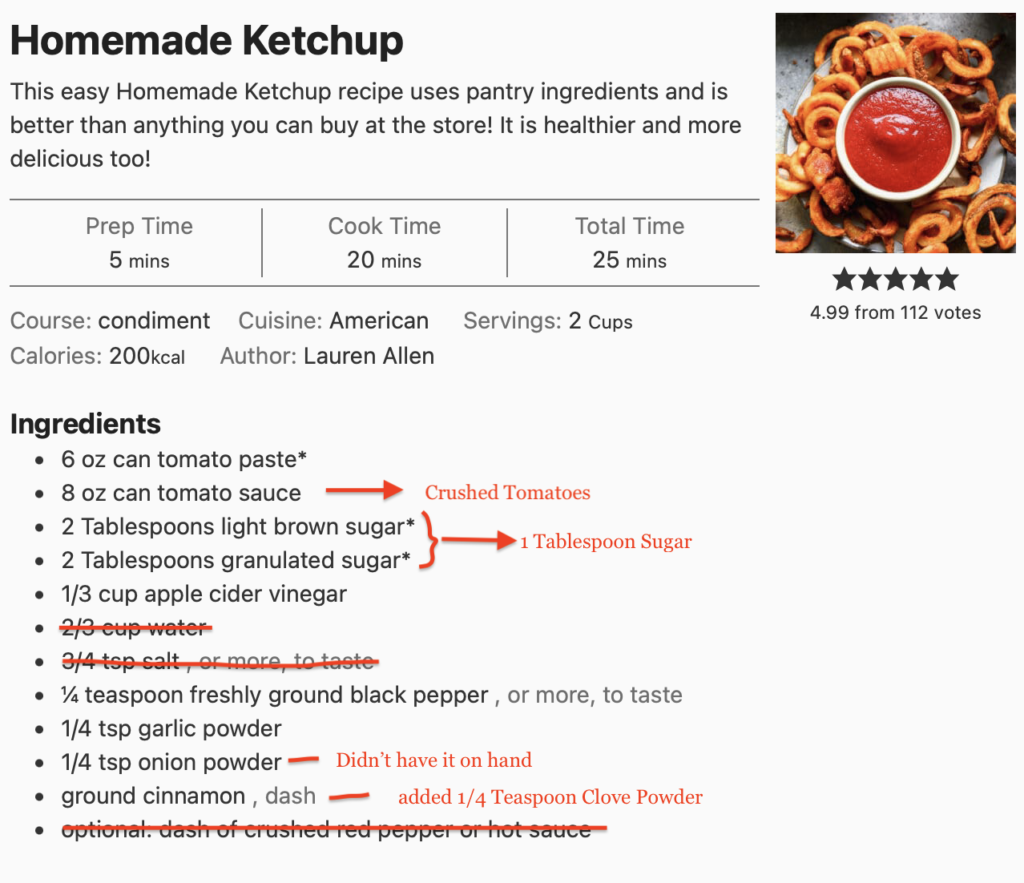
First step, find a decent recipe on line, like the one you see here from Tastes Better From Scratch.

As noted in red above, though the recipe above looks perfectly fine (thanks, Lauren!), I improvised (any recipe is only a guide) by:

  • using crushed tomatoes because I like that better than tomato sauce
  • cutting the sugar amount from 4 tablespoons to one tablespoon
  • skipping water – no flavor – and because I used a can of crushed tomatoes (14.5 ounces) that was almost twice the size of the 8 ounce can of tomato sauce called for in the recipe above
  • cutting out the salt because I didn’t think it needed it
  • skipping the onion powder because I didn’t have it on hand and, instead, used 1 full teaspoon of garlic powder
  • added 1/4 teaspoon of ground clove because I love that flavor
  • skipped the red pepper/hot sauce just to find out how the ketchup would taste without it – I could always add either later

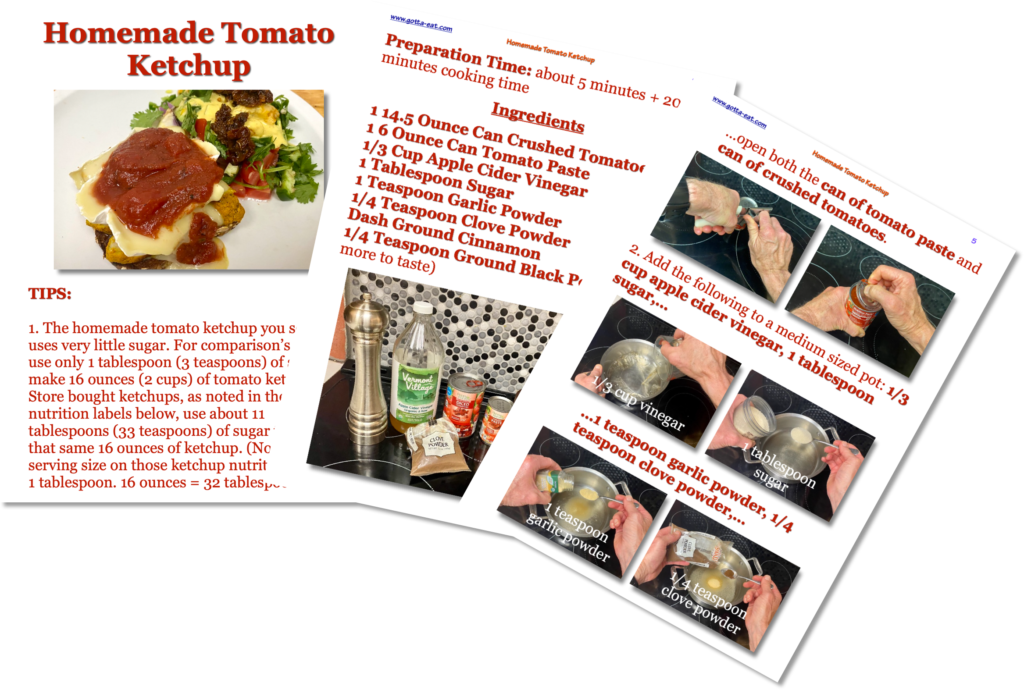
Bottom line: here’s what I came up with that’s “super” easy to make (no cutting needed), low in sugar and salt, and, most importantly, fully flavorful – that you can see how to make by clicking this link!

Picture Book Cooking Thanksgiving Leftover Ideas

Leftovers are the most flavorful rewards of cooking Thanksgiving dinner.

First, I hope you had a fun time and fully flavorful Thanksgiving dinner with friends and/or family.

Second, one of the best rewards of making Thanksgiving dinner yourself is all the leftovers that actually enrich with flavor after the holiday meal itself.

First, click this link or the picture below for picture book directions that show how to remove and store meat from a cooked turkey.

Here are two easy to make turkey leftover recipes, turkey nachos and turkey parmesan, intended to inspire your imagination to make fully flavorful Thanksgiving leftovers that suit your taste.

Click this link or the picture below for very easy turkey nacho picture book directions.

Click this link or the picture below for easy-to-make and fully flavorful turkey parmesan picture book directions.

Enjoy the rest of your Thanksgiving weekend with full-on flavor!

Bruce

Fully Flavorful Whipped Cream Variations – Even If You’re Lactose Intolerant

Flavor rules – always!

Last two posts showed how easy it is to make fully flavorful fresh whipped cream and then how to boost flavor to that same whipped cream by just adding ground cinnamon. This post shows a couple ways to vary whipped cream flavor very quickly and easily – even if you’re lactose intolerant. As always here, imagination is your only limit!

To kick that imagination in gear, here’s Pumpkin Pumped Whipped Cream.

Killer easy to make! As shown in the picture thumbnail sketch below,…

…just add pumpkin butter and pumpkin pie spice to the base fresh whipped cream recipe. And you don’t have to be limited by pumpkin butter. You can use apple butter, your favorite jam, butterscotch spread – anything you like to get the flavor you want.

Then if you or someone you know is lactose intolerant, here’s how you can easily switch out heavy cream with coconut cream and coconut milk to make both a basic coconut based whipped cream and then use the above ideas to vary the flavor any way you like.

The key here – as always – learn the base recipe and then use your imagination to have fully flavorful fun with it!

Pumped Up Flavor Fresh Whipped Cream With Cinnamon and Coconut Sugar

The other day I mentioned that I keep a vat of fresh whipped cream in the fridge. That vat went dry just after I wrote that. So, what a great opportunity to whip up a new one – and add flavor, all fun and very easily. As shown below, all I did was add a good shake of ground cinnamon (I do that all the time now) and use coconut sugar instead of regular white table sugar.

Whipping then took only 2 minutes as I’d used heavy cream right out of the fridge and a frosted glass measuring cup I’d put in the freezer over night.

You’ll notice in the last shot above that I didn’t whip the cream until it was firm enough to keep the ejected hand mixer blades standing. All fine. That’s the consistency I like, as it dissolves more easily in coffee, works great on anything else I top with it and makes it easy to pour into a “vat” I put in the fridge for easy access anytime I want it.

Click any picture on this page for step-by-step picture book Fresh Whipped Cream directions that you can vary however your personal taste desires.

Enjoy & have fun!

Rocket Fuel Breakfast, Part 5: Fresh Whipped Cream

Fresh whipped cream tastes far better than whipped cream spritzed from a can or scooped from a plastic tub – and it’s both as incredibly easy to make as it is versatile to use. I love it with the “rocket fuel breakfast” you see above: on fruit pancake, with yogurt and fruit, in coffee. But, as always, imagination is your only limit!

Here’s what you need for both for ingredients and equipment – easy.

Before you get started, here’s an easy tip. Make sure the heavy cream is cold and put whatever container you’re going to use to whip the cream in the freezer until it is well chilled as shown below. The reason: cold cream and a cold container make the cream whip faster – I like that!

Please click any picture on this page or this link for step-by-step fresh whipped cream picture book directions – and enjoy!

Killer Versatile Active Life Power Food: Fresh Crepes with Picture Book Recipe

Though France is well known for the premier cycling events of the year, the men’s and women’s gutsy, rip fast Tour de France, they are even better known for full-on food flavor.

One of my favorite go-to French foods is fresh crepes, which are, no kidding, just as easy to make as flapjack pancakes but much more flavorfully versatile and a great physical activity power source.

Here are the needed ingredients.

Crepes Made Easy ingredients

Click this link or the photo below to see a short, thumbnail sketch video showing how I made fresh crepes to take on a bike trip last weekend.

Click this link for a complete, very easy to use step-by-step picture book Crepes Made Easy recipe.

Crepes Made Easy Picture Book Recipe

Designed by Free Wordpress Themes and Sponsored by Curry and Spice