Archive for the ‘Seasonal/Holiday Recipes’ Category

Fantastic – and Developing – Bella Vita Chestnut Roasting Learning Experience

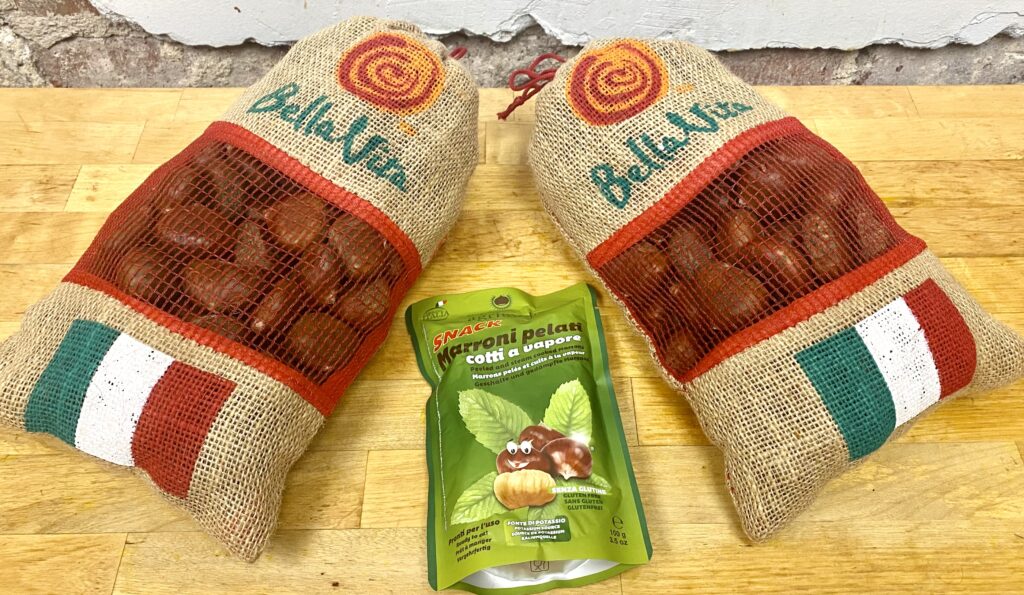
Bags of fresh and vacuum packed Italian Bella Vita chestnuts.

You can’t have Christmas without hearing “Chestnuts Roasting on An Open Fire” – many, many times. Chestnuts and Christmas just go together.

And then there’s something about always learning something new and applying what you’ve just learned. You might have seen my posts hear about roasting chestnuts in a conventional kitchen oven or toaster oven. Roasting chestnuts has been family tradition beyond my lifetime.

Then, very recently, I met with Celso Paganini, owner of Bella Vita, Italian foods importer. I got some of his chestnuts at a Greenwich, CT, supermarket 2 years ago. I was so taken by their consistently rich flavor and how well they peeled after roasting that I had to call to let him know they were the best chestnuts I’d ever had. We’ve been in touch since. When we met a couple weeks ago, I asked how he roasts chestnuts.

Celso’s favorite roasting method is over an open fire. Killer, and I have to try that sometime. But, when that isn’t possible, he roasts them in a pan with holes in it, like the one shown below, in a conventional oven, first at high heat, 550° F, to char the shells and then reduces the oven heat to 425° F for most of the roasting time.

Chestnut roasting pan with holes in the bottom of the pan.

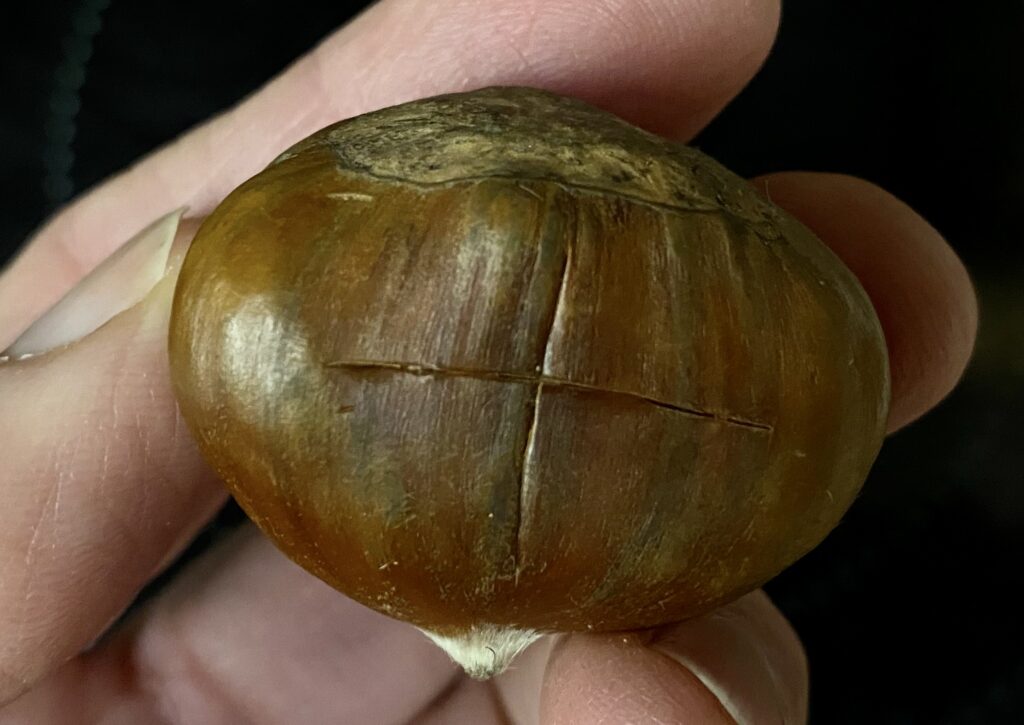
Interestingly, when I went to the Bella Vita site to look up Celso’s chestnut roasting directions, I saw that he includes an extra step. After making crosscuts into the shells of both sides of the chestnuts to keep the chestnuts from exploding under high heat, which is a must no matter what roasting technique you use,…

Chestnut with crosscuts in the shell to prevent the chestnut from exploding under high roasting heat.

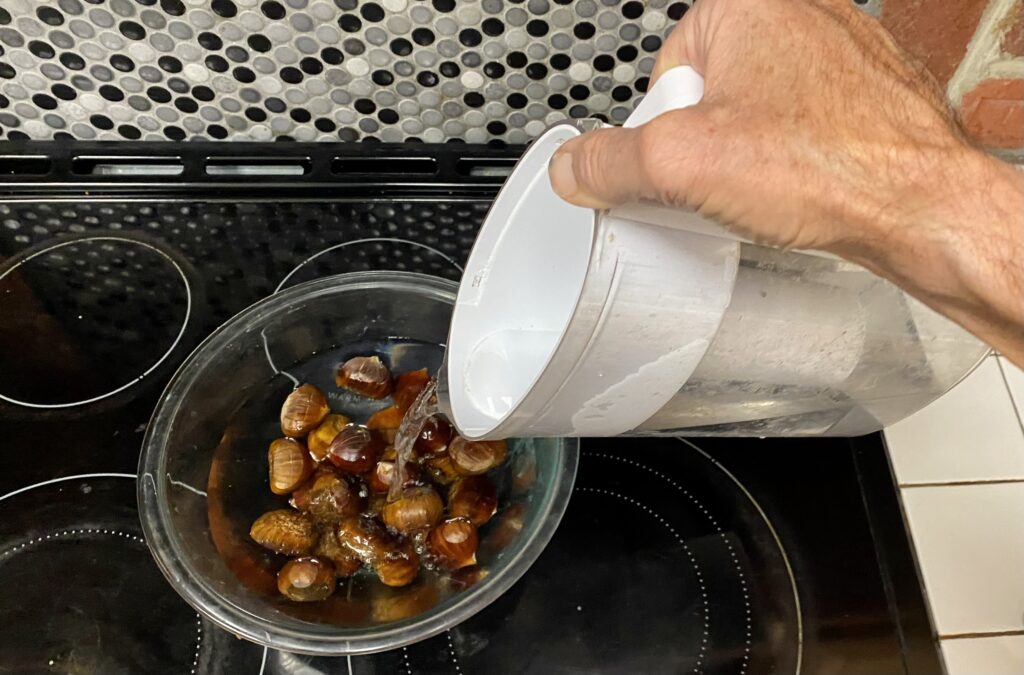
…he also recommends soaking the freshly scored chestnuts in water before roasting.

Soaking freshly crosscut chestnuts in water before roasting.

I’d never heard of pre-soaking chestnuts before roasting them. Right away, I checked other top hit chestnut roasting directions, and though some of them suggested doing the same, one of them, Foolproof Living said they saw no difference between soaking and not soaking chestnuts, as explained below.

Still, I gave the soaking technique a try, and though the result turned out great, and I put together drafted picture book directions to make that technique easy to learn and use, I’m going to use the same chestnuts from one of the bags shown above and roast them exactly as I did the soaked chestnuts only without soaking and compare results.

Yep, that means more to follow. And that’s what learning and adapting – or maybe confirming – is all about.

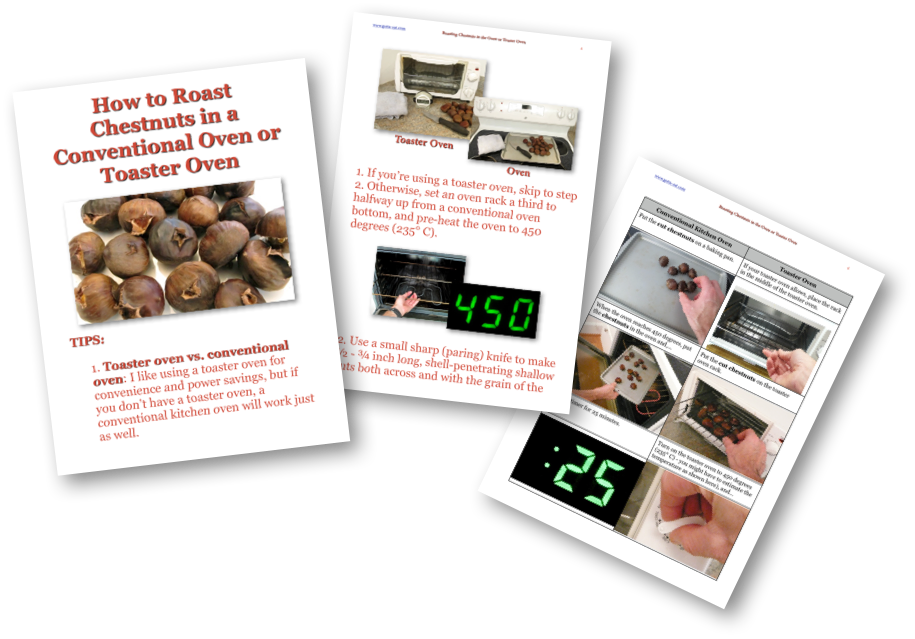
In the meantime, I still stand by the easy, straightforward directions I’ve had here on the site and have posted about recently that you can get by clicking this link or the picture book directions image below.

More soon!

Easiest, Go-To Roast Turkey Recipe – All in Pictures

stress-free-roast-turkey

Here’s an easy-to-use, go-to cooking technique that makes for a terrifically tender, fully flavor – and good looking – roast turkey.

First some quick tips:

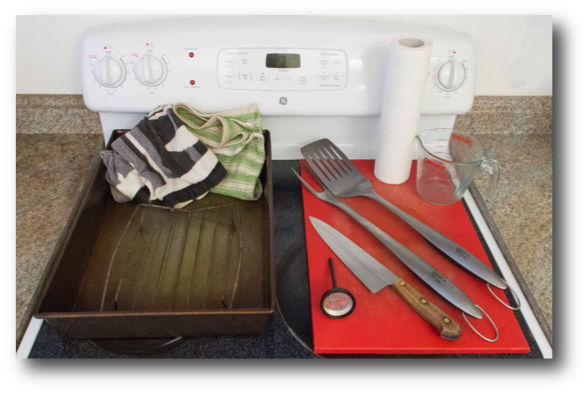
  • I highly recommend using an oven-proof meat thermometer, as shown in the equipment needed picture below, to ensure roasting the turkey to the proper doneness temperature.
  • Traditional recipes usually call for roasting the turkey with stuffing in the main cavity. I recommend roasting the turkey without stuffing for the best turkey roasting result.
  • Make sure the turkey is completely defrosted, if you’re using a frozen turkey, and then allow that defrosted or fresh turkey to warm close to room temperature before roasting.
  • Start cooking the turkey breast-side down for most of the roasting timeand turn the turkey breast-side up for the last 50 minutes no matter the turkey weight.
  • Let the freshly roasted turkey rest at room temperature for at least 30 minutes before carving and serving.

Regarding temperature and timing, start with the turkey placed in a roasting pan BREAST-SIDE DOWN and cook at high oven heat (450℉/230℃) for the first 30 minutes no matter the turkey’s weight. After 30 minutes, turn the oven heat down to 325℉ /165℃ for the bulk of roasting time with the turkey still breast-side down. Again, no matter the turkey weight, turn the turkey breast-side up and keep the temperature at the same 325℉ /165℃ for the last 50 minutes of cooking. See the note below about how to turn the turkey breast-side down to breast-side up.

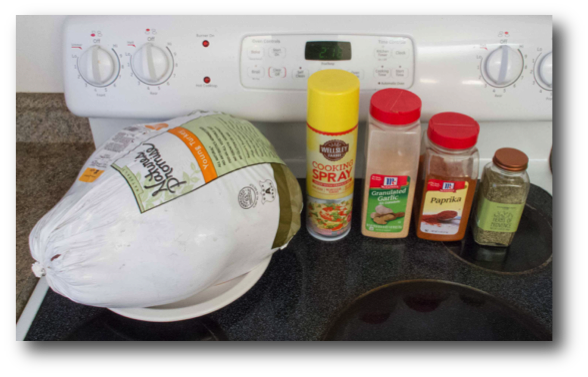
Here are all the ingredients you need to make a stress-free roast turkey.

stress-free-roast-turkey-ingredients

Here’s the equipment you need.

stress-free-roast-turkey-equipment

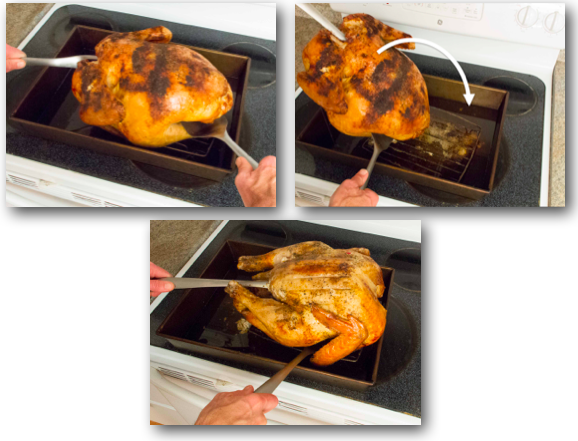
The most difficult part of this recipe is turning the turkey from breast-side down to breast side-up, but the picture book directions show how to do that as easily and safely as possible as shown here.

turning-roast-turkey-breast-side-up

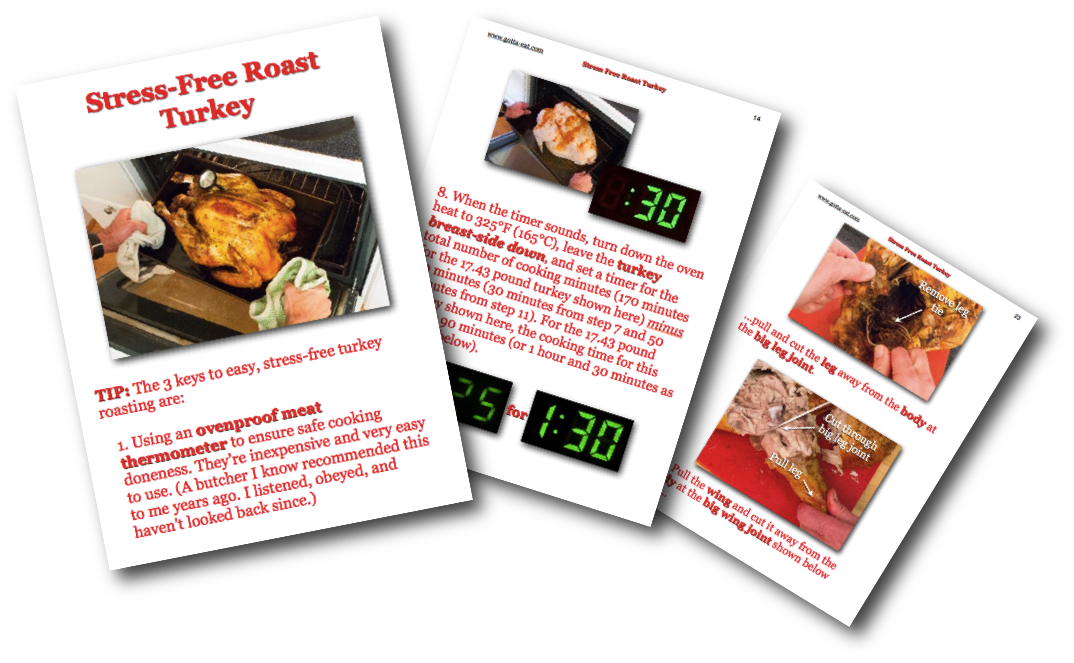
Click this link or any picture on this page for a complete, newly revised step-by-step picture book recipe.

stress-free-roast-turkey-picture-book-recipe

Fresh Cranberry Sauce and More Thanksgiving Help

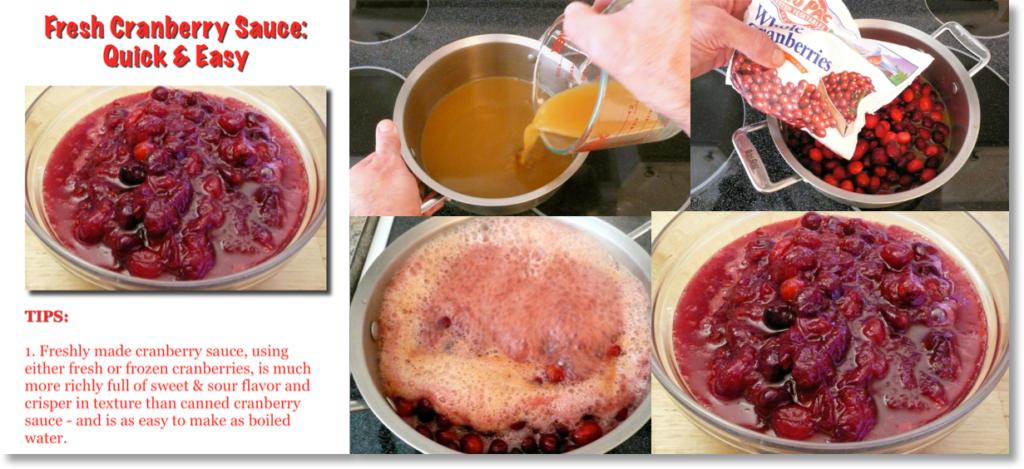
Fresh homemade cranberry sauce blows the canned version out of the water and is as easy to make as boiled water

Only two days til Thanksgiving but no need to make yourself – or anyone else – crazy.

One of the best ways to make Thanksgiving Day as fun as possible is to get some easy dishes made in advance, like fresh cranberry sauce. Fresh, homemade cranberry sauce, with its rich sweet and sour flavor and mouth pleasing snap-pop, blows canned cranberry sauce out of the water, is no-kidding just as easy to make as boiled water and keeps fresh for weeks in the refrigerator.

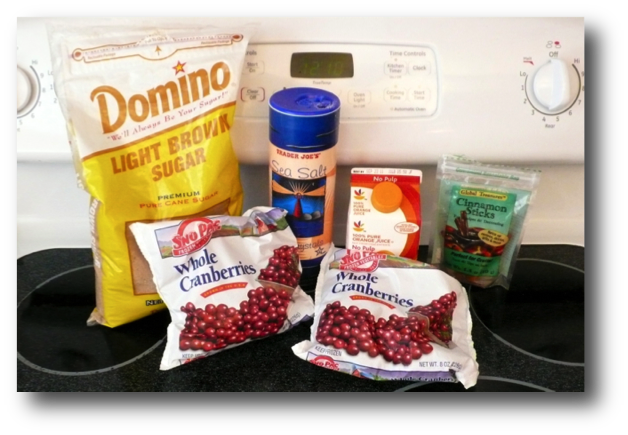
Here’s all you need for ingredients. You’ll see a carton of orange juice in the picture below. Most cranberry sauce recipes call for cooking the berries in water. Instead of water, I like cooking fresh cranberries with fruit juice – orange juice as shown or apple or any other juice – for added flavor.

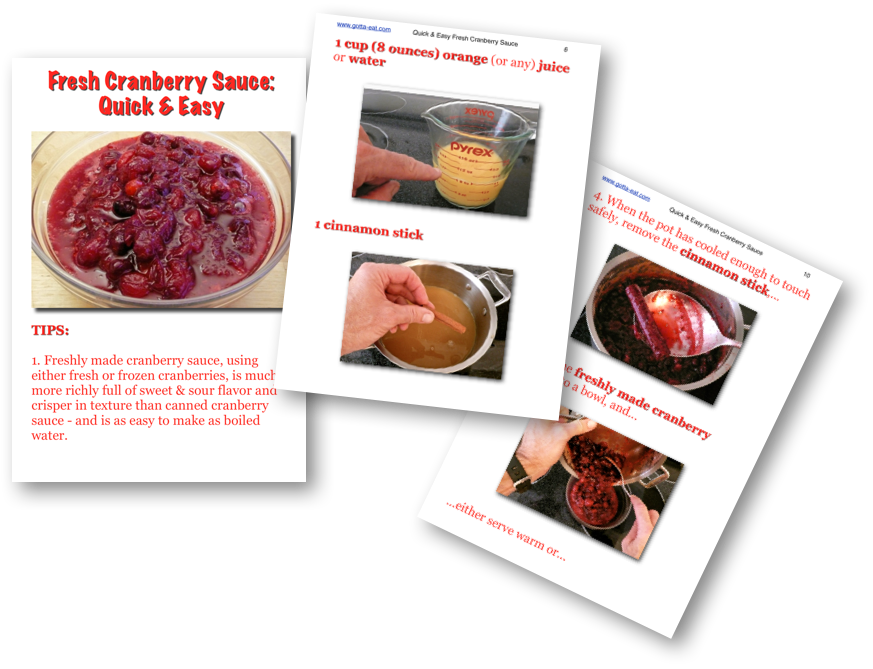
Click this link or any picture above or directly below for an easy to follow picture book recipe and/or…

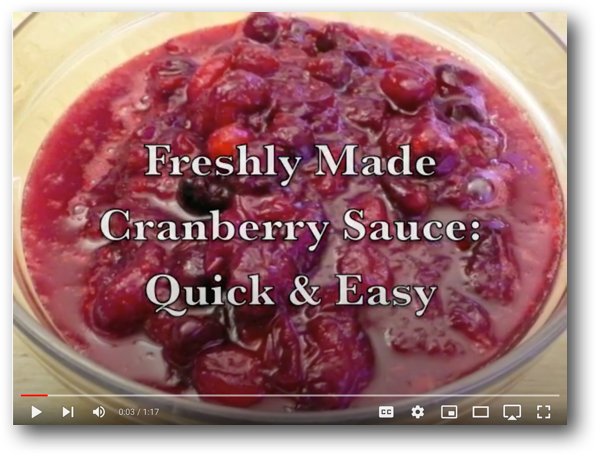
…this link for a short step-by-step video.

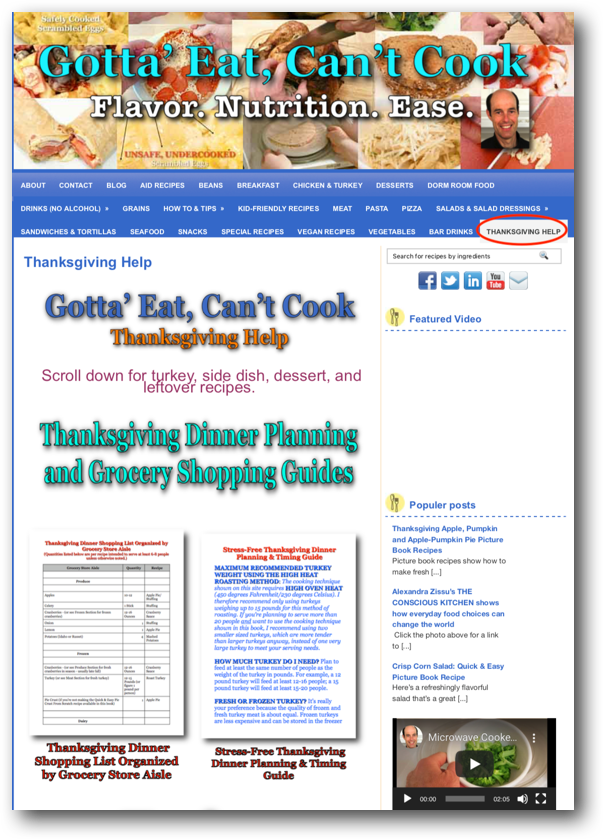
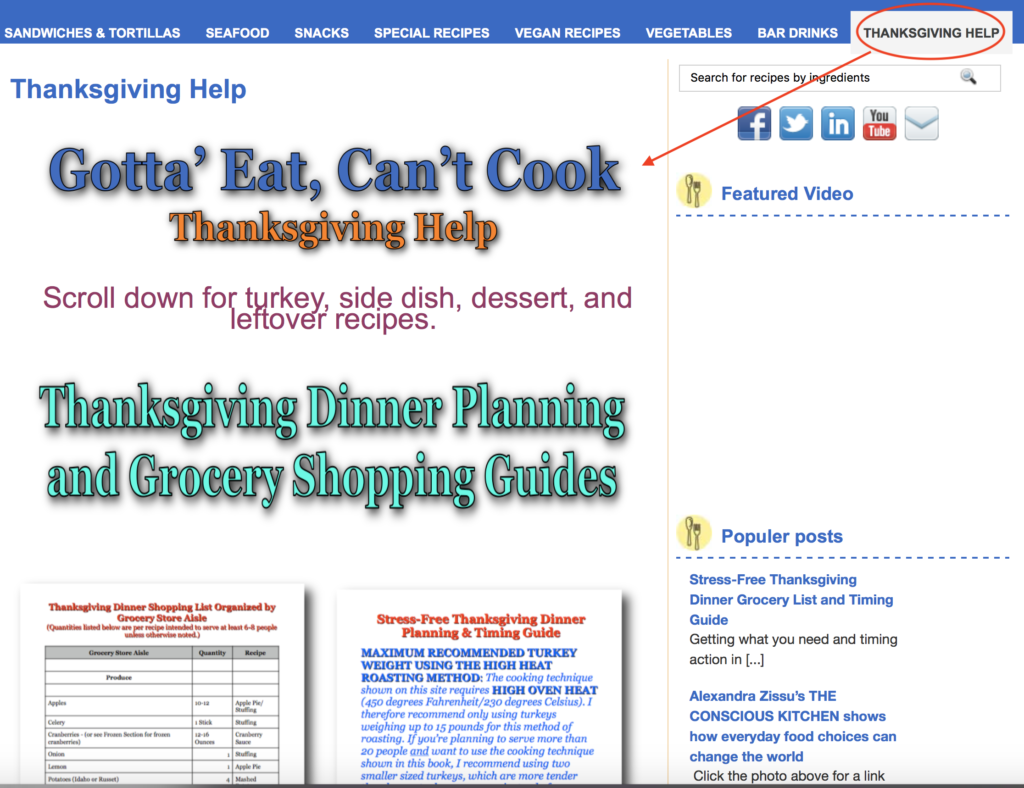
You can also click this link or the picture below for the Gotta’ Eat Thanksgiving Help page that I’ve been updating with additional recipes to give you more freedom of choice.

Stress-Free Thanksgiving Dinner Grocery List and Timing Guide

Like I mentioned recently in Stress-Free Picture Book Thanksgiving Dinner Help, Thanksgiving’s by far my favorite holiday! All that’s expected is a good meal and getting together with family and friends. Not much more to be thankful about than that.

Of course, if you’re the one putting that uniquely traditional dinner together and are not comfortable in the kitchen, the challenge of pulling it off successfully can be overwhelming. I’ve sure been there, and relieving that stress is what this post and others like it are all about.

The two most important keys to putting together a successful and stress-free Thanksgiving dinner are planning and timing. That means making sure you have all the ingredients you need in advance (stores are usually – and thankfully – closed on Thanksgiving Day) and coordinating cooking timing in the kitchen.

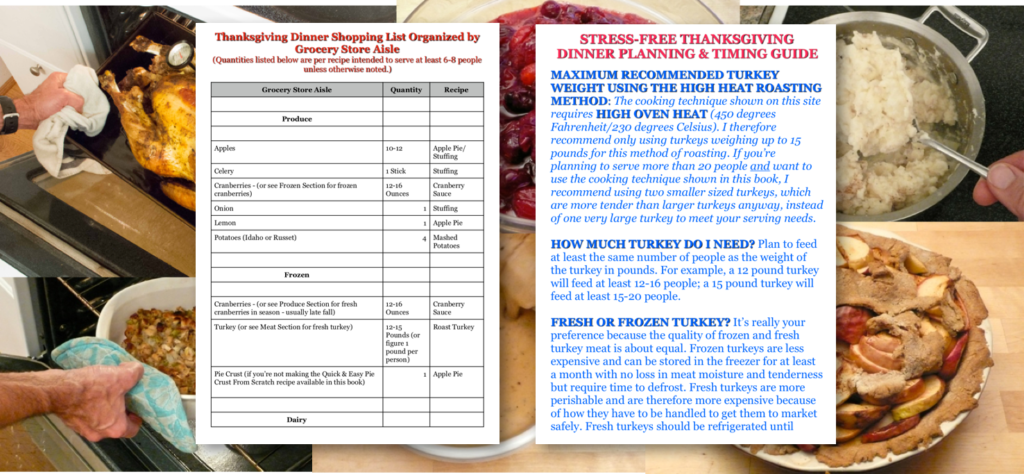
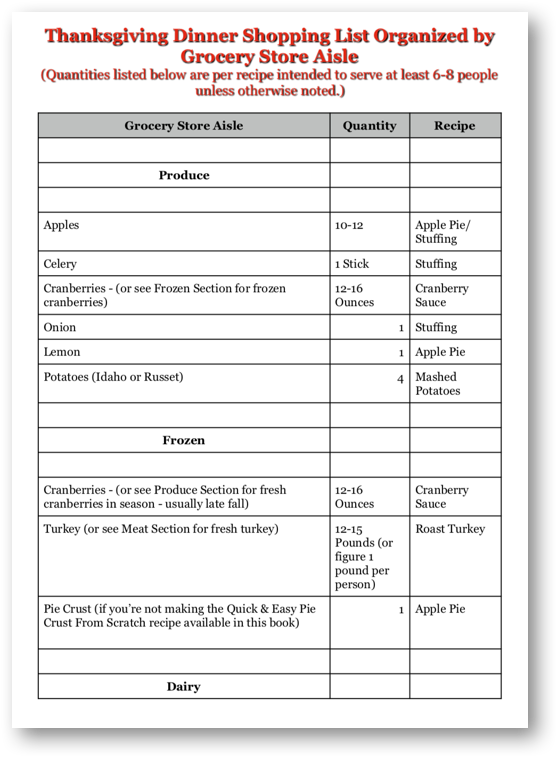
To help you get the ingredients you need as efficiently as possible, click this link or the picture below for a grocery shopping list to make a traditional Thanksgiving dinner for 6-8 people that includes roast turkey, gravy, bread stuffing, fresh cranberry sauce, mashed potatoes and pie dessert. Of course, just adjust those quantities as needed based on how many people you expect to join you for Thanksgiving dinner.

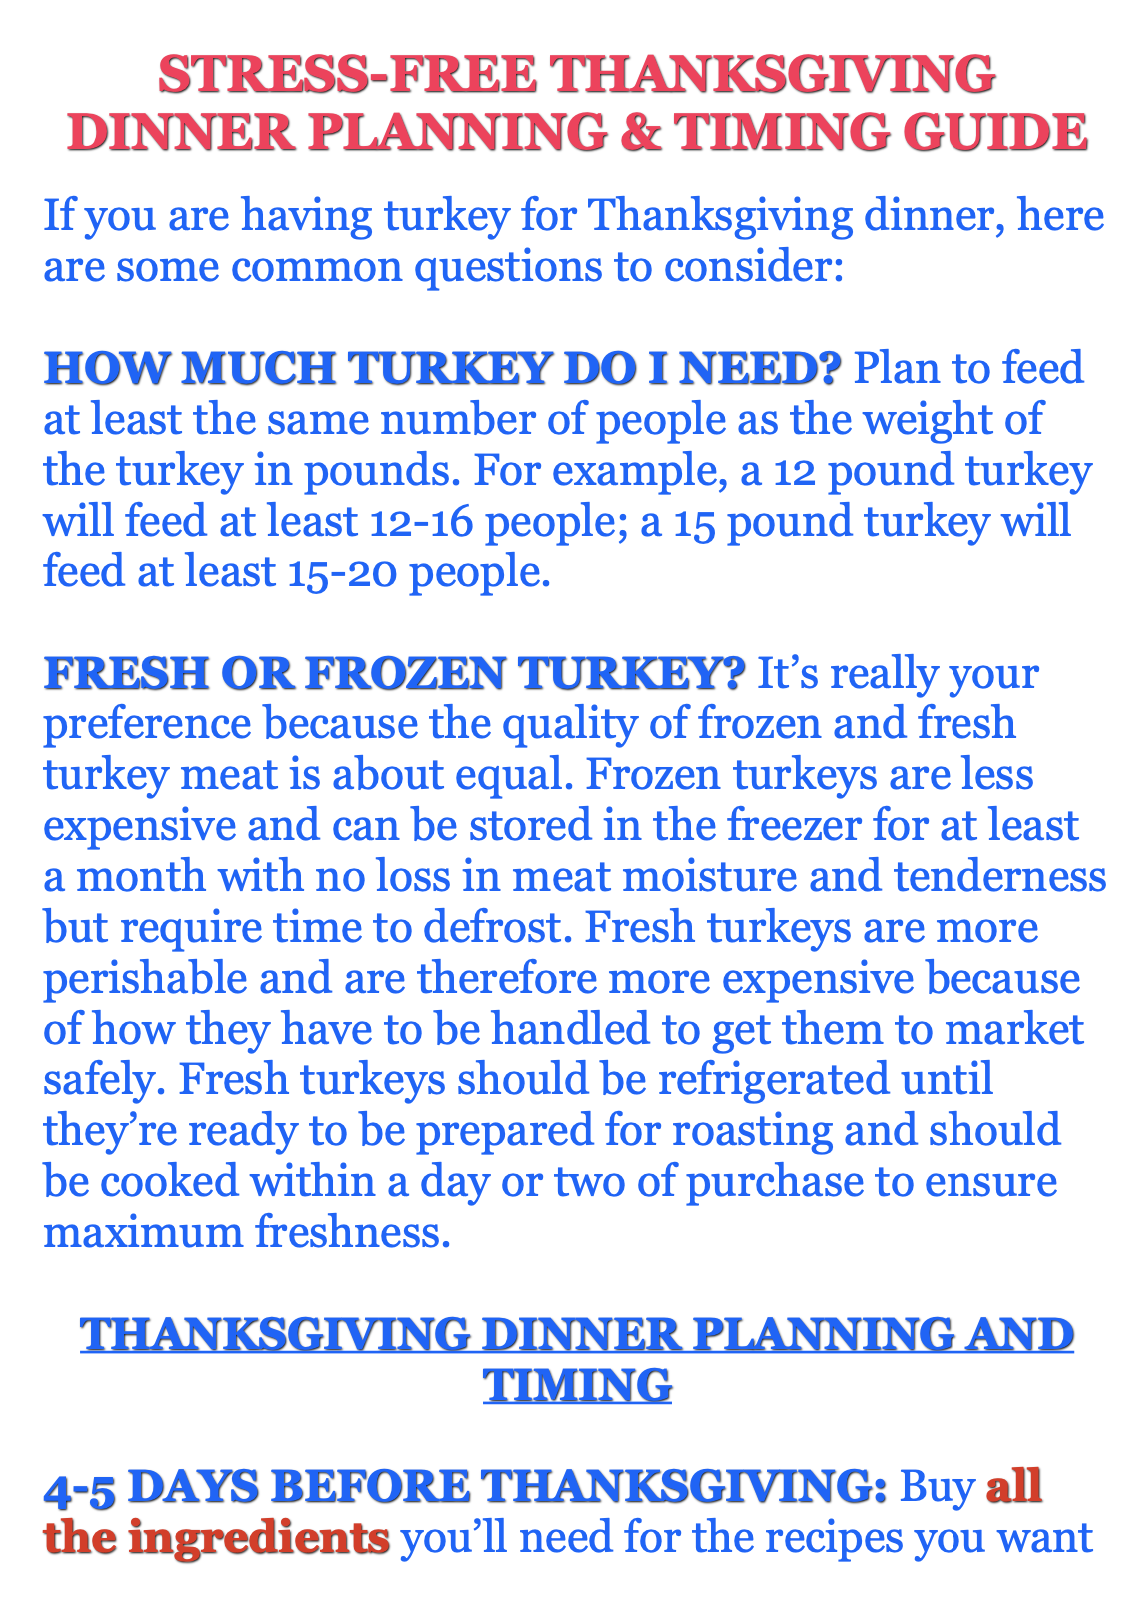
And, though though it’s a little early to start actually preparing any Thanksgiving dishes, click this link or the picture below for a timing guide that lays out clearly just about everything you’ll need to do to put together a traditional Thanksgiving dinner.

More about specific Thanksgiving recipes to follow that we’ll have fun putting together!

Killer Fun 2nd Annual Pour Choices “Shagsgiving”

Friends and family make all the difference – always! And that difference lives on vibrantly in our warm, energetically tight Hickory area Carolina Shag dance family.

Sure, we love tearing it up on the dance floor. But we’re tight in a way that’s no kidding soul-to-sou and always there for each other no matter what. Nothing better!

I told that to good Westborough, MA, friend, Deb Ledoux, about a month ago. She’d never heard of Carolina Shag dancing and got a laugh when I old her about our Thanksgiving shag family dinner-dance at our favorite weekly Wednesday night spot, Pour Choices in Newton. “Thanksgiving? Why don’t you call it Shagsgiving?”

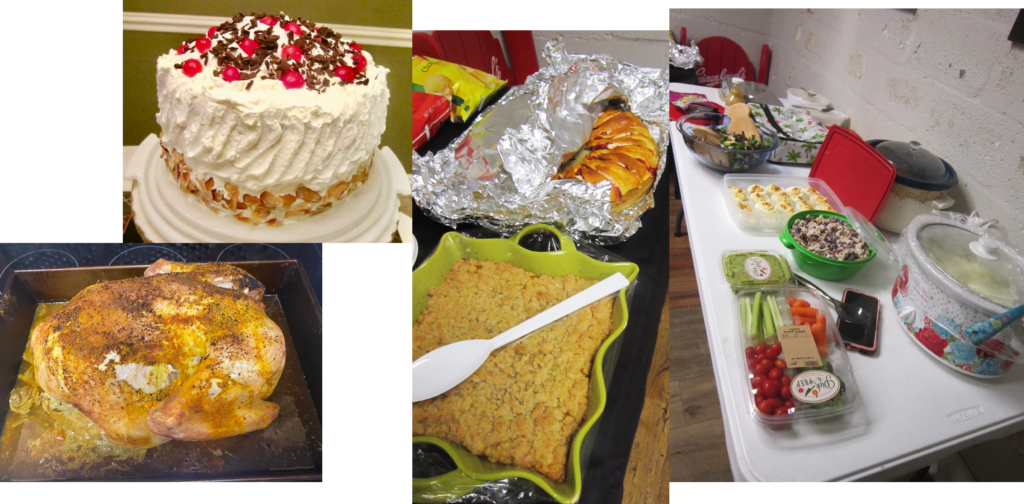
“Great idea!” That’s what we call it now, and that’s what we had last night for the second straight. Killer food,…

Shagsgiving food spread: roast turkey, layer cake, and much more.

…hoppin’ dance steps,…

Terrifically fun Carolina Shag dancing at Pour Choices, Newton, NC

…and best of all, having it all with a full-on loving family that goes beyond the fun of good food and dancing!

Fully Flavorful Whipped Cream Variations – Even If You’re Lactose Intolerant

Flavor rules – always!

Last two posts showed how easy it is to make fully flavorful fresh whipped cream and then how to boost flavor to that same whipped cream by just adding ground cinnamon. This post shows a couple ways to vary whipped cream flavor very quickly and easily – even if you’re lactose intolerant. As always here, imagination is your only limit!

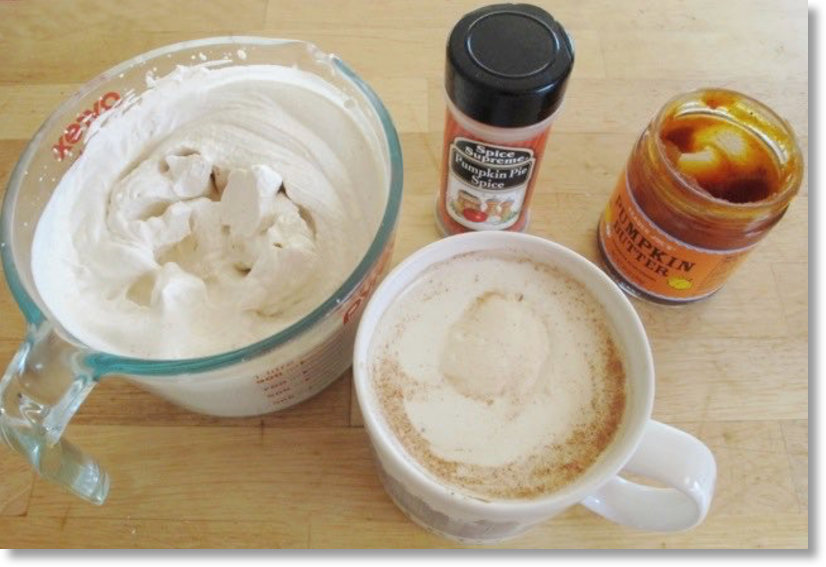
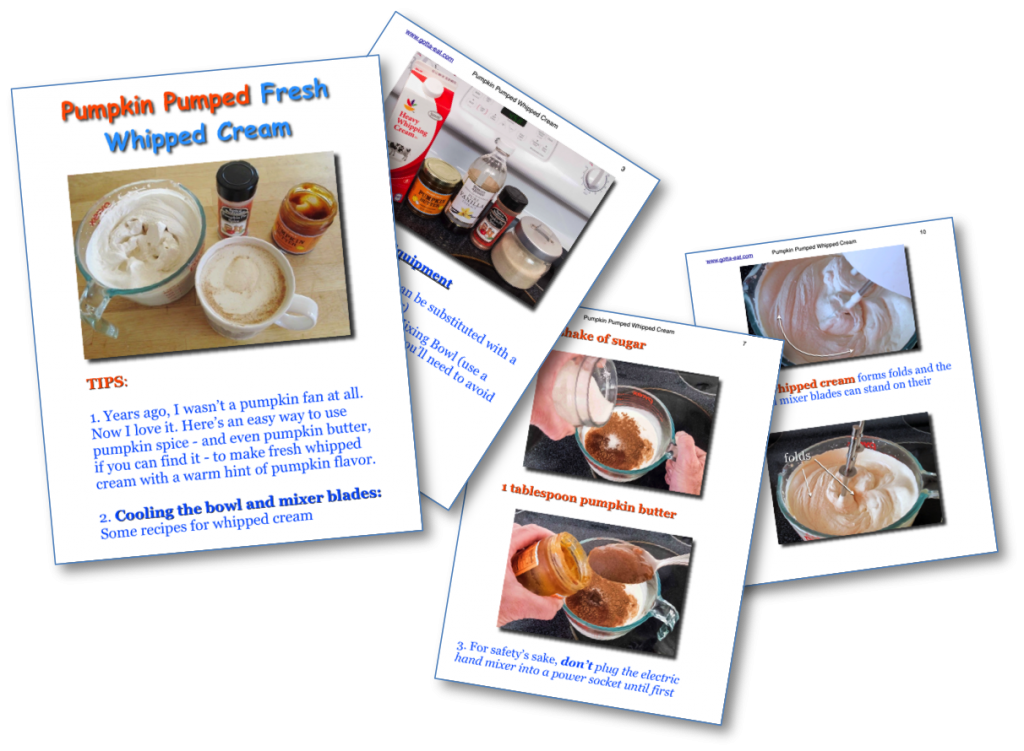
To kick that imagination in gear, here’s Pumpkin Pumped Whipped Cream.

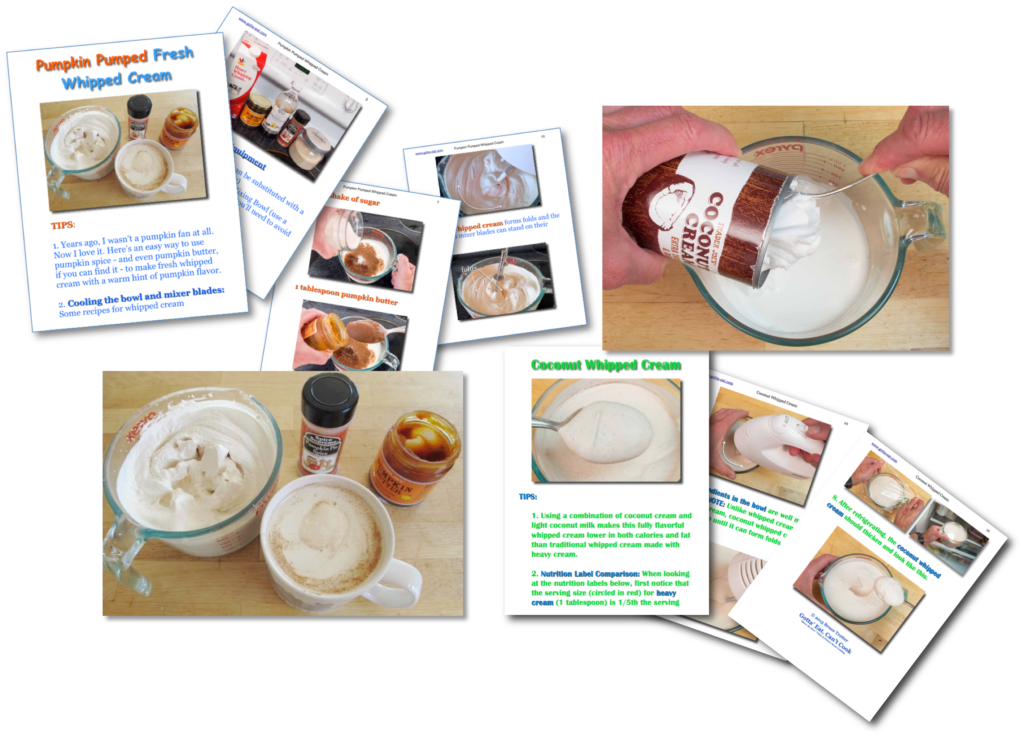
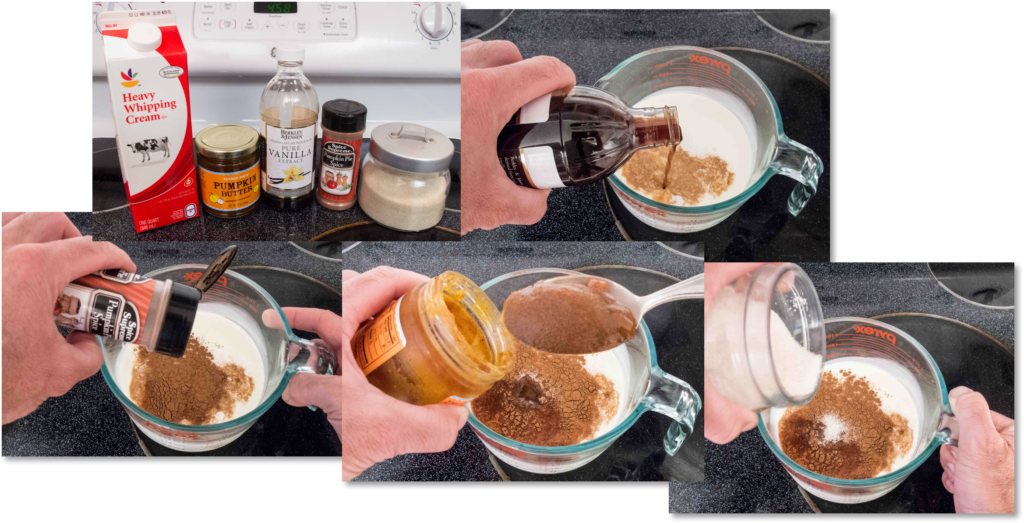
Killer easy to make! As shown in the picture thumbnail sketch below,…

…just add pumpkin butter and pumpkin pie spice to the base fresh whipped cream recipe. And you don’t have to be limited by pumpkin butter. You can use apple butter, your favorite jam, butterscotch spread – anything you like to get the flavor you want.

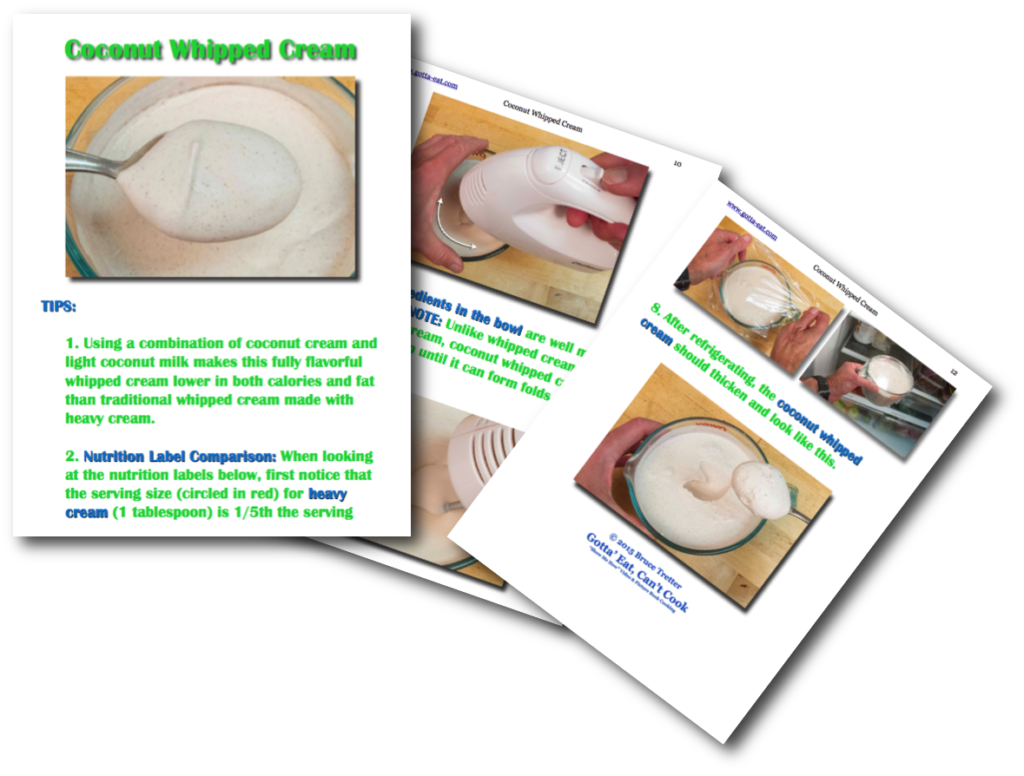
Then if you or someone you know is lactose intolerant, here’s how you can easily switch out heavy cream with coconut cream and coconut milk to make both a basic coconut based whipped cream and then use the above ideas to vary the flavor any way you like.

The key here – as always – learn the base recipe and then use your imagination to have fully flavorful fun with it!

Warm Apple Cranberry Fruit Topping Picture Book Recipe

This easy to make fruit topping tastes great and can be made with different fruit combinations to your taste.

Winter’s coming – or maybe for you, it’s already here.

Like I’ve mentioned before, there’s nothing much more comforting on a dark, cold morning than the smell of apples and cinnamon cooking fragrantly on the stove.

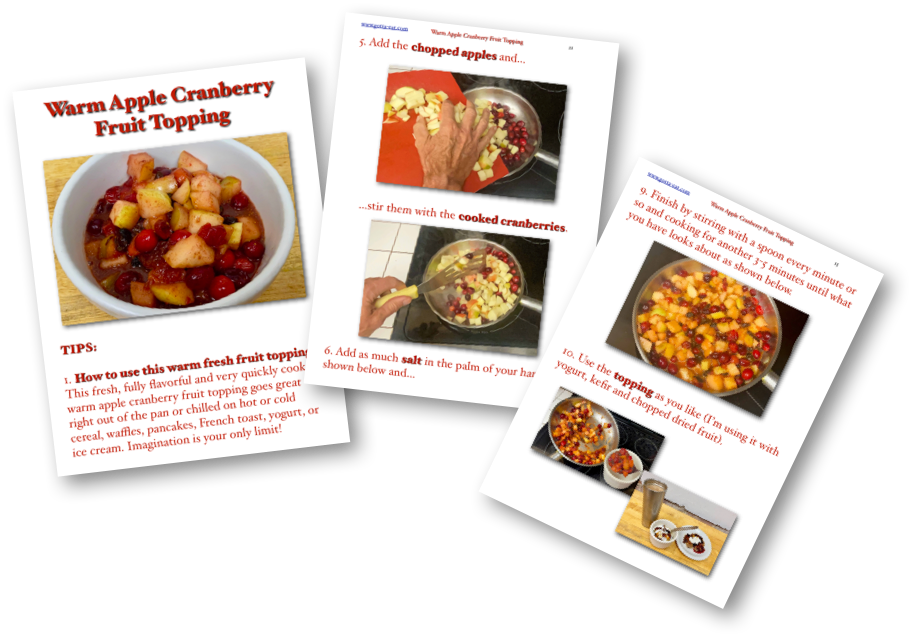
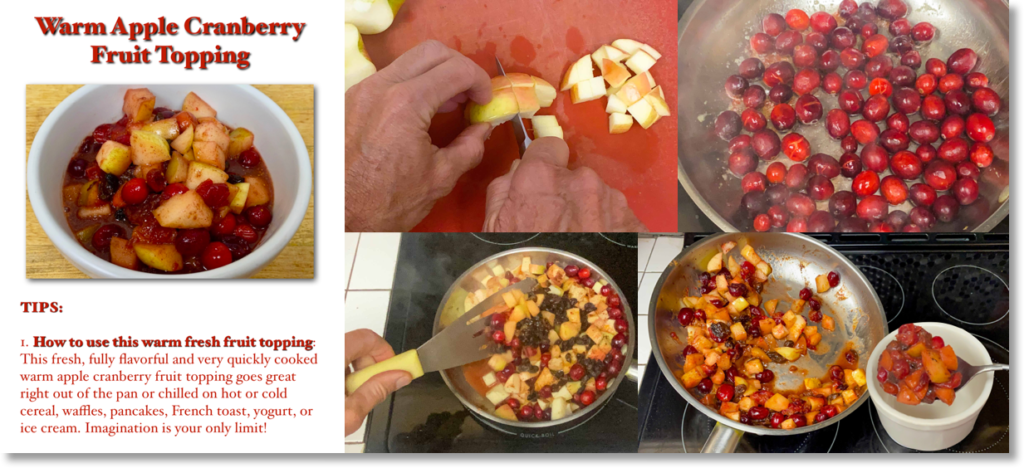
The easy-to-make fully flavorful warm apple cranberry fruit topping recipe you see here that goes great over pancakes, French toast, waffles, hot or cold cereal, with yogurt and jam, and much more is what I call a base or building block recipe. As a base recipe, you can use the prep and cooking techniques shown here and then use your choice of ingredients to make the topping just the way you want to suit your taste. Next couple posts will show examples that do exactly that.

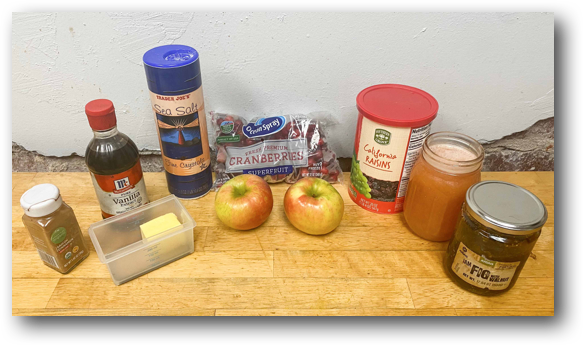
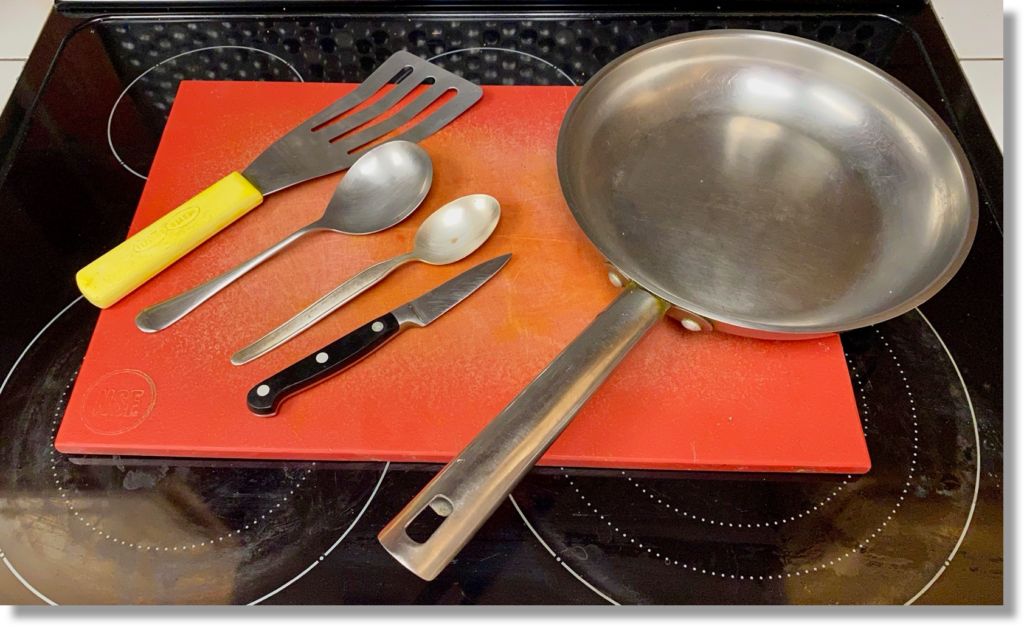
Here’s what you need to make this recipe:

Here’s how I used it this morning to power a 25+ mile bike ride with good Hickory, NC, buds. I scooped a big spoon of the topping in a bowl and topped it off with yogurt, fig jam, some ground seeds (flaxseed and chia seeds), kefir and dried fruit – along with a pancake topped with nut butter, jam, yogurt and more dried fruit. That and a coffee/hot chocolate mix. Killer!

Click this link or any picture on this page for a complete warm apple cranberry fruit topping picture book recipe.

Next post: a couple easy variations on this apple cranberry fruit topping theme. All easy, all flavorful!

Two Traditional Thanksgiving Sides: Bread Stuffing and Fresh Mashed Potatoes – Made Easy with Picture Book and Video Directions

Fresh mashed potatoes and bread stuffing are most flavorfully enjoyed when made just before serving dinner.

Last post showed how to make fresh cranberry sauce: killer flavor and as easy to make as boiled water.

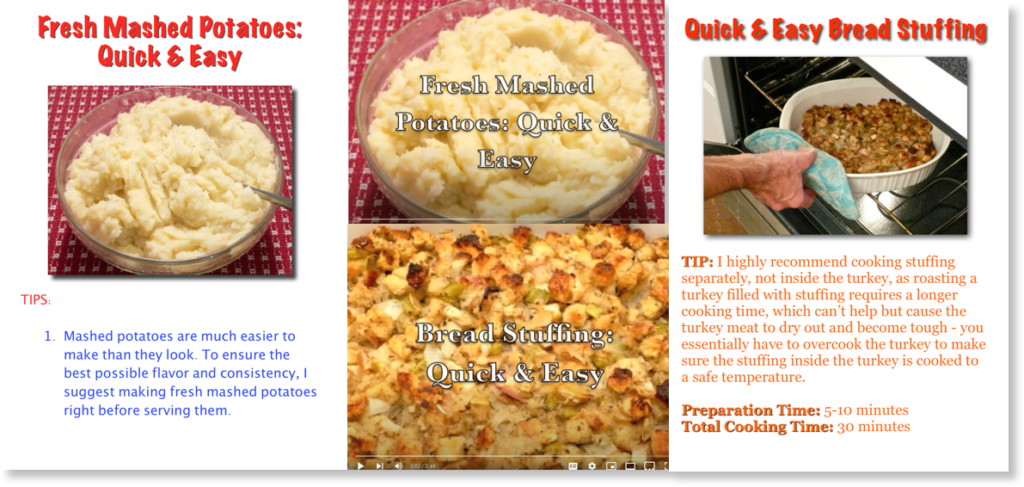
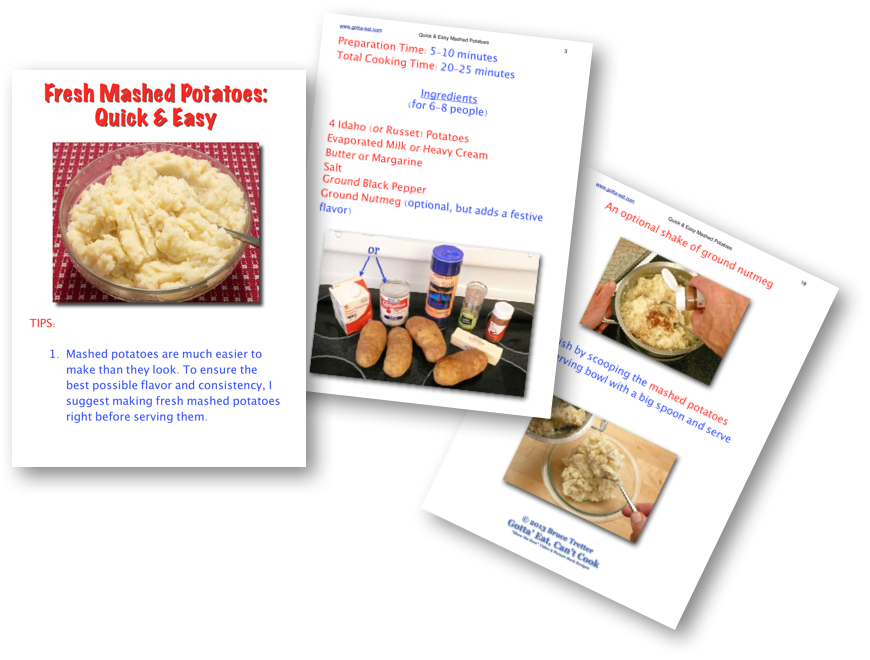
This post shows how to make 2 traditional Thanksgiving side dishes: fresh mashed potatoes and bread stuffing, which you can learn how to make on the fly with the picture book and or video directions shown below.

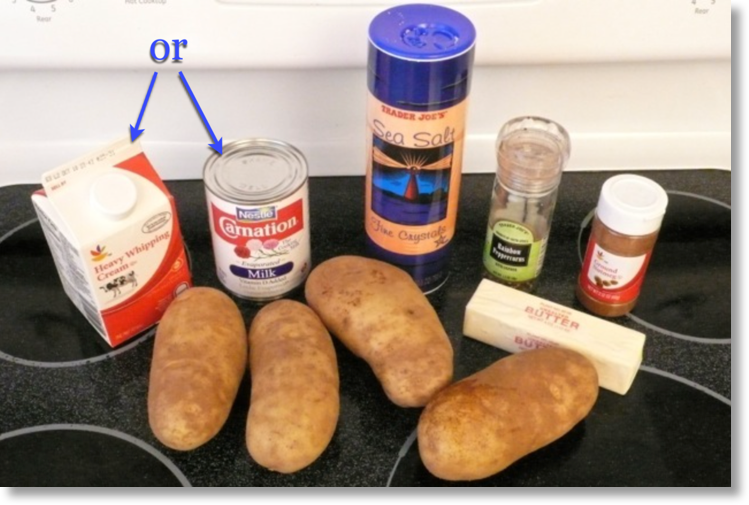
First, here’s what you need to make fresh mashed potatoes, which are best made just before you serve dinner.

Fresh mashed potatoes and bread stuffing are most flavorfully enjoyed when made just before serving dinner.

Click this link or the picture above or below for picture book directions or…

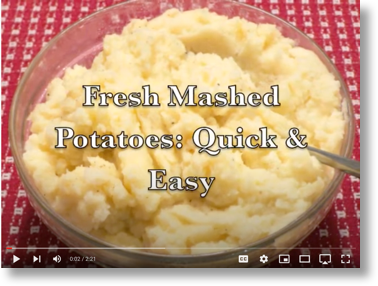
…this link/picture below for quick video directions.

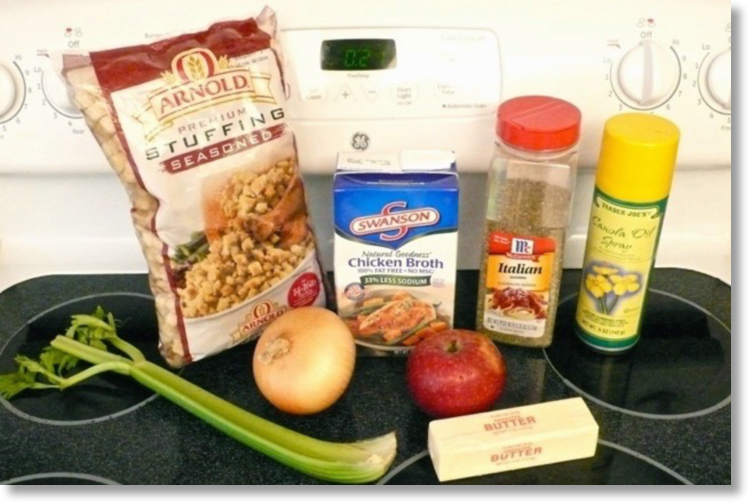
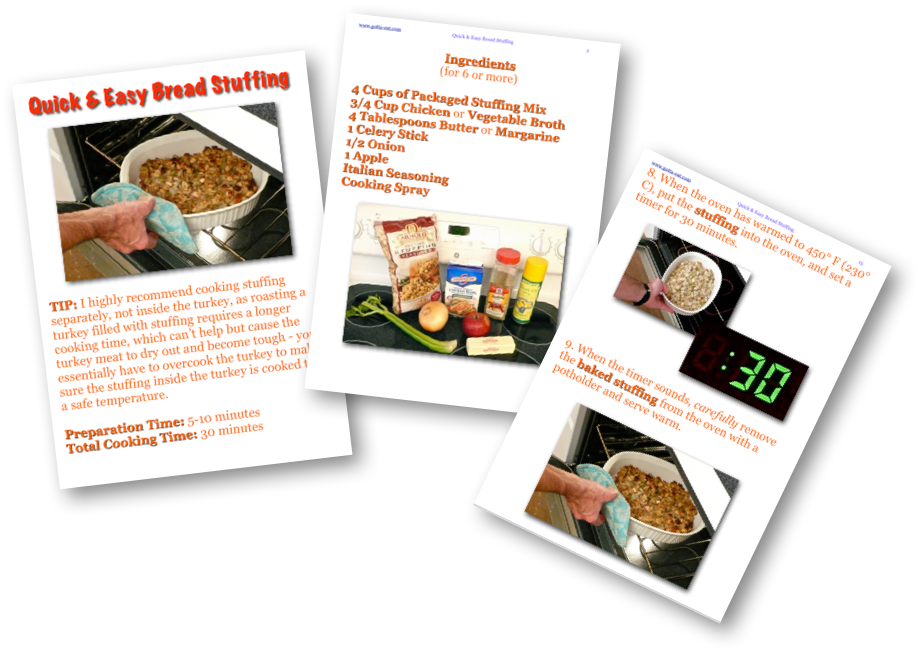
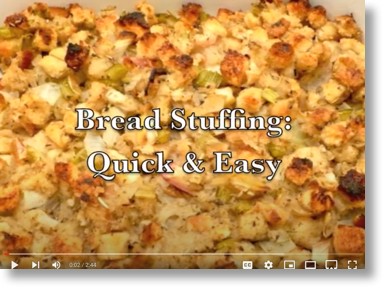
Here’s what you need to make quick & easy bread stuffing, which is also most fully flavorful and best made just before serving dinner.

Click this link or the picture above or below for picture book directions or…

…this link/picture below for quick video directions.

Of course, please click this link for complete Gotta’ Eat, Can’t Cook picture book Thanksgiving help.

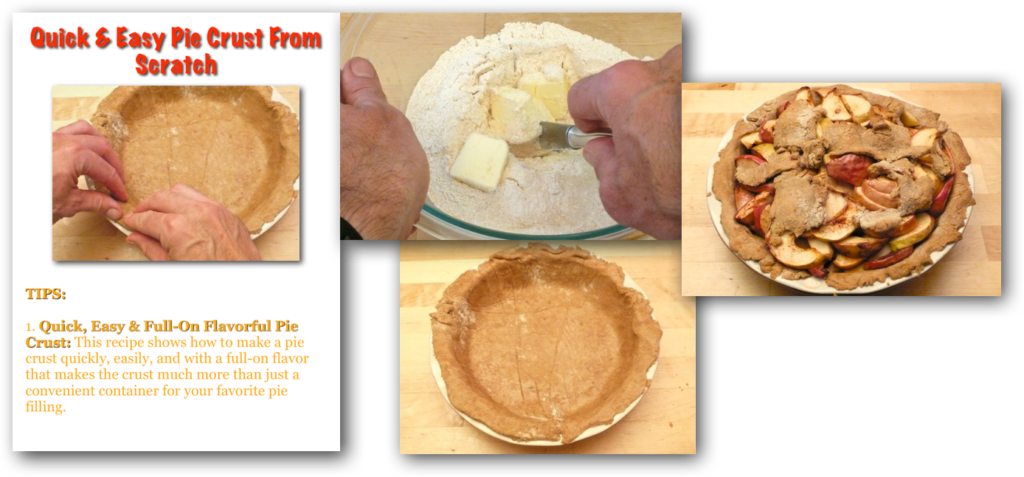
Quick and Easy Pie Crust From Scratch Picture Book Directions


Making your own pie crust from scratch is quick, easy and far more flavorful than store-bought pie shells

Pie is the most popular Thanksgiving dessert, and you know the deal here: flavor rules! I’ve never been a big baker, but years ago I made my first pie crust from scratch that was both incredibly easy to do and was nothing like the pre-made pie shells you get at the store that are really just flavorless containers for a much more flavorful filling. 

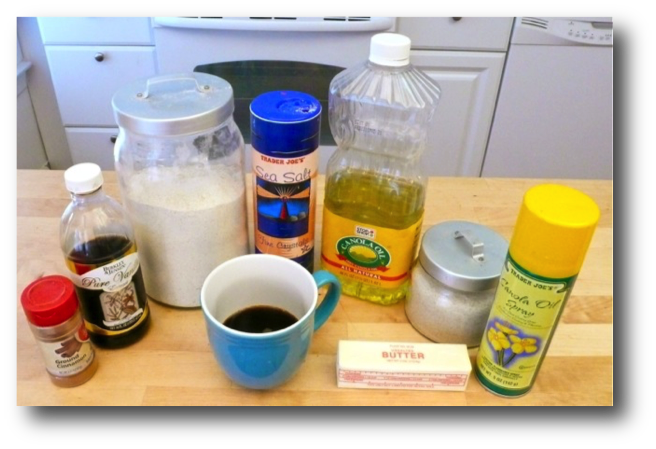
Here are the ingredients you need to make a quick and easy pie crust from scratch.

Quick and Easy Pie Crust IngredientsClick this link or any picture above for a complete step-by-step picture book recipe. you can also click this link or the picture below for a link to the Gotta’ Eat, Can’t Cook “Thanksgiving Help” page with easy to follow helpful step-by-step picture book Thanksgiving dinner planning and cooking tips.


Next post: 2 full-on flavorful pie crust variations.

Roast Turkey – Warm, Fully Flavorful Feast Any Day

With all that it has to offer: its signature warm smell while it roasts, terrific comforting flavor fresh out of the oven, incredible leftover versatility, and much more, especially when it’s cold out, why have roasted turkey just on Thanksgiving?

I’ve roasted two turkeys since Thanksgiving: one to have leftovers at home after Thanksgiving, which I’m still enjoying in portions out of the freezer, and another to prepare for a Bicycles Battling Cancer dinner at the American Cancer Society’s Hope Lodge in Boston last week.

If you’ve never roasted a turkey, you might think it’s a real chore.

It isn’t. In fact, it’s stress-free easy.

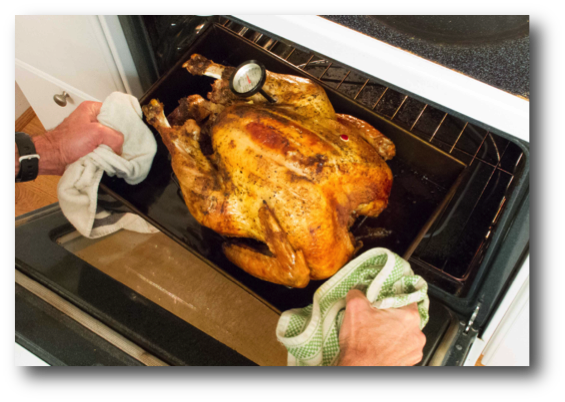
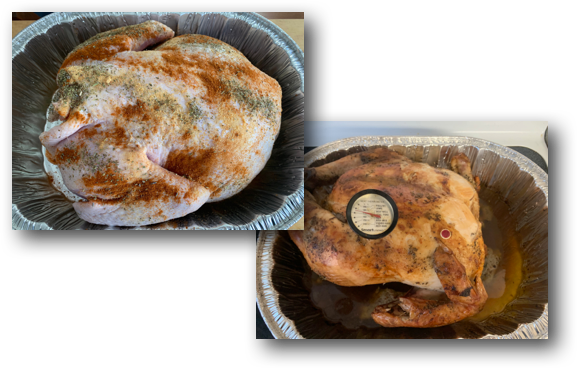
The keys to roasting a turkey beautifully successfully are roasting the turkey without stuffing (which otherwise will lead you to overcook the bird to cook the stuffing safely), using a meat thermometer, and doing most of the roasting with the turkey’s most delicate meat, the breast meat, cooked out of direct contact with the heat, which means roasting the bird mostly breast side down as shown in the top left picture below.

Click either this link or any picture on this page for complete, easy to follow fully flavorful stress-free roast turkey directions.


Designed by Free Wordpress Themes and Sponsored by Curry and Spice