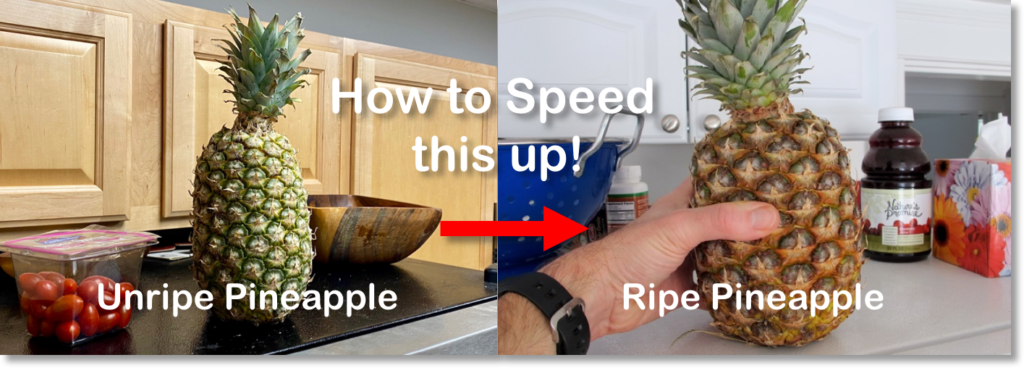
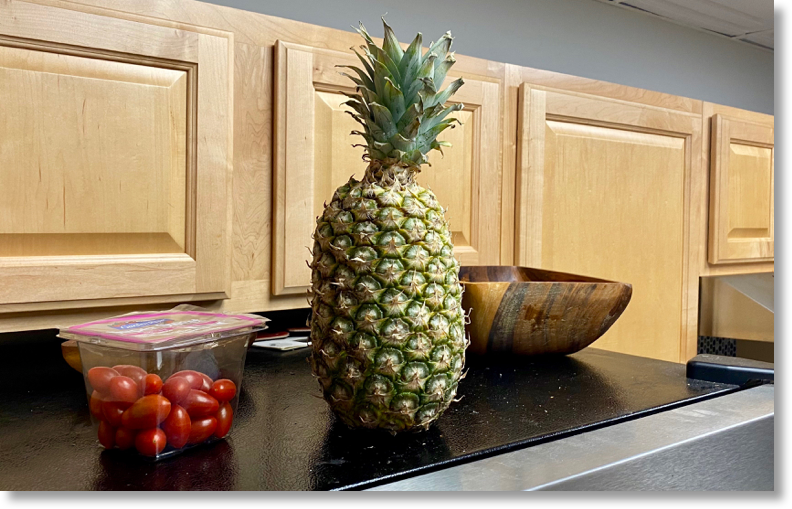
The sweet, tropical flavor and soft crunch and pop texture of fresh pineapple is just as fully satisfying on its own as it is mixed with other flavors. More about that later.
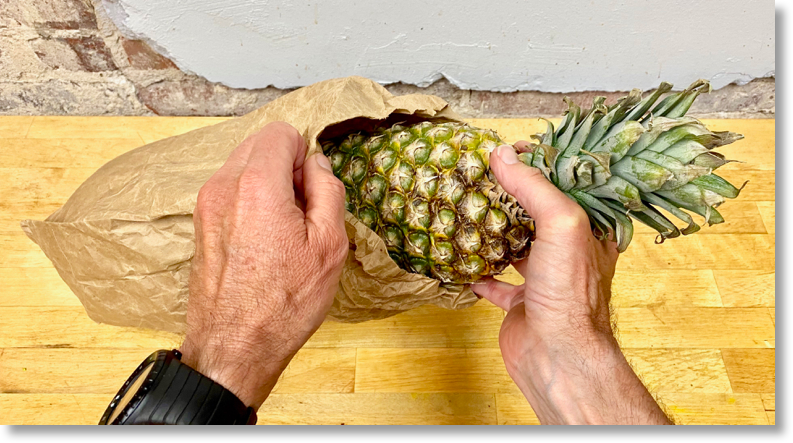
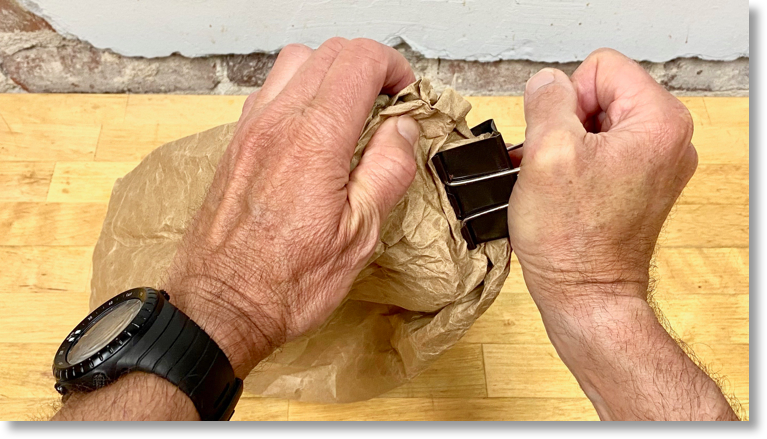
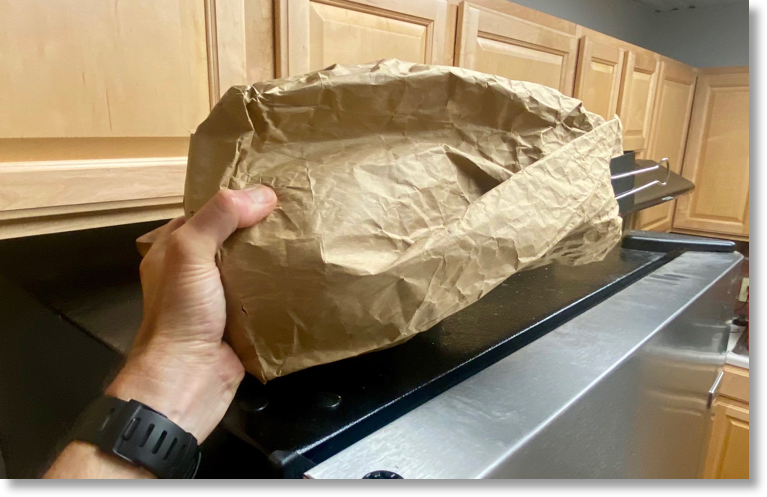
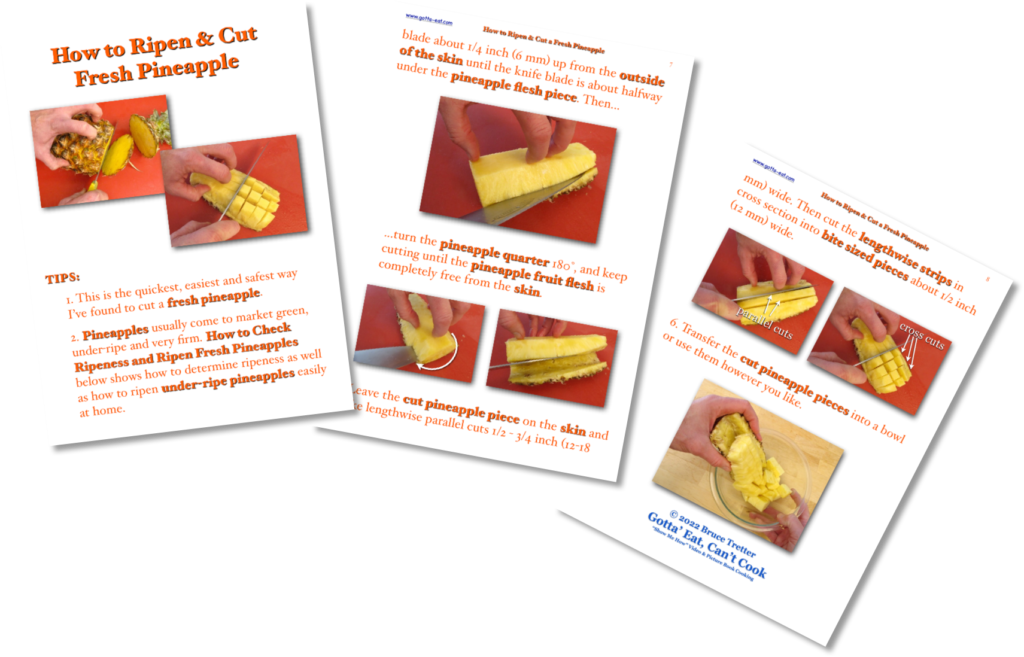
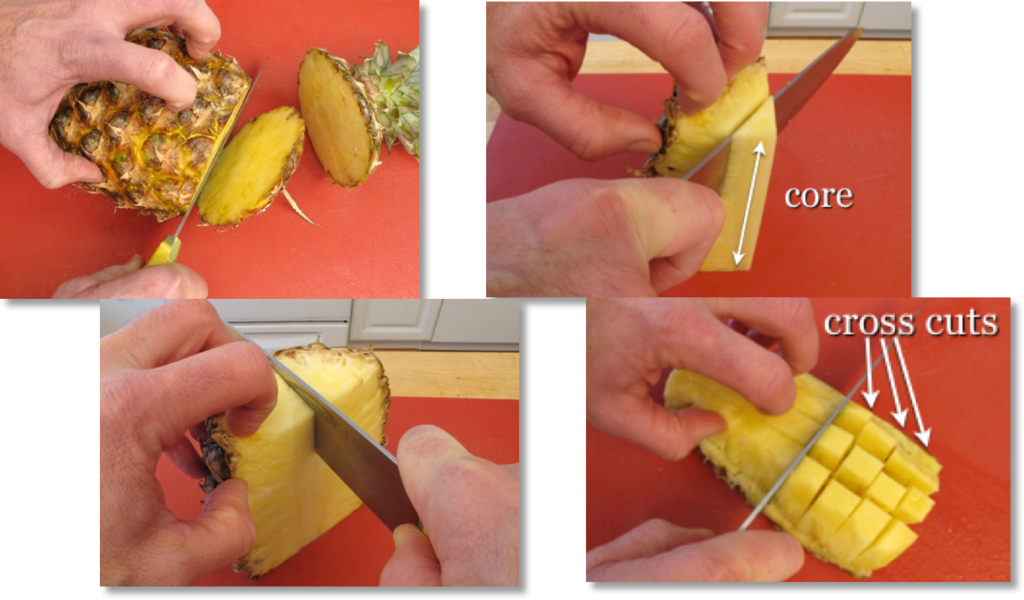
First, the picture book directions you can get by clicking this link or any picture on this page…
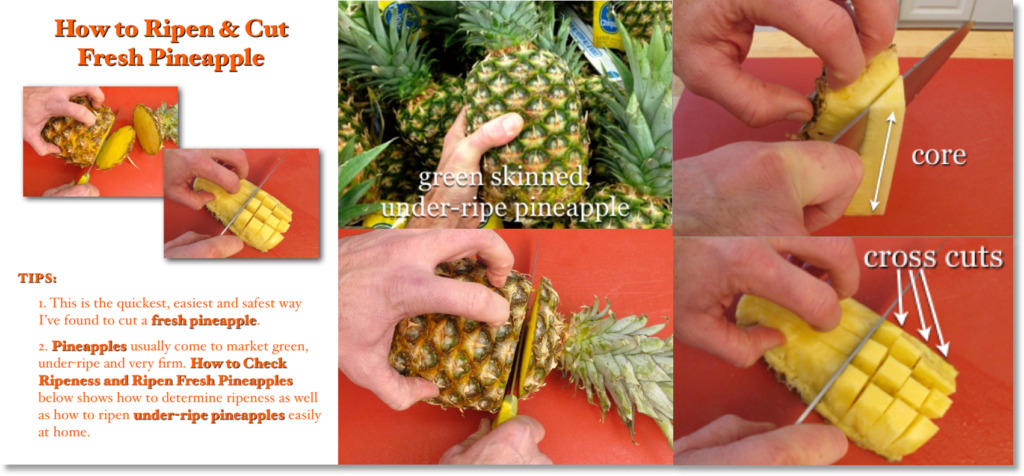
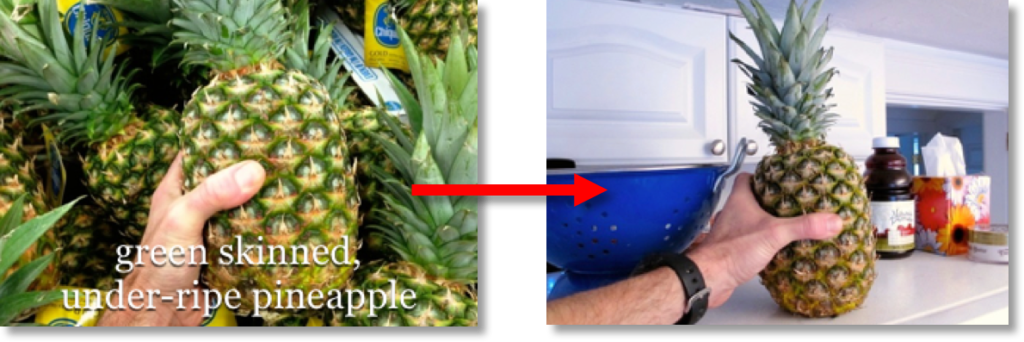
…show how to ripen a pineapple (that almost always comes to market underripe),…
…how to make a ripened pineapple take up less space in your refrigerator and…
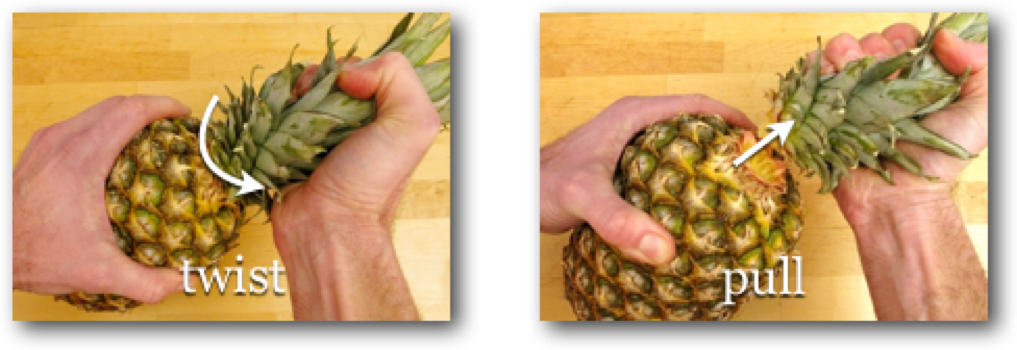
…how to cut a pineapple as easy as possible.
Next blog: some easy-to-make pineapple recipes. All fun and full-on flavorful!
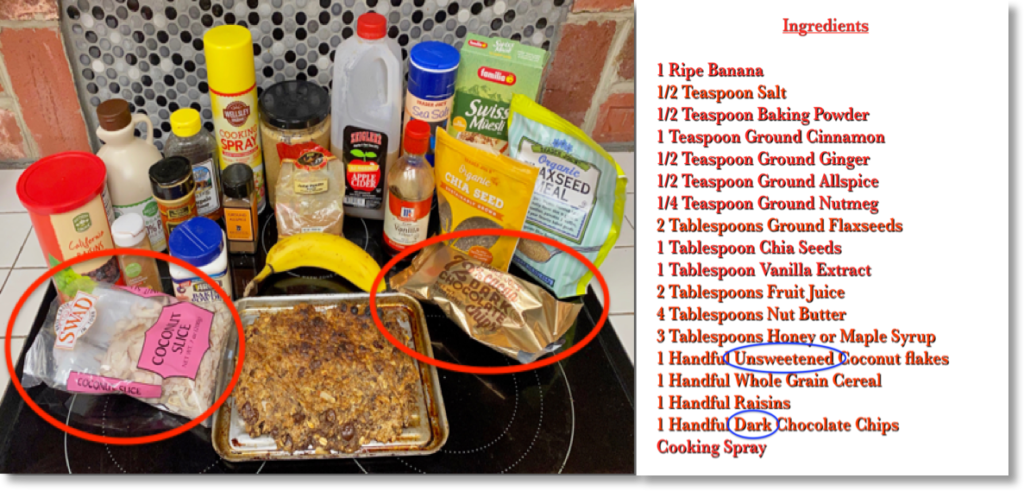
Last post earlier this week discussed what’s really in an ingredient and what that means to you, especially if you have dietary restrictions. Then, entirely coincidentally, this week I got a text from a good cycling bud asking whether to use sweetened or unsweetened coconut flakes and what type of chocolate chips to use to make Banana Nut Butter Power Bars. He couched his question with a note that his skills are pretty much limited to toasting Pop Tarts. Excellent on all fronts!
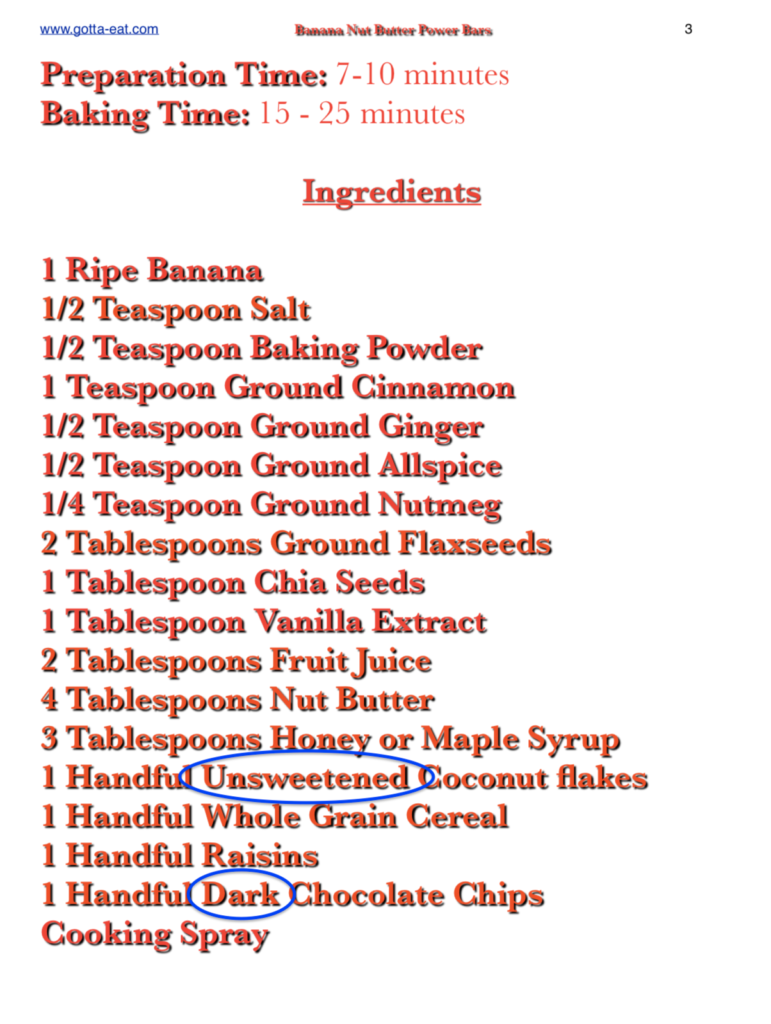
I loved the question! Right away, I tore down the old recipe to revise it with this more descriptive list of ingredients and…
…these new directions that you can get by clicking this link or any picture on this page.
Always glad to make changes – that’s “learning and adapting” life in action. And what I like best is hearing what works and doesn’t work for people actually using any recipe I put on this site so that I can help make your work – and mine – in the kitchen as easily fully flavorful as possible. That’s life enriched!
What really is in an ingredient needed to put together a recipe?
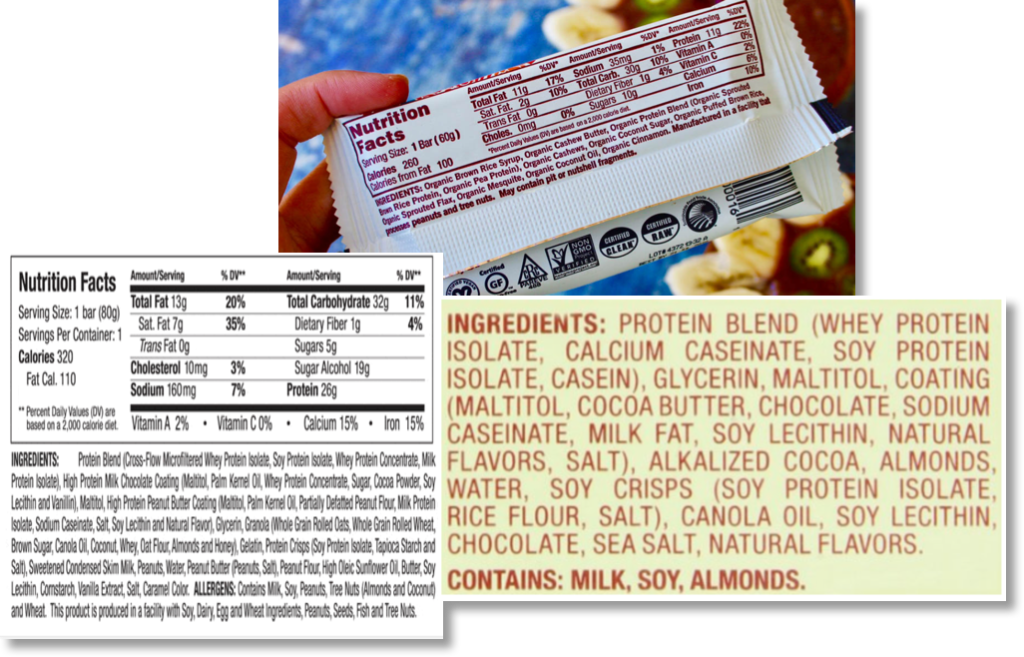
That question – and the idea of fairness – popped in my head while I was laying out the last post that compared the ingredients of a random sample of store bought packaged power bars…
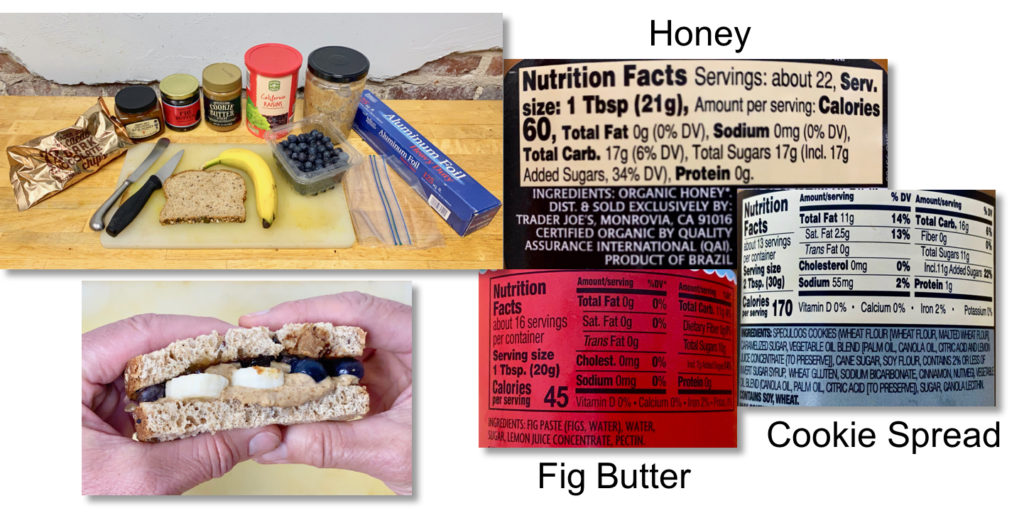
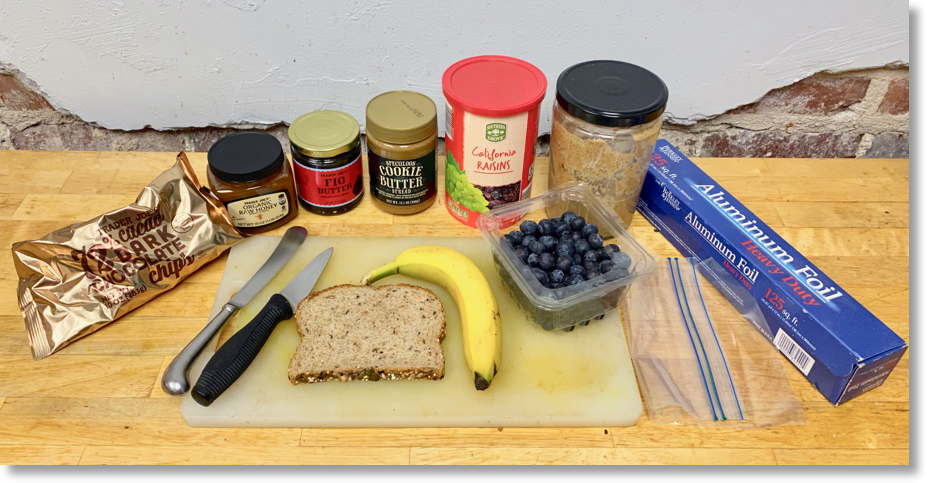
…with a homemade power bar sandwich made with the ingredients shown here.
As shown above, the packaged bars all have their ingredients listed by quantity in order of the most used to least used ingredient.
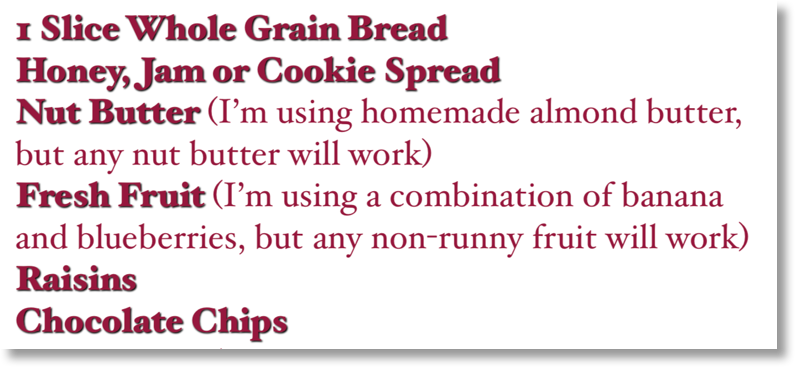
I listed the ingredients used to make the power bar sandwich in the same way: whole grain bread; choice of honey, jam or cookie spread; nut butter; fresh fruit; raisins; and chocolate chips.
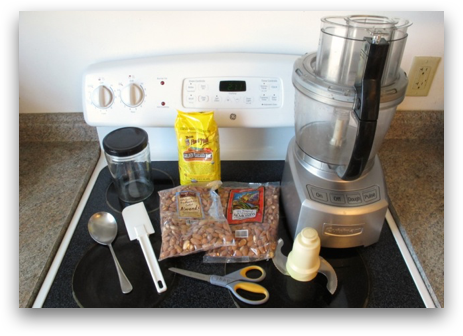
But my list doesn’t say it all. Sure, bananas are bananas, blueberries are blueberries and raisins are raisins. And, the nut butter I use I make myself with just lightly salted and unsalted almonds and ground flaxseed, as shown here.
Almond butter ingredients
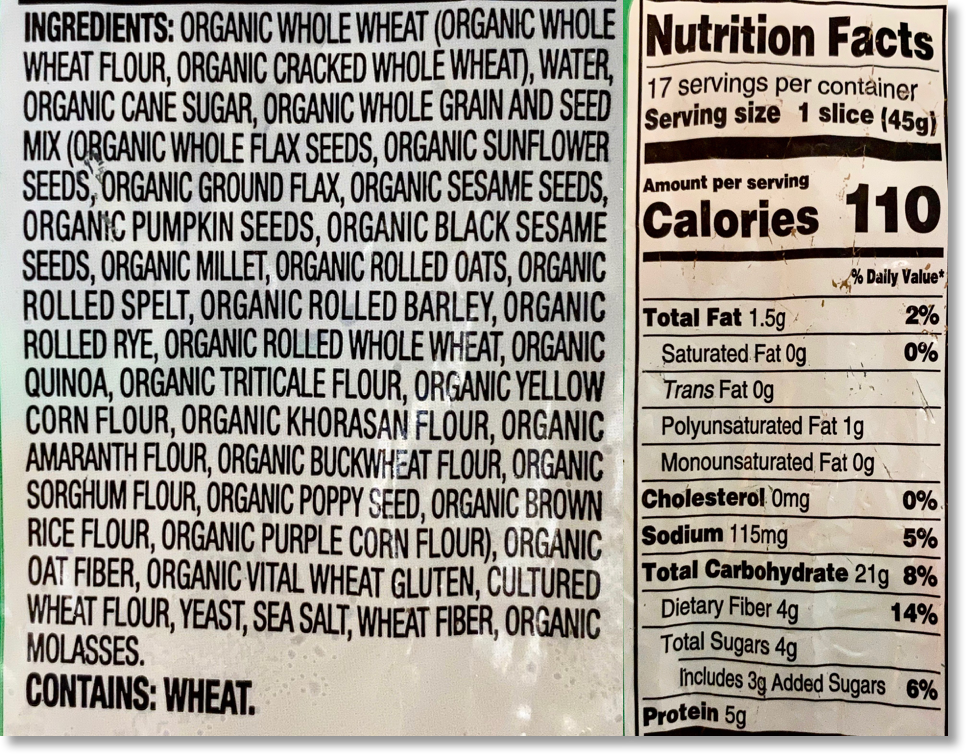
But the rest of the ingredients are much more complex, meaning that they themselves are made with a lot of ingredients. Here’s what’s in the whole grain bread I used to make the power bar sandwich:
Though I’m not a big fan of the added sugar, the rest of the ingredients look fine to me – and I’m sure not going to start off making the power bar sandwich by first baking the bread needed to make that sandwich.
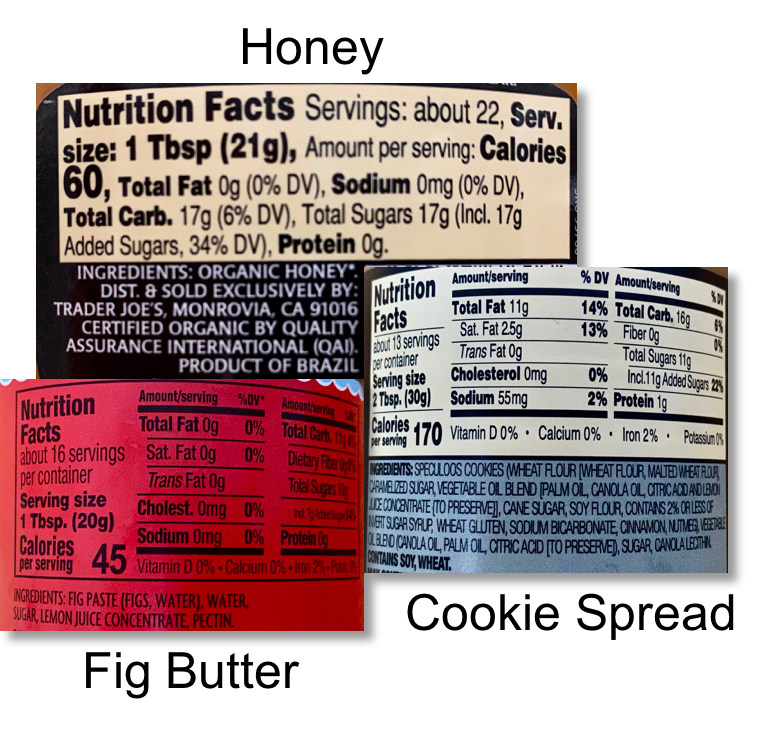
Then there’s the choice of honey, jam and/or cookie spread. As shown below, the honey is just honey. The jam is made with fig paste, sugar, water and lemon juice. Simple enough.
But then there’s the cookie spread, which tastes great but is also made with many more ingredients than the honey and jam, including a good shot of added sugar. (A quick side note regarding nutrition labels: the first thing to check on any nutrition label is serving size. As you can see in the above picture, the cookie spread serving size is 2 tablespoons, which is twice the serving size of the 1 tablespoon serving size for honey and jam. That means that tablespoon for tablespoon, which is about all you need to make the power bar sandwich, fig butter has 45 calories, honey has 60 calories and cookie spread has 85 calories.)
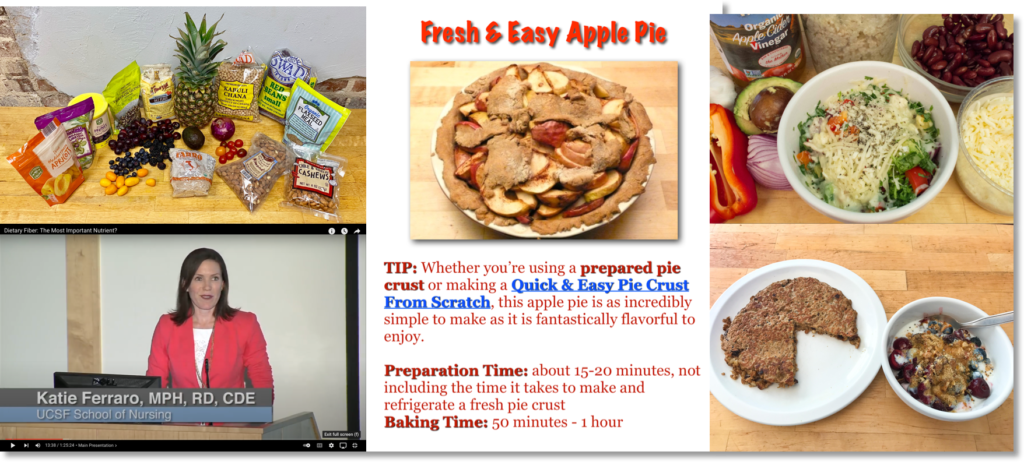
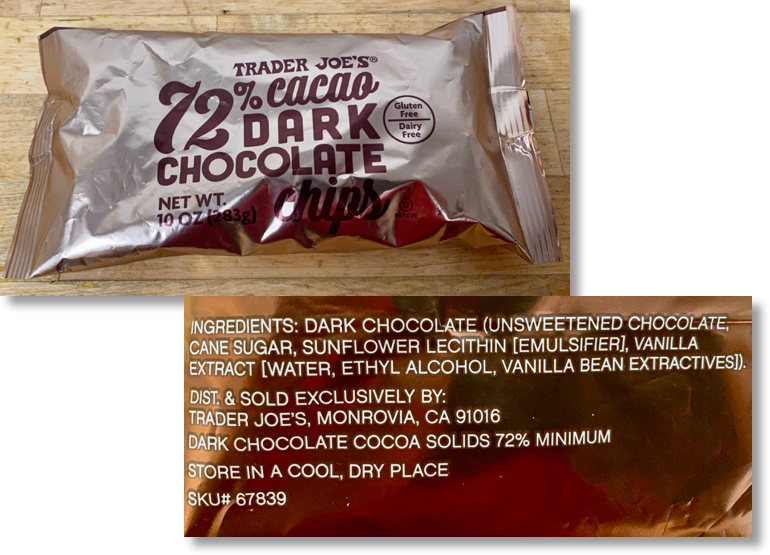
Finally, here are the ingredients needed to make the chocolate chips:
The point here is that there are actually a lot of unseen/unnoticed ingredients that go into complex ingredients, like the bread and spreads, needed to make the power bar sandwich just as there are many ingredients that go into making any recipe that calls for prepared ingredients like canned or jarred products, sauces and seasonings – or just about anything found in the center aisles of the the grocery store.
The key take away here is that it’s important to be curious about what exactly you are putting into any food you make, especially if you have dietary restrictions. Being curious then means actually looking at nutrition labels in the store and deciding what works best for you before actually buying that food. Yes, that takes a bit more time, but the payoff to you and those sharing what you make for them to eat is well worth that time.
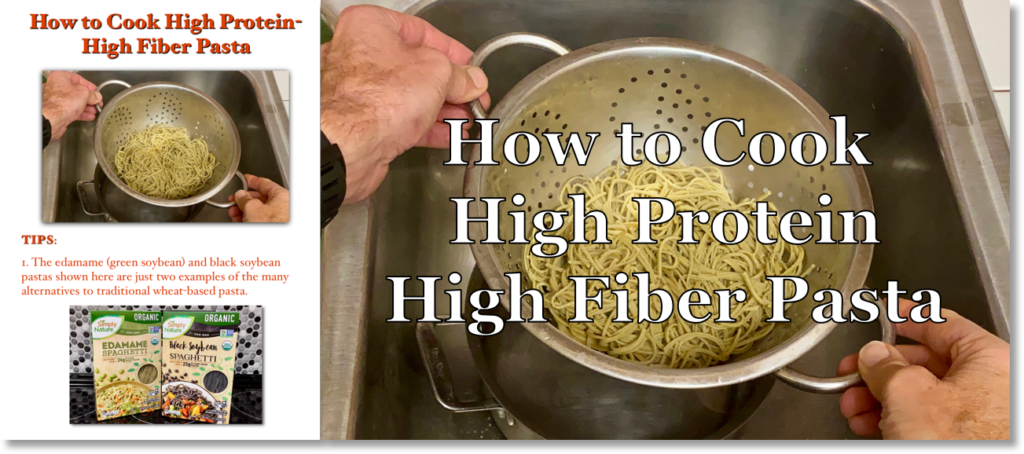
Picture book and video directions show how to cook fantastically versatile high protein-high fiber pasta
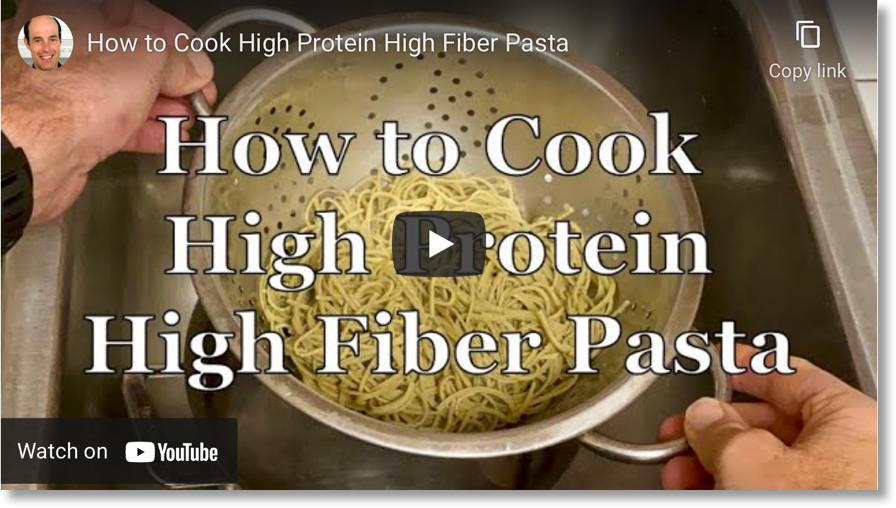
Just put out this 4 minute YouTube video showing how to cook high protein-high fiber pasta using a combination of black soy bean and edamame (young, green soybean) pasta.
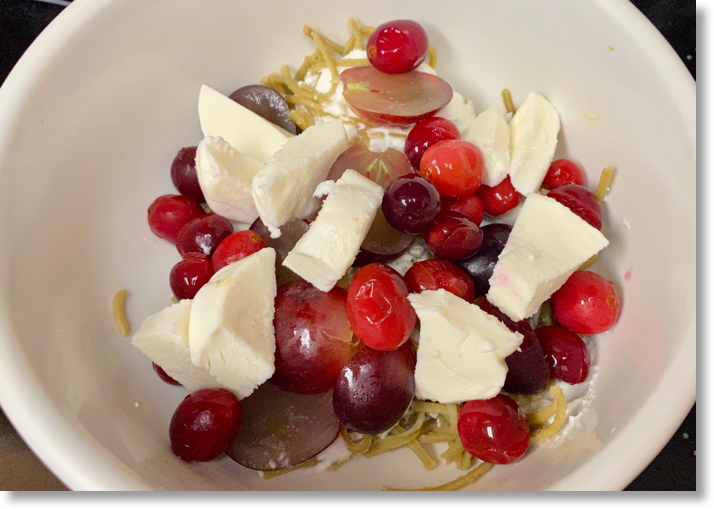
Why high protein-high fiber pasta? First: flavor always rules here, and just like traditional wheat-based pasta, you can add flavor to it any way you like. I’ll show examples in future posts like what you see below: full-on flavorful high protein-high fiber pasta with fruit and mozzarella cheese.
High protein-high fiber pasta with fruit and mozzarella cheese
Second, but most importantly for your body, just about everybody could use more fiber and high quality protein in their diet. Click this link or the picture below for a quick take on fiber and what it does for us.
What is fiber and why do we need it in our diet?
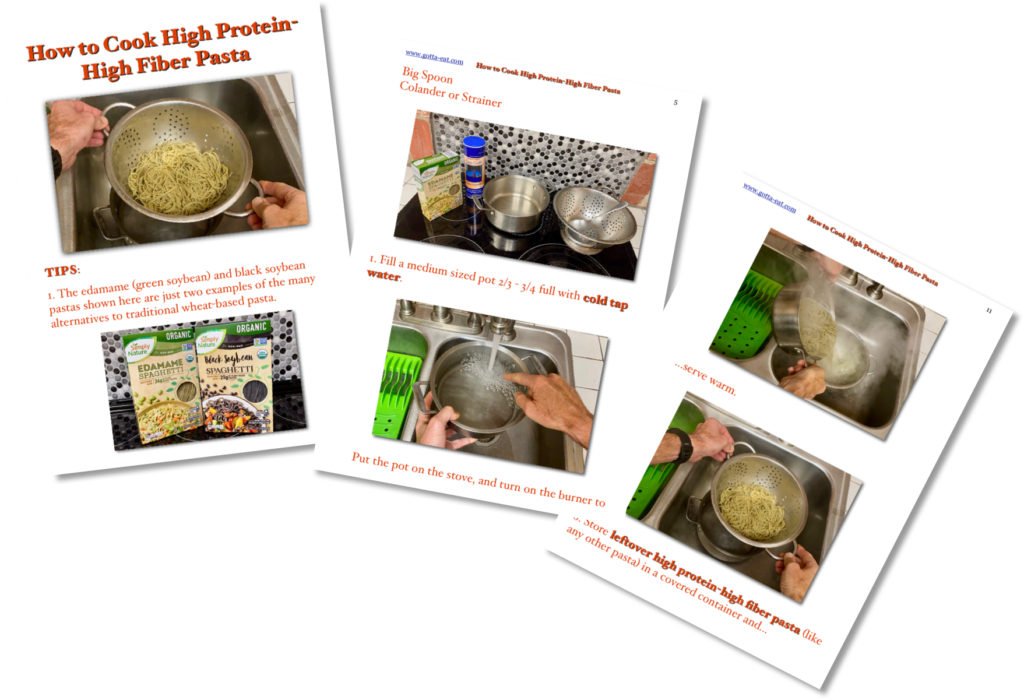
You can also click this link or the picture below for How to Cook High Protein-High Fiber Pasta picture book directions.
How to Cook High Protein-High Fiber Pasta picture book directions
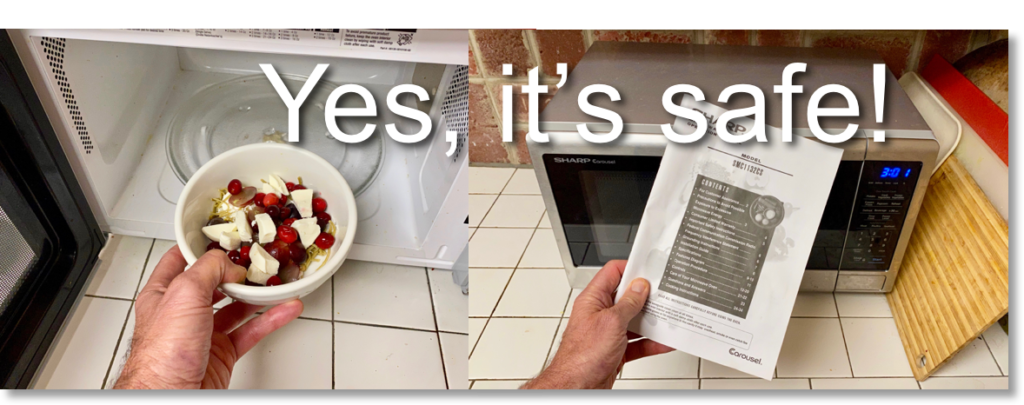
Cooking with a well working microwave oven is quick, easy and safe
Next couple posts – and many more in the future – will show how to warm easy to make pasta meals in the microwave oven. Before actually showing how to make any of those meals, I first want to address a concern some people have about microwave oven cooking safety prompted by a recent comment left on my “How to Make Microwave Cooked Broccoli” video stating that microwave cooking changes vegetable cell structure and therefore makes those microwave cooked vegetables potentially cancerous.
I’ve heard that comment before. I’m sure you have, too. It is not true. Microwave cooking does not change cell structure other than potentially bursting their cell walls as steam builds inside the cells when they are heated the same way vegetable cells can burst through stove top or oven cooking.
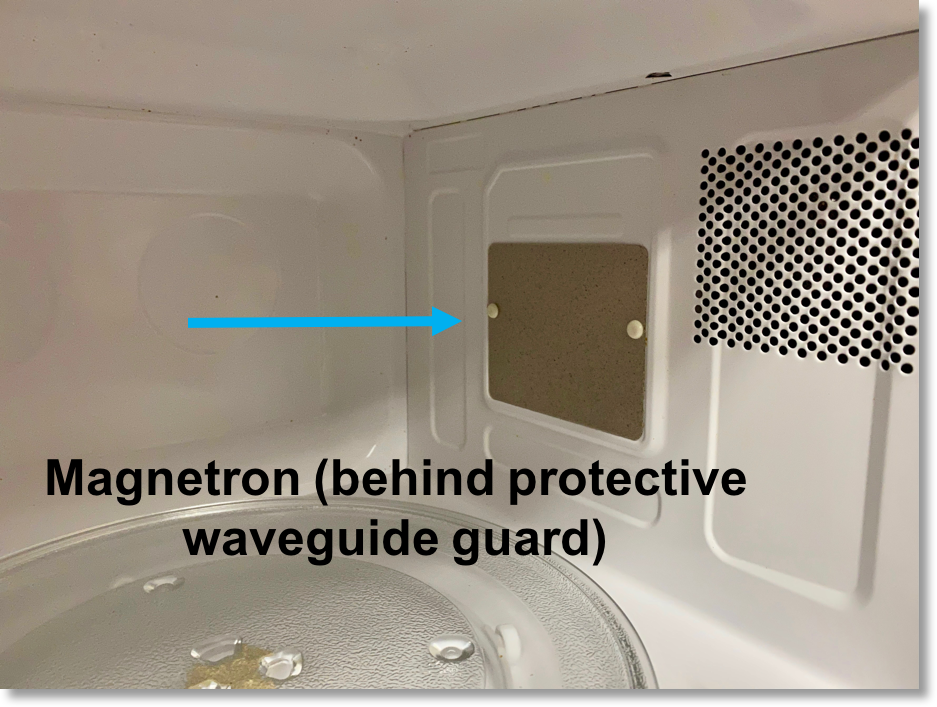
Here is a description explaining how microwave ovens cook food that I paraphrased from the US Department of Agriculture (USDA), Food and Drug Administration (FDA) and World Health Organization (WHO) resources listed at the end of this article: An electronic tube, called a magnetron, inside a microwave oven converts ordinary wall socket electric power into 2450 Megahertz microwaves (electromagnetic waves that are about 5 inches long) that cause molecules in water, fats and sugars in food to vibrate very quickly. That fast vibration and friction, like rapidly rubbing your hands together, causes heat which then cooks the food.
Here’s what the magnetron looks like in my microwave oven.
Microwave oven magnetron
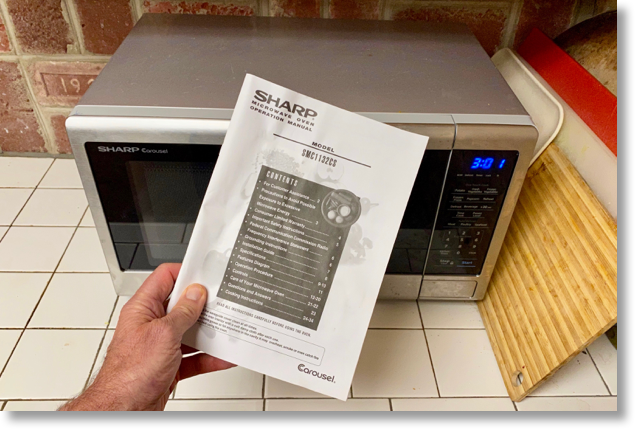
In order the ensure safe cooking, as detailed in your microwave oven owner’s manual,…
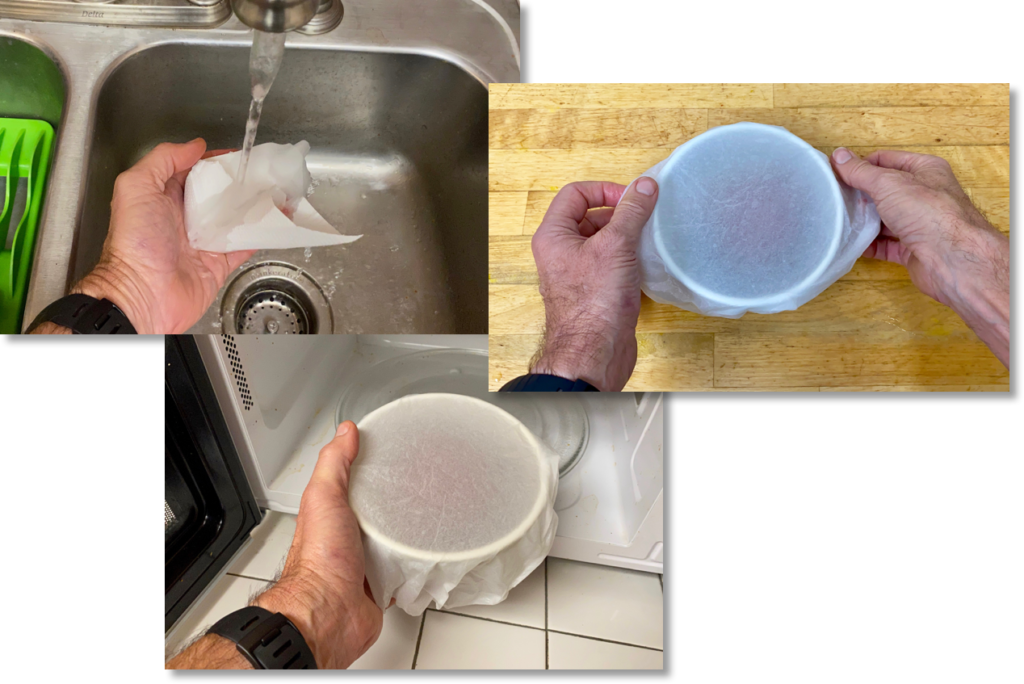
…make sure there are no cracks inside the microwave walls or door seal. Use only microwave safe containers or dishes when cooking food in a microwave oven and don’t cover foods with plastic wrap to prevent splatter because some of the plastic can melt and get into your food. As shown below, I use a wetted paper towel to prevent splatter, which works great!
Below are some excellent resources for more detailed information and answers to common microwave oven use questions.
Click this link or the picture below for Cooking with Microwave Ovens from the US Department of Agriculture (USDA).
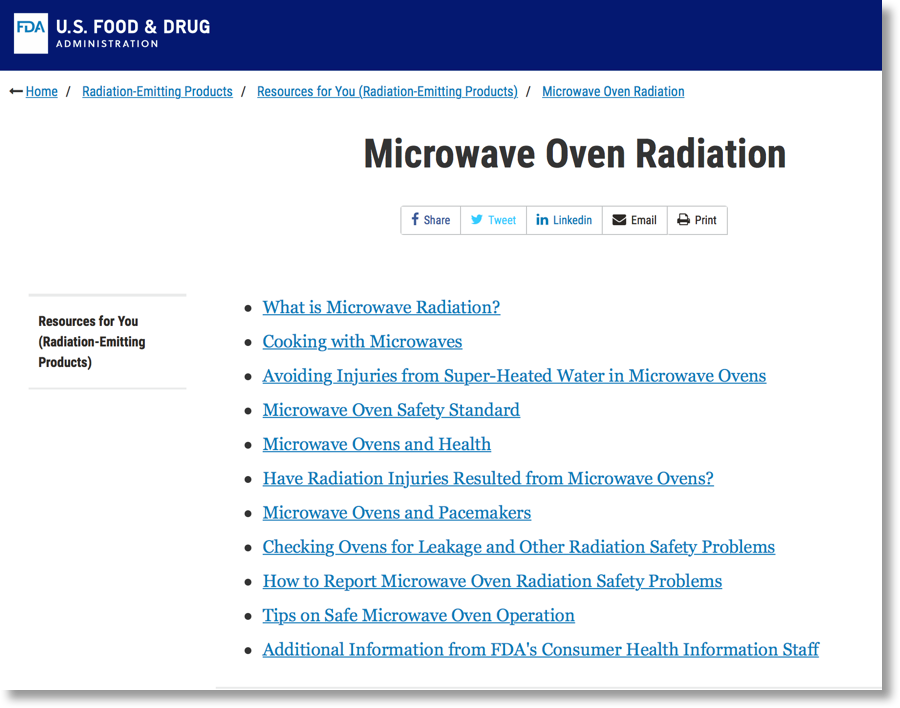
Click this link or the picture below for the US Food & Drug Administration’s Microwave Oven Radiation webpage.
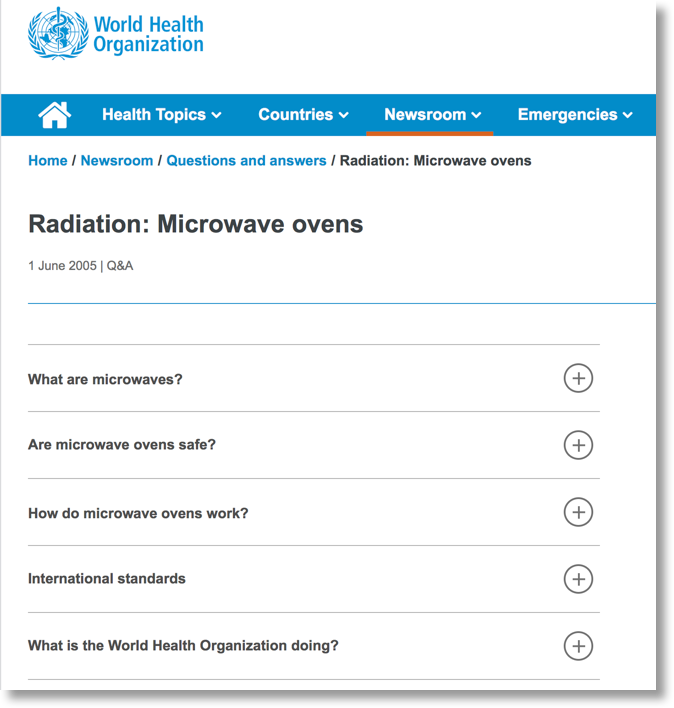
Click this link or the picture below for Questions and Answers about Microwave Radiation by the World Health Organization (WHO).
Steel cut oats: great stuff – for lots of reasons!
First, taste – and tastes always rules! Steel cut oats have a rich, nutty flavor and taste great in both sweet and savory dishes – I’ll show examples in future posts.
At the same time, they are both a complete protein source and a complex carbohydrate, which makes them ideal for sustained, not spike and drop, energy, like the kind of energy you need for a good run, bike ride, hike or just to get through a long work day. They’re also rich in fiber and anti-inflammatory (next post will show how to cook steel cut oats to accommodate people on the first phase of a diet intended to relieve IBD).
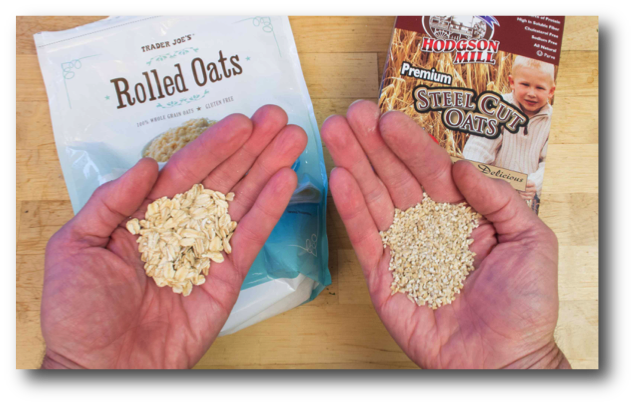
Here’s how rolled oats (left) look compared to steel cut oats (right).
The big difference between the two is pre-processing. Unlike rolled oats, which are hulled, pre-cooked and then flattened by heavy rollers to allow for quicker home cooking, steel cut oats are not hulled or precooked, which allows the same oat grain to retain more of its nutrition and flavor.
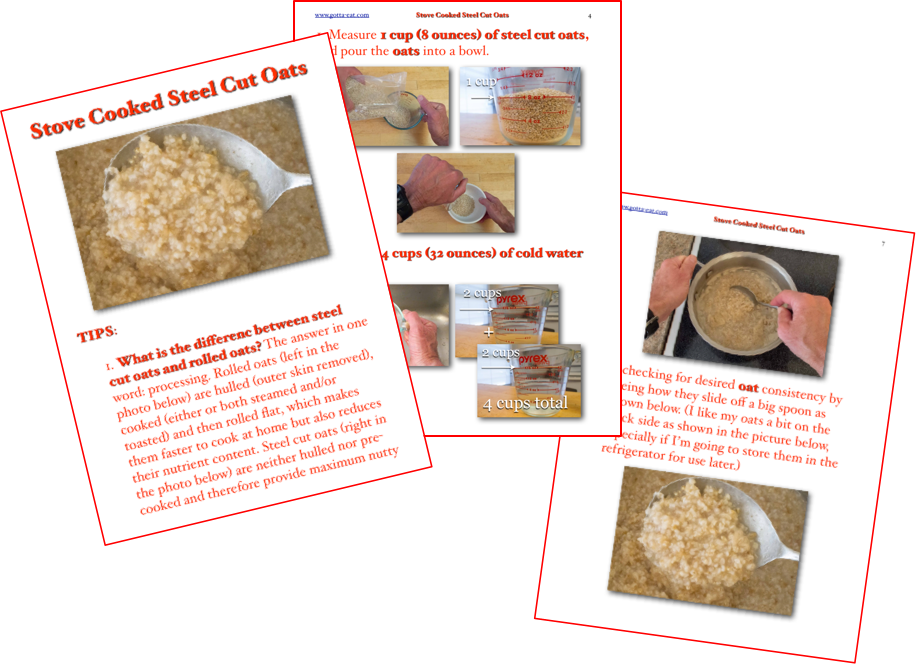
To learn more about steel cut oats and how to cook them as easily as possible – just 25 minutes on the stove almost all hands-free, just click this link or any picture on this page for complete, easy-to-follow step-by-step picture book directions.
Last post showed how to make scrambled pancakes, which are really just modified scrambled eggs with pumped up flavor (flavor rules!) and nutrition.
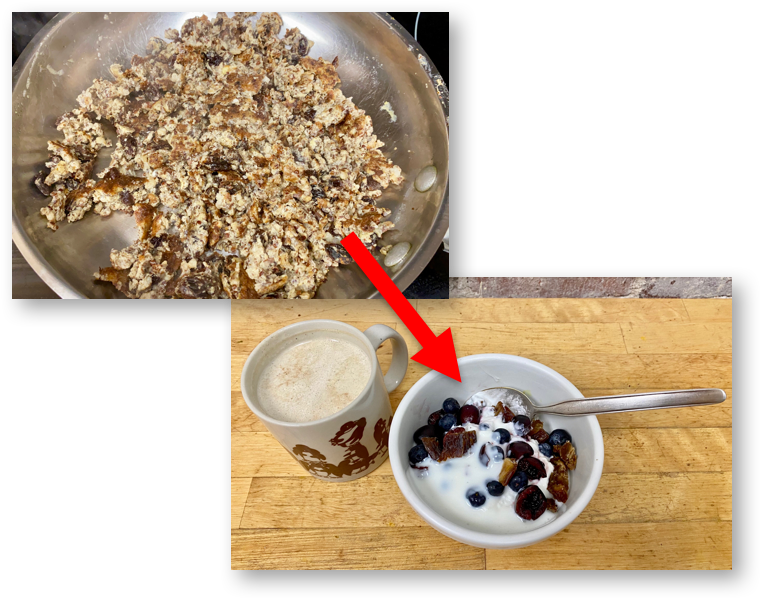
This post shows how to take those scrambled pancakes from simple to exciting…
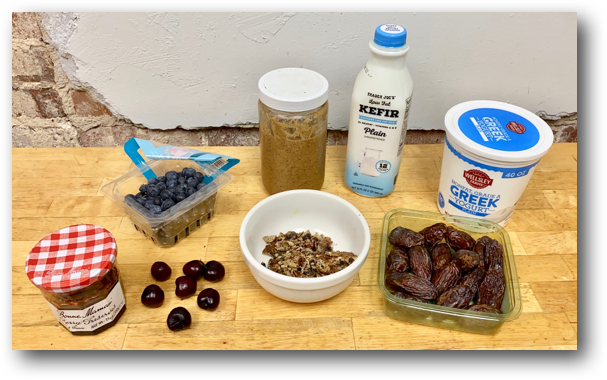
…using only “commonly” found ingredients, like those shown below. I put commonly in parentheses because ingredients that might be common to me – or anyone else in particular – might not be common to you. As always, what you see below are only suggestions to stir up your imagination and give you a sense of technique. Use any added ingredients you want to take your scrambled pancakes from simple to exciting.
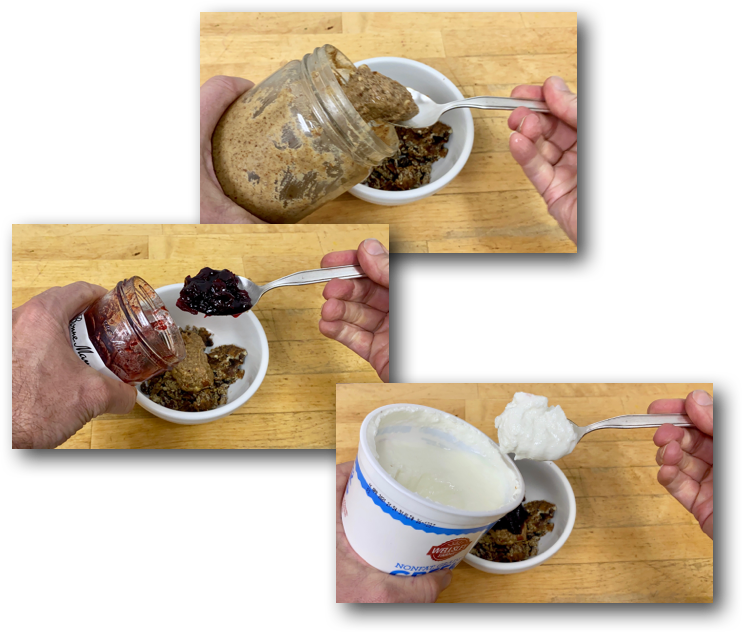
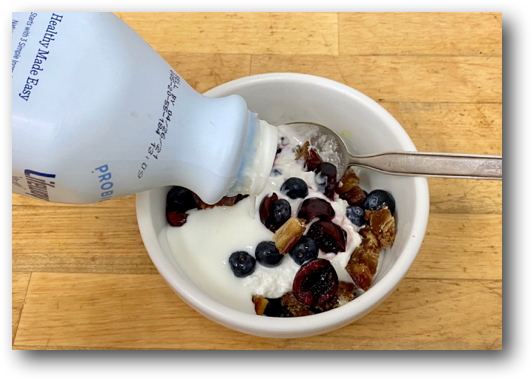
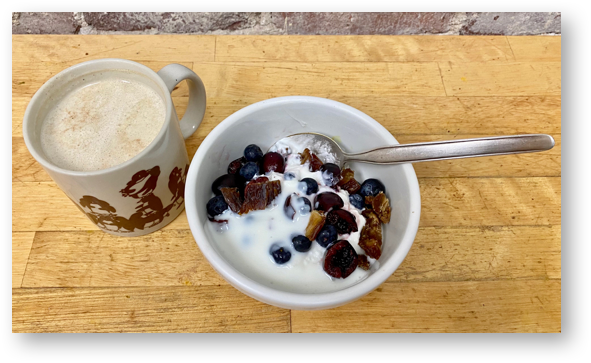
With your portion of scrambled pancakes in a bowl either fresh off the stove or warmed in the microwave oven, start topping with a good spoonful of peanut, almond or any nut butter (to make your own in advance, click this link), a good spoon of jam (honey or maple syrup), and 1-2 tablespoons of yogurt (I like non-fat Greek yogurt for its flavor and potent protein content).
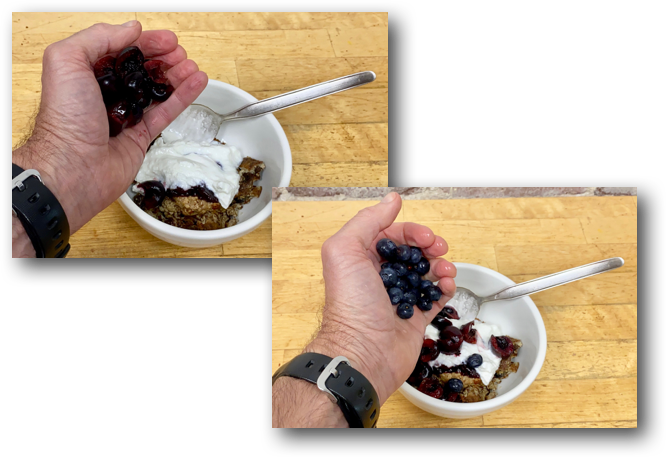
Add your choice of quickly rinsed fresh fruit. I’m using pitted fresh cherries (in the winter, from Chile – killer flavor and crisp crunch!) and blueberries.
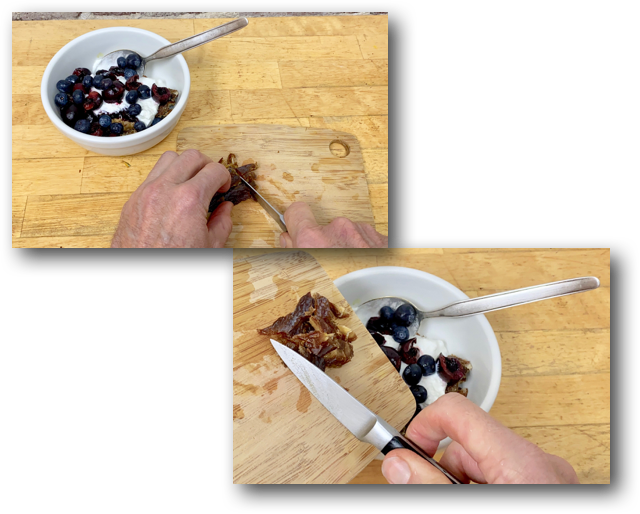
Add any dried fruit – optional but something I always do. I’m using chopped dried dates, but you can substitute with raisins, dried cranberries, dried prunes – you get the idea.
Finish off with a good shot of kefir, whipped cream or anything you like.
And that is all there is to taking easy, completely improvised scrambled pancakes from simple to exciting, also by improvising to satisfy your drive for full on flavor.
As I mentioned in the last post, that you see above just as is powered me through the 40 mile bike ride shown below at a decent pace – no problem at all, except for keeping up with Josh, Greg and hammer-fast Juan.
Last post mentioned that I’d next show how to make a mix of chopped nuts and ground flaxseed that I use with much more than the Bell Pepper with Cilantro Pesto-Hummus and Cheese I showed how to make. As a first step, though, I thought I’d show here how to chop nuts as quickly and easily as possible.
Nuts are a fantastic source of plant-based protein and healthy fats. I put them in cereal, with fruit and yogurt, in salads, with pasta or grains, and much more. The only thing to watch for with nuts is that they are packed with calories. Moderation is key.
And, that’s why I find it best to use chopped nuts exactly as needed instead of having a bag of those same nuts at my side to feed from, which I certainly have done – and paid for dearly.
There are two ways I chop nuts: with a food processor (preferred) or with a coffee grinder (fine for small amount but takes a bit of care).
Here’s how to chop nuts with a food processor. Use the S-shaped processor blade as shown in the top picture below and add as many nuts as needed to the food processor.
Close the processor top and turn on the processor for about 10 seconds until the nuts look about as shown in the bottom left picture.
To chop nuts in a coffee grinder, which works fine for small amounts, add nuts to the coffee grinder,…
…close the top, keep the top held firmly in place, and shake the grinder while keeping the grinder on for 5 or so seconds.
Make sure to unplug the grinder from the outlet, and then scoop out the chopped nuts as well as possible – without making yourself, well, nuts. Grinding your next batch of coffee with do a great job cleaning the grinder.
Store the chopped nuts in the refrigerator, where they will keep fresh for at least a few weeks – as long as the nuts you used were fresh when you chopped them.
Last post showed how to microwave oven cook quinoa. Like rice and pasta, quinoa, with it’s nutty flavor and snap-and-pop texture is incredibly versatile
Here’s one of my favorite fast and flavorful quinoa meals: microwave cooked quinoa Alfredo, Read more »