Archive for the ‘Cycling Food’ Category

Scrambled Pancake Picture Directions

The other day I wanted something a little different for breakfast with flavor and substance to power me through a good late winter Hickory, NC, group bike ride. Here’s what I came up with. I call it scrambled pancake because I used most of the ingredients I use to make a fruit pancake but scrambled the batter like scrambled eggs.

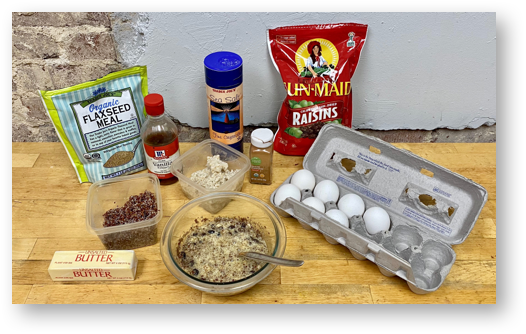
These are the ingredients that I mixed in the bowl you see at the bottom of the picture below.

Those ingredients and rough proportions are (no need to measure precisely: with these ingredients, your result will turn out great): 2 eggs, dash of salt, good shake of ground cinnamon, about 1 teaspoon vanilla extract, 1 big tablespoon of each: ground flaxseed, cooked quinoa (the red grains in the square container above the butter), cooked steel cut oats (the white grains in the square container between the vanilla extract), and a handful of raisins.

Of course, as an improvised recipe, which is just a guide, and I was using what I already had in the fridge, specifically regarding the quinoa and steel cut oats. I can imagine you don’t have those – and possibly not ground flaxseed also – ready to grab and go. No problem: just substitute any or all the grains above with any favorite cooked or ready to eat grain, like cold oat cereal, granola or wheat germ. Your imagination is your only limit.

Here’s how to cook what you’ve mixed.
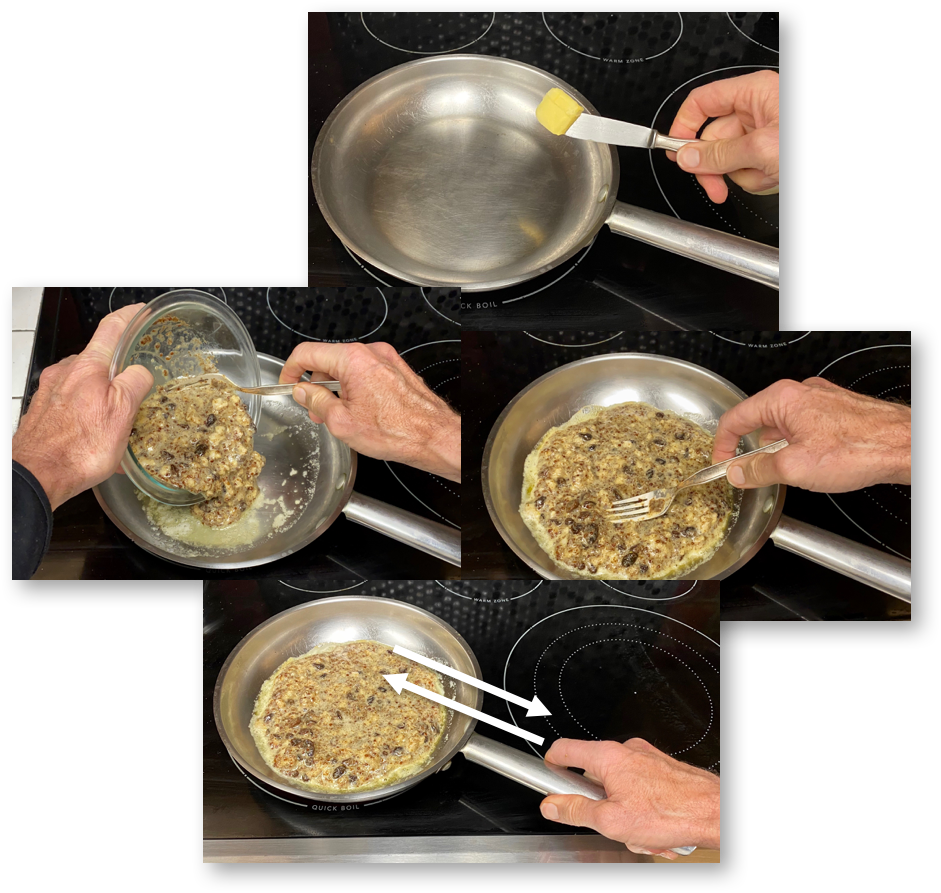
Add about as much butter as you see above to a frying pan warmed to the same temperature needed to make scrambled or fried eggs. Add and spread the batter, and give the pan a good back and forth shuffle like you see in the last picture above to “encourage” the batter not to stick to the pan surface.
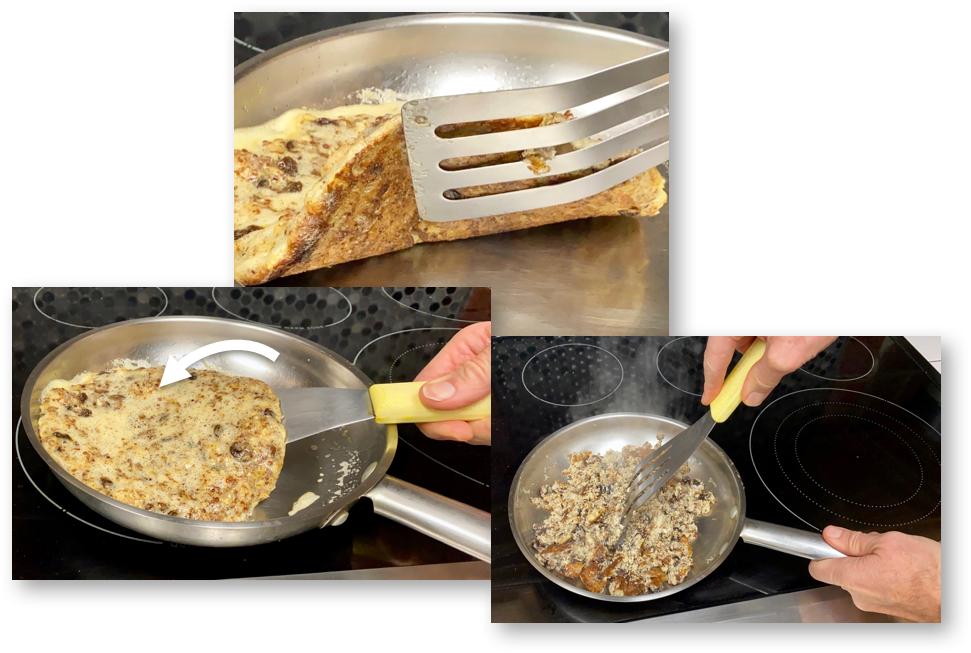
After a 1-3 minutes, when the bottom of the cooked batter looks lightly browned like the top photo above, use a spatula to turn the batter. Don’t worry about trying to turn it all in one piece. (I tried doing that myself – and failed with a smile). Then use the spatula to break and turn the batter, like you would do to make scrambled eggs, until it is cooked through as shown below.
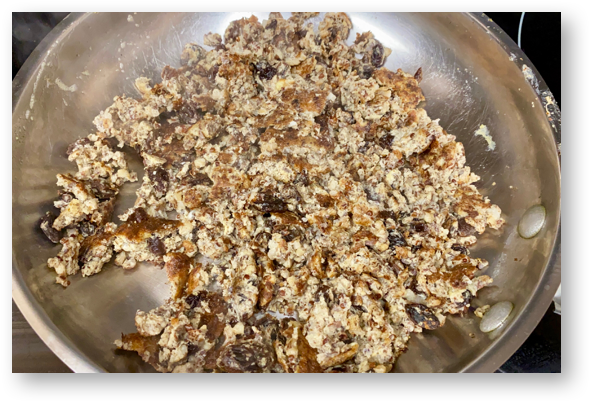
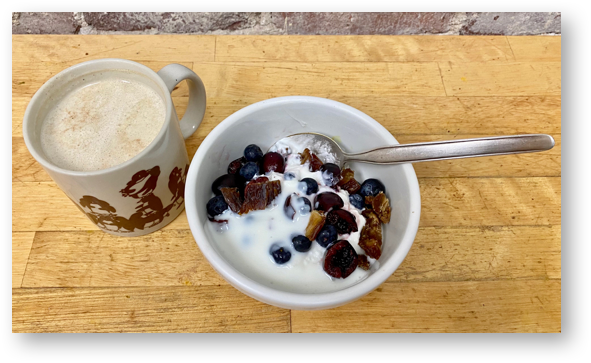
You can then scoop what you’ve cooked into a bowl and add whatever you want want: maple syrup, honey, jam, peanut or any nut butter, yogurt, whipped cream – anything. Next post, I’ll show what I added to make what you see below that easily sustained me for 40 miles on the bike, no problem.
More very soon!

Cacao Coffee & Whipped Cream

This piece is really about improvising on the fly to meet the flavor you want at a particular time. Here’s an example. This morning I woke up wanting some chocolate in my coffee. I love those two flavors together – and wanted to brew them together as easily as possible.

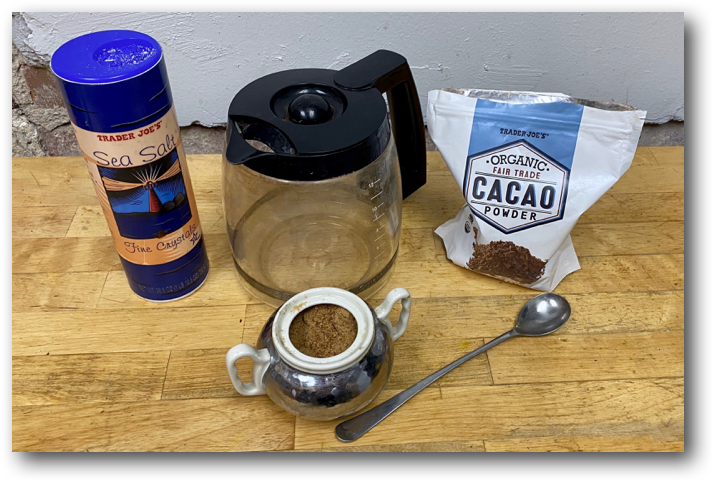
I pulled these three ingredients together – easy: cacao powder (you can substitute that with cocoa powder – the two are quite different), sugar (I’m using coconut sugar, but any sugar will work) and salt.

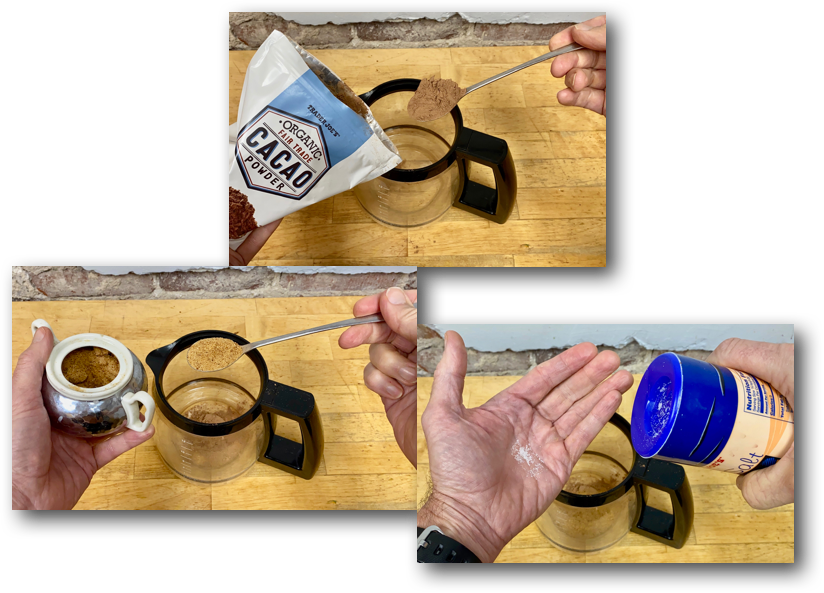
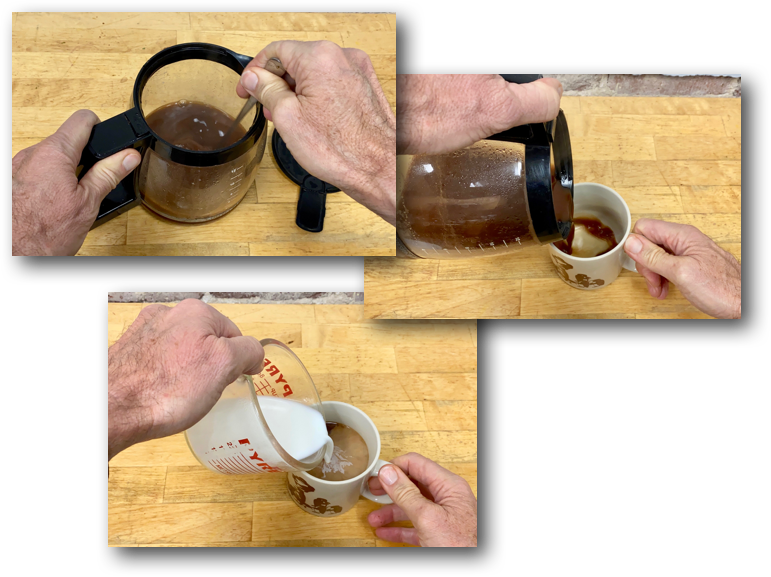
To make 4 “cups” of cacao coffee (4 cups = 12 ounces of coffee in my coffee machine), I added 1 piled teaspoon of cacao powder, 1 teaspoon sugar and a dash of salt directly into the coffee carafe.

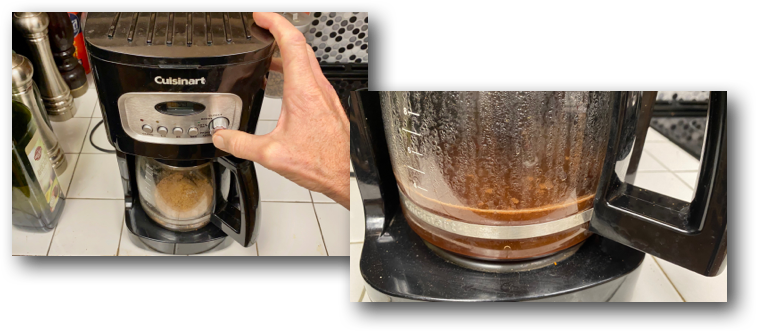
I put the carafe in the coffee maker and brewed. For added help to make freshly brewed coffee, click this link for easy to follow “Great Coffee Made Easy” picture book directions.

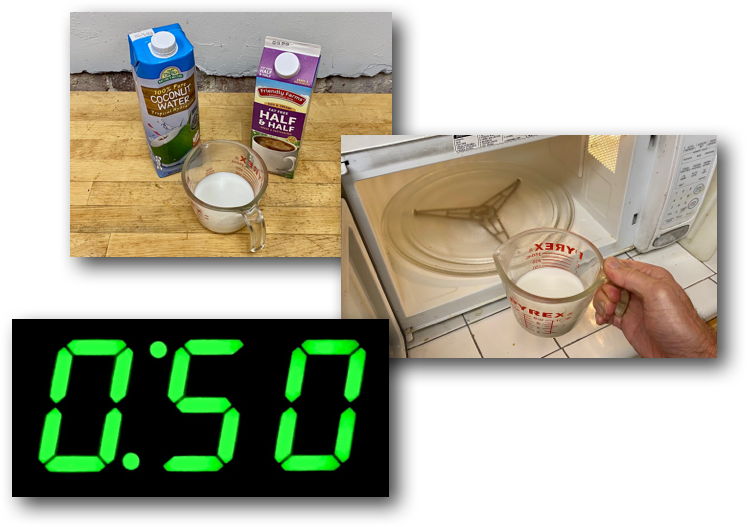
When the coffee was just about done brewing, I mixed equal parts half and half and coconut water and warmed them for 50 seconds in the microwave oven. (I added coconut water for just a bit of added flavor and added potassium to prep for a good crunch on the bike.)

As soon as the coffee finished brewing, I stirred the cacao mix, poured the hot cacao coffee to together with the freshly warmed half and half and coconut water, and…

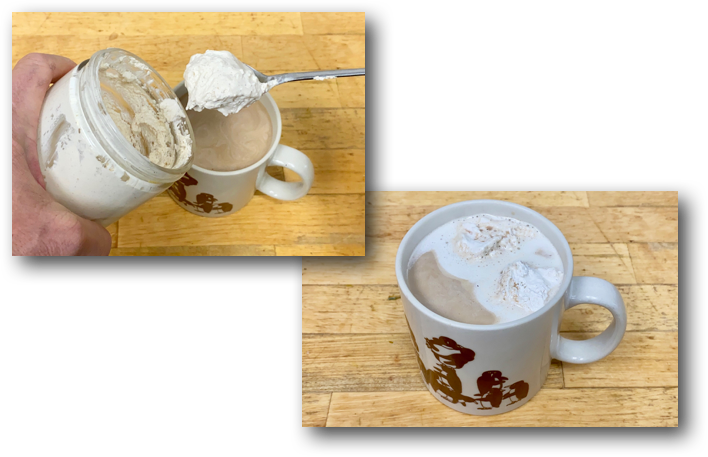
…added a good shot of freshly made whipped cream, which you can learn how to make very easily by clicking this link.

Next post: what I ate with the cacao coffee to ride 40 miles at a good pace without feeling hungry at all along the way.

Cycling and Magic of the Unexpected, Part 2: Concord Cheese Shop

Stopping at The Cheese Shop in Concord is really part 1 of this story for a couple of good reasons. First, they’re the ones who recommended Hutchin’s Farm when I asked for a local farm stand that sells fresh basil. Second, I stopped at the cheese shop on the way to Hutchin’s last Saturday to provide feedback on Mimolette cheese I’d recently bought that wasn’t nearly as flavorful as the same name of cheese I’d bought a while back.

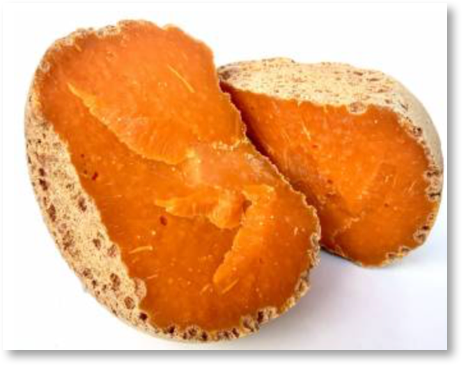
Mimolette cheese

There’s a story to the cheese. Years ago, around 2013, the Food & Drug Administration (FDA) determined that Mimolette cheese had too many microscopic mites in the cheese rind when brought to market. The FDA’s concern: those mites could cause allergic reactions among consumers. Now, the reason for cheesemakers introducing artisan mites to Mimolette cheese is that the mites eat molds on that cheese rind to impart a distinct flavor to the cheese as it ages. And though those mites are vacuumed or air and hand blasted off the rind when the cheese is prepared for sale, some of microscopic mites inherently remain on the rind.

When the cheese industry asked the FDA for a ruling on a tolerable number of mites, they were told at first that the FDA didn’t really know. The FDA then came up a number; the cheese had to have fewer than 6 mites per square inch on the rind. Again these are microscopic mites. I’d love not to be the person counting those bad boys.

Fortunately, after quite a bit of back and forth, the cheese is back on the US market. The only problem for me after looking so much forward to tasting the cheese after years of it not being available was flavor. And when I expressed that to one of the Cheese Shop managers, Steve, he told me that the real flavor difference in the cheese comes from aging. The cheese I’d bought recently had probably only aged 12 months, whereas the cheese I’d had years ago was probably aged 24 months. Those added 12 months make a big difference

I appreciated that information. Steve said he’d contact me when he had the longer aged cheese in stock. I gave him my business card and told him about this website geared entirely to enable people to empower themselves in the kitchen no matter how little cooking experience they have. Steve liked the idea and said maybe we could collaborate sometime. I’d love to! Again, a totally unexpected experience – all while on the bike.

Next post: The Unexpected Thrill of Trail Riding from Concord to Lexington


Cycling and Magic of the Unexpected, Part One: Hutchin’s Farm


Open road; spinning legs; sights, sounds, smells, air temps that change on the fly: they’re all a big part of the thrill of cycling for me. And then there’s the magic of the unexpected.

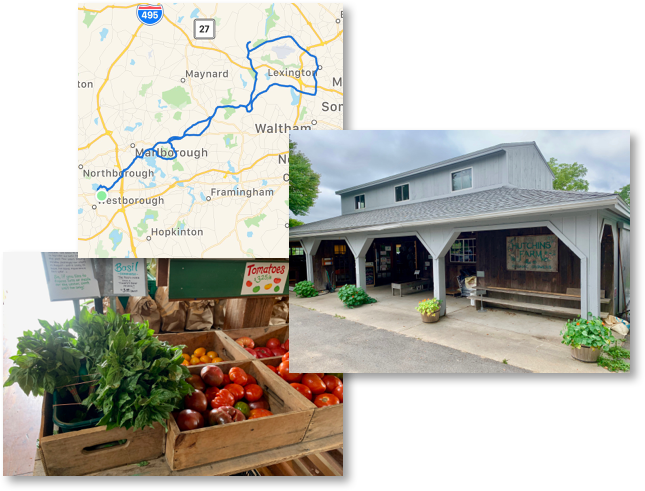
Aside from the pure joy of spending most of the day on the road  bike, my purpose last Saturday was to ride to Concord to make whole for an accidental $6 underpayment of fresh basil at Hutchin’s Farm just up the road from the historic Old North Bridge. (I only paid for 2 bunches and then realized when I got home that I was kindly, but unknown to me and the person who handed me the basil, given 2 clusters of 2 fresh bunches each when I visited the farm stand weeks ago.)

As soon as I hopped off the bike, after a gorgeous ride from Westborough to Concord, I explained to Brain Daubenspeck, one of the farm managers pictured below, what had happened and why I was there. The story gave him a smile. He insisted we were all square, and asked only that I tell people about the farm. Telling about the all organic farm, which I then visited the next day by car to buy – and pay correctly – for their incredibly fresh and flavorful produce, including another fresh bunch of basil, it is exactly what I’m doing here. Thanks very much, Brian. and thanks, Hutchin’s Farm! You bet, I’ll be back again soon.

Next post – Part 2: Concord Wine & Cheese Shop and Mimolette Cheese

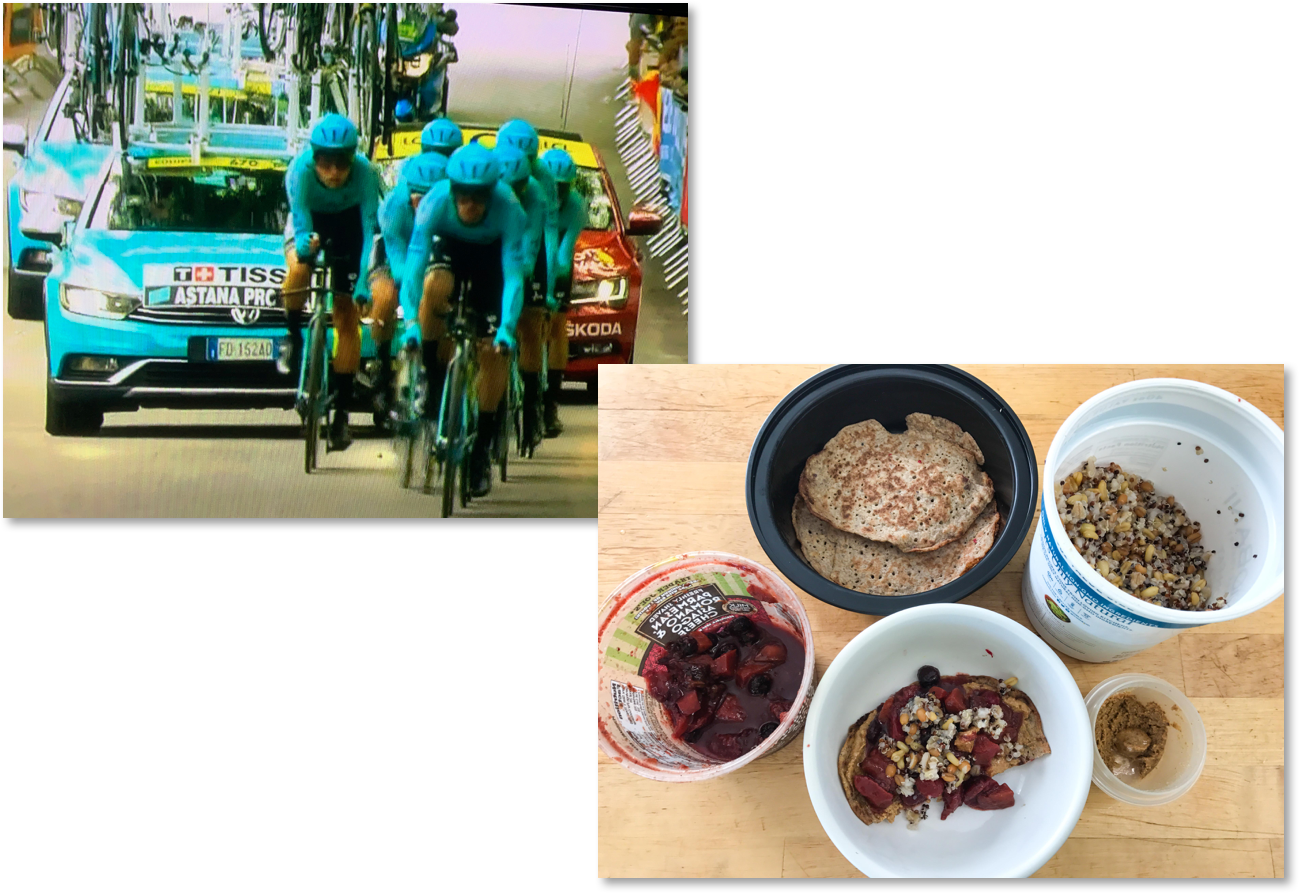
Rip Fast Tour de France 2019, Stage 2, and Crepes with Nut Butter, Fruit and More


The stage 2 of the 2019 Tour de France was a rip fast 27.6 kilometer (17,15  miles) time trial in Brussels, Belgium, won by Mike Teunissen, Saturday’s stage 1 winner, and his Jumbo Visma team with a 28:57 time (average 57, 20 kilometers/hour or 35.5 mph), That time was an incredible 20 seconds faster than Team Ineos, (formerly, last year’s Tour winner, Geraint Thomas, and 4-time Tour winner, Chris Froome, Team Sky) and 21 seconds faster than Team Deceuninck-QuickStep. Jumbo-Visma’s time, to say the least, was scary fast!
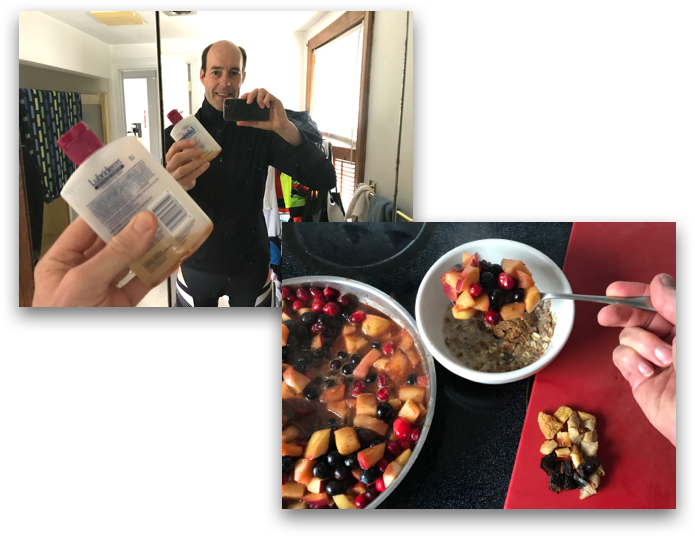
Now, for us mortal’s, having something good to eat to fuel us before a good hop in the saddle, run, or anything active, is most important. Here’s a favorite breakfast of mine, especially when the Tour’s on: fresh crepes topped with nut butter, cooked fruit topping, mixed grains,… Read more »

Easy Chopped Nuts Picture Directions

Last post mentioned that I’d next show how to make a mix of chopped nuts and ground flaxseed that I use with much more than the Bell Pepper with Cilantro Pesto-Hummus and Cheese I showed how to make. As a first step, though, I thought I’d show here how to chop nuts as quickly and easily as possible.

Nuts are a fantastic source of plant-based protein and healthy fats. I put them in cereal, with fruit and yogurt, in salads, with pasta or grains, and much more. The only thing to watch for with nuts is that they are packed with calories. Moderation is key.

And, that’s why I find it best to use chopped nuts exactly as needed instead of having a bag of those same nuts at my side to feed from, which I certainly have done – and paid for dearly.

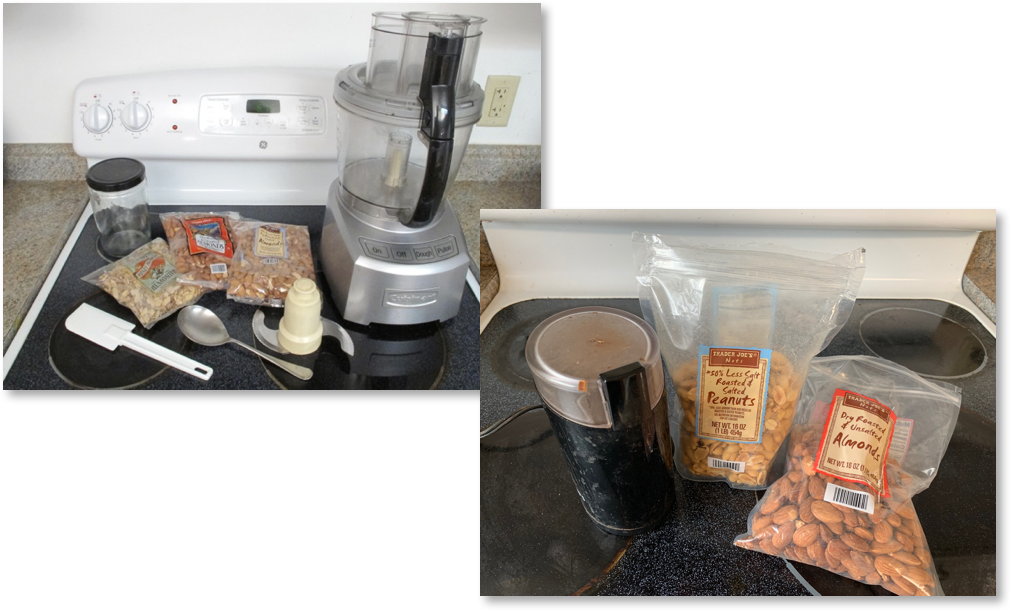
There are two ways I chop nuts: with a food processor (preferred) or with a coffee grinder (fine for small amount but takes a bit of care).

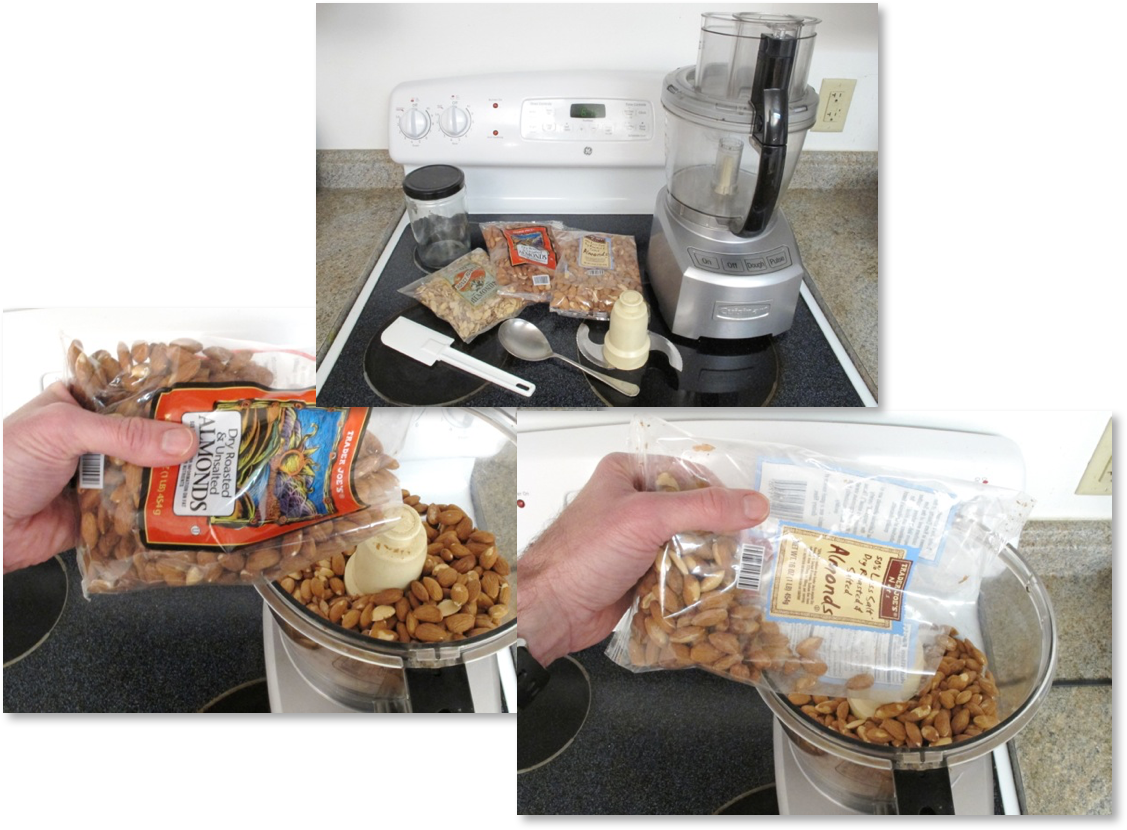
Here’s how to chop nuts with a food processor. Use the S-shaped processor blade as shown in the top picture below and add as many nuts as needed to the food processor.

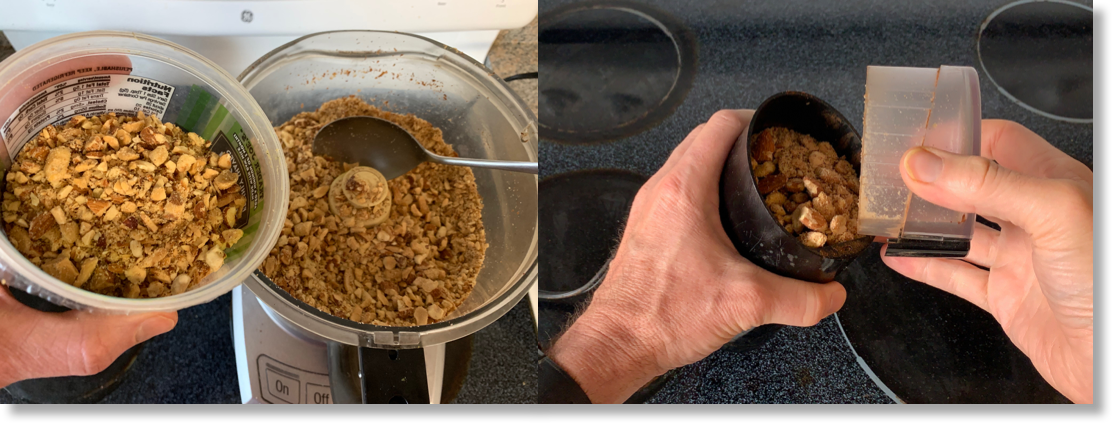
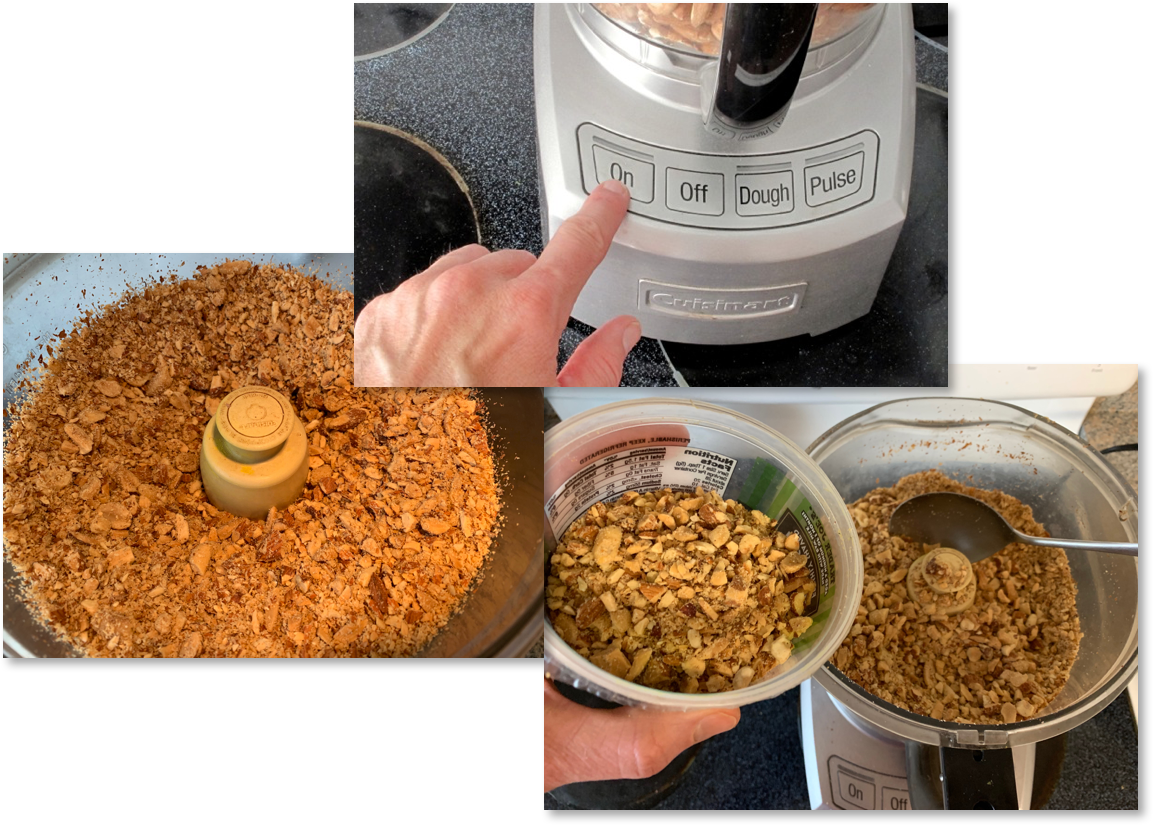
Close the processor top and turn on the processor for about 10 seconds until the nuts look about as shown in the bottom left picture.

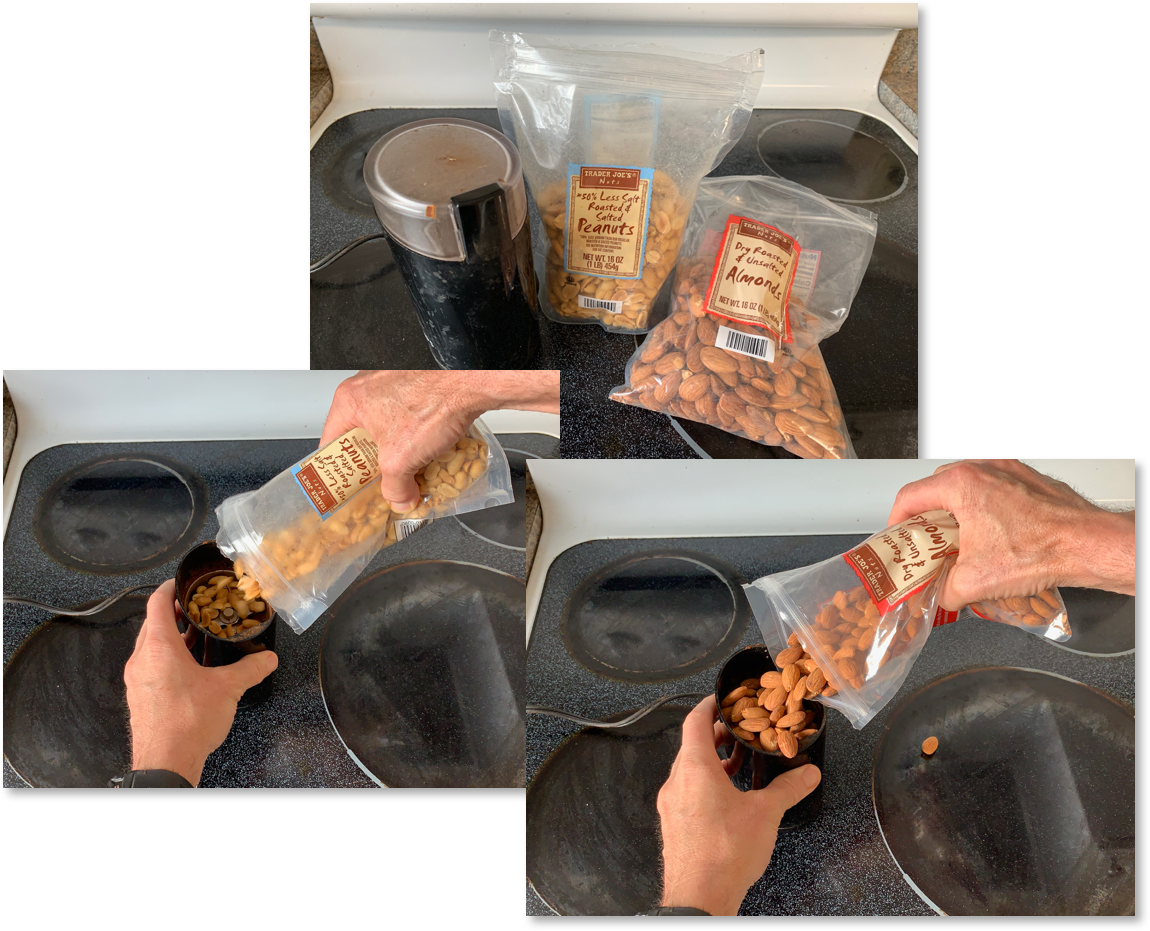
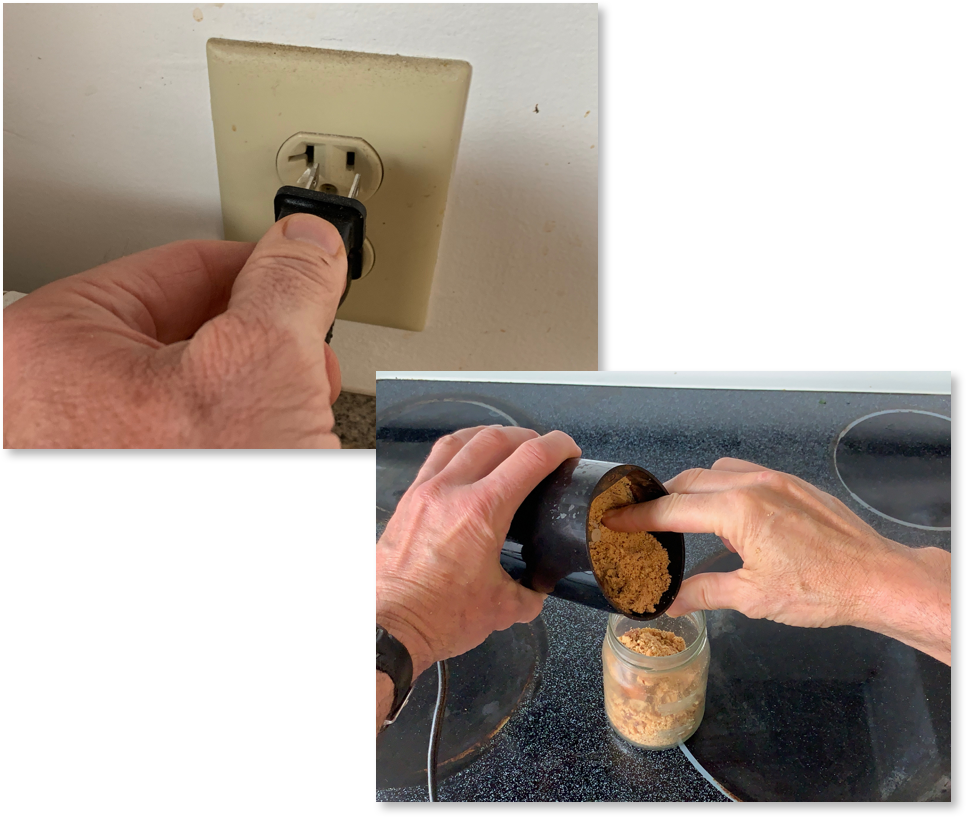
To chop nuts in a coffee grinder, which works fine for small amounts, add nuts to the coffee grinder,…

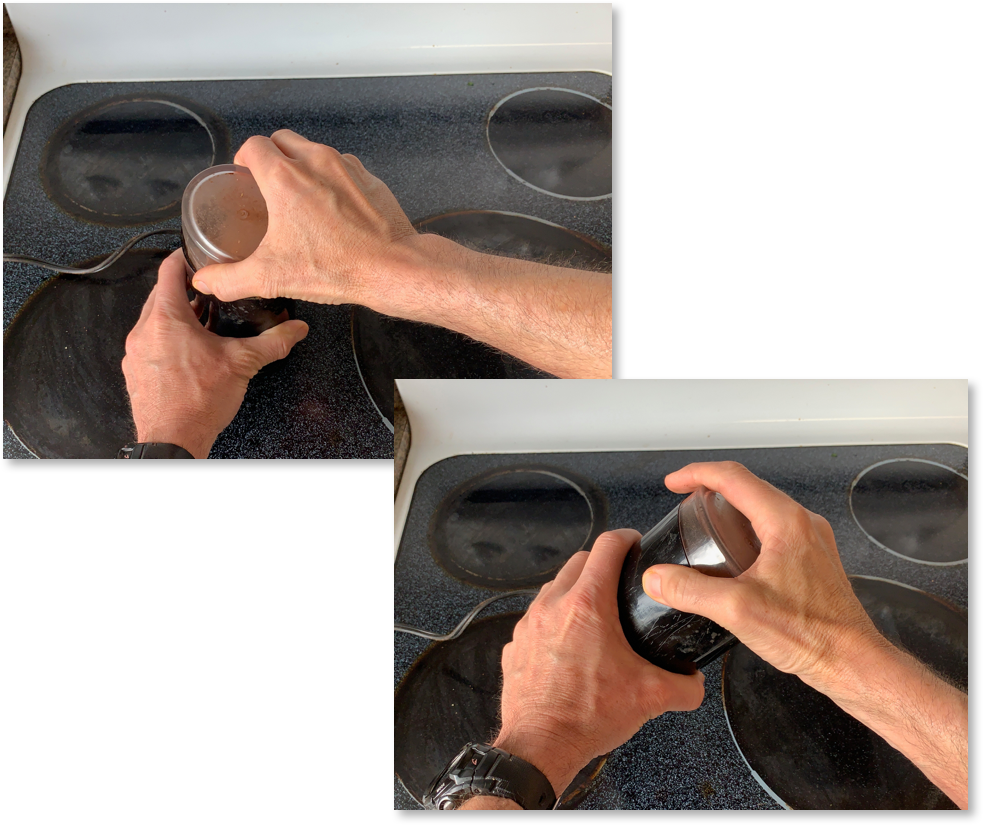
…close the top, keep the top held firmly in place, and shake the grinder while keeping the grinder on for 5 or so seconds.

Make sure to unplug the grinder from the outlet, and then scoop out the chopped nuts as well as possible – without making yourself, well, nuts. Grinding your next batch of coffee with do a great job cleaning the grinder.

Store the chopped nuts in the refrigerator, where they will keep fresh for at least a few weeks – as long as the nuts you used were fresh when you chopped them.


Quick Bell Pepper, Cilantro Pesto-Hummus, and Cheese – All in Pictures


Last post showed how to make fresh Cilantro Pesto-Hummus, a combination of cilantro pesto and hummus. Great stuff to lay on bread, toss with pasta or grains, mix with cooked vegetables, top on salads, and much more. Imagination is your only limit. Here’s a link to that recipe.

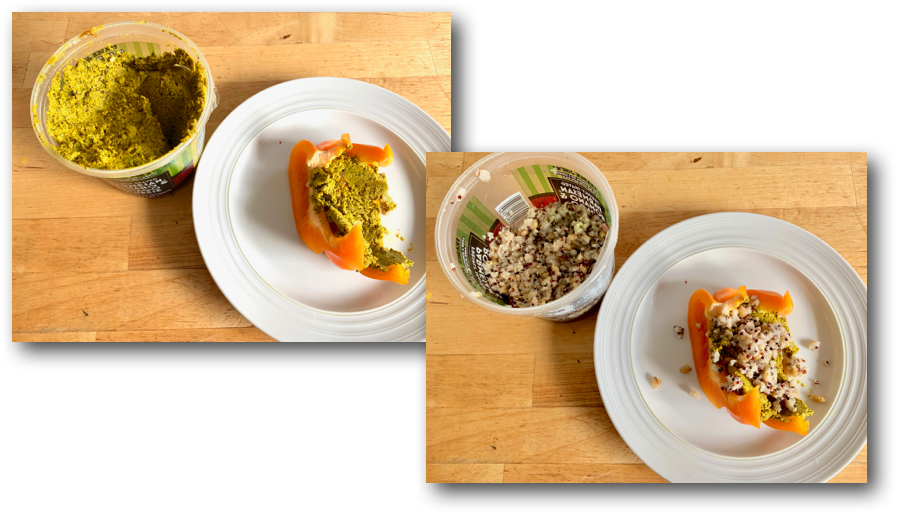
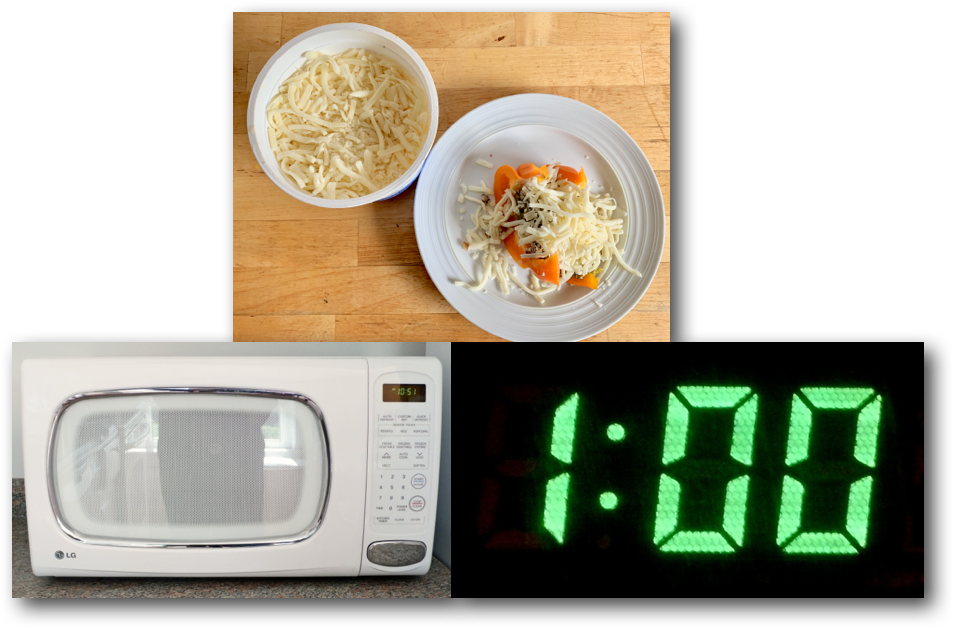
What you see above is a quick fresh meal I put together last night: bell pepper, “pummus”, and cheese. I started with 1/3 fresh orange bell pepper that I sliced into thick strips just so the pepper would spread out mostly flat on a plate. I then laid on a good spread of pummus and topped that with some leftover cooked grains (pearl barley, stone cut oats, and quinoa). For sure, what made this dish so quick for me to put together was having most of the ingredients already pre-made. Please use what you see below as a guide. That’s exactly what I do with just about every recipe I come across.

Next, I spread out a good layer of shredded mozzarella and provolone cheese and put the plate in the microwave oven for 1 minute at 100% power – just long enough to start melting the cheese.

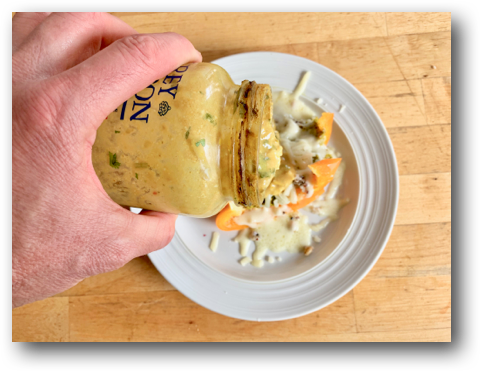
After that quick warm in the microwave, I topped the pepper, cilantro pesto-hummus, and cheese with a good pour of fresh ginger cilantro kefir salad dressing, which you can either see how to make by clicking either this link or the picture below or just use your own favorite salad dressing.

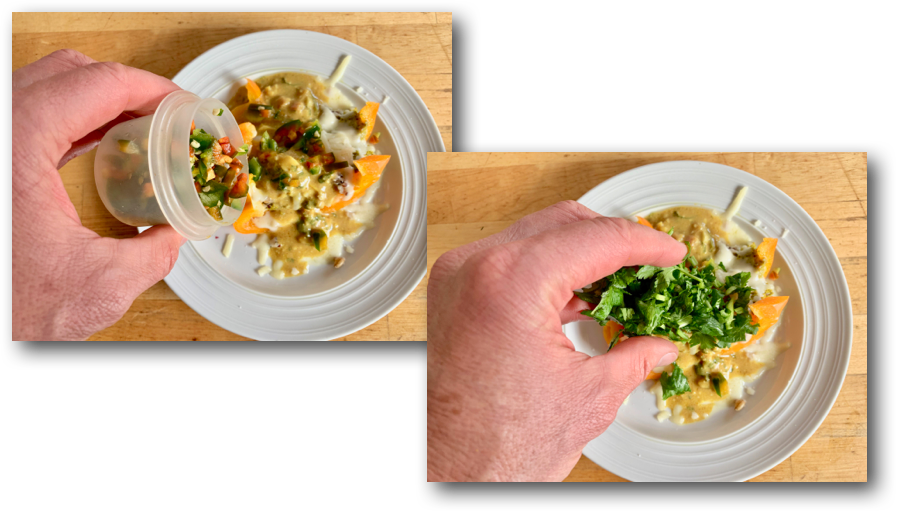
I finished by adding a good blast of chopped hot peppers (jalapeños shown here), chopped fresh cilantro,…

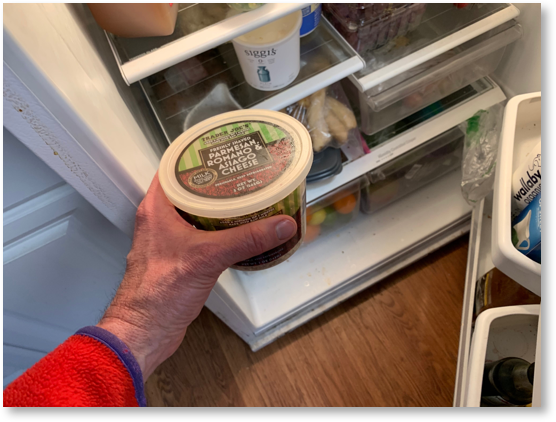
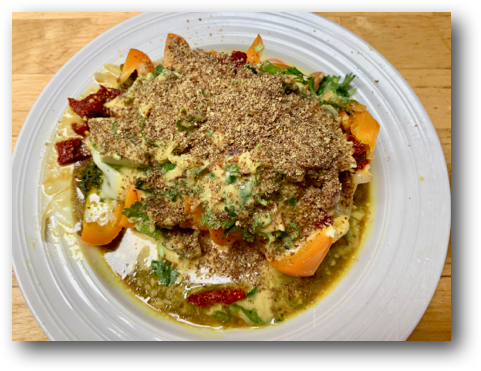
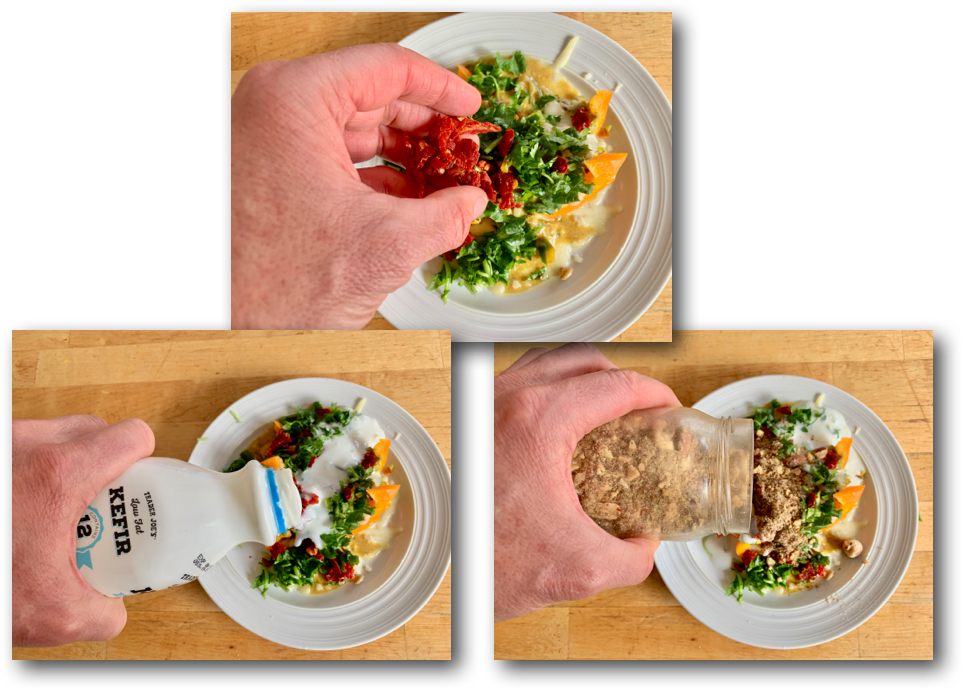
…chopped sun-dried tomatoes, a good shot of kefir, and a mix of chopped nuts and ground flaxseed (I make a jar of nuts and flax every week – very easy & versatile – I’ll show how to do that next time I make it.)

Now make it yours & enjoy!

Microwave Cooked Quinoa Picture Book Directions

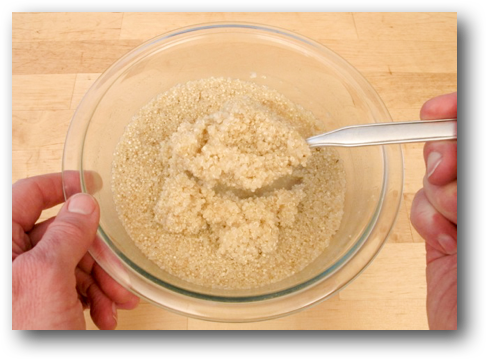
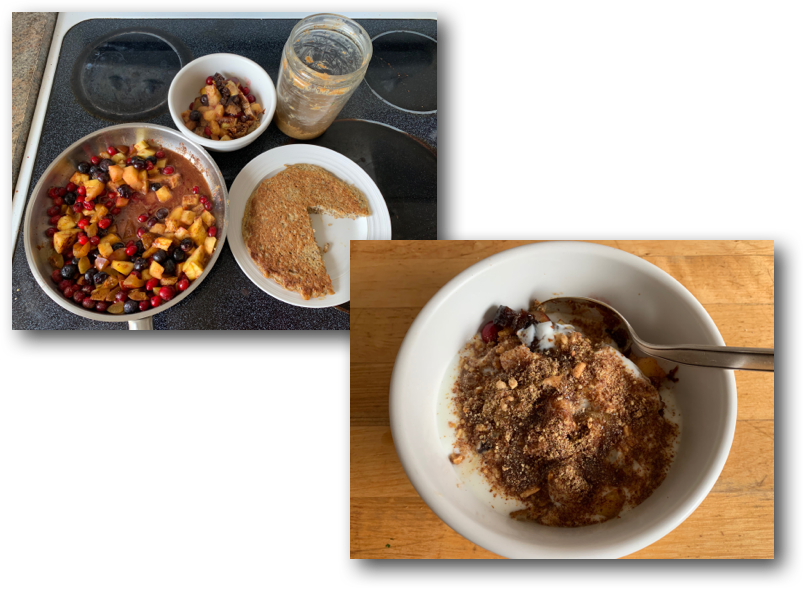
Quinoa (spelled as is but sounds like “Keen-Wah”) is killer excellent for nutrition, flavor, and versatility. Have it as is, add it to yogurt, use it instead of pasta or rice. Here’s how I’m having it now: combined with steel cut oats, bulgar wheat to make a multi-grain pancake covered with a fresh fruit topping, almond butter, a good shot of kefir, a squirt of honey – and a bucket of coffee (did I mention coffee?) – before rippin’ out for a gorgeous early spring Sunday road ride.

Last post showed how to cook quinoa on the stove.This post shows how to cook quinoa in the microwave oven – all as easy as it can be.

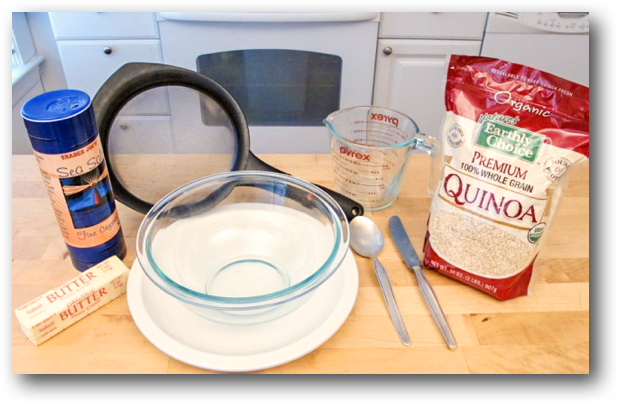
Here’s what you’ll need to cook quinoa in the microwave oven:

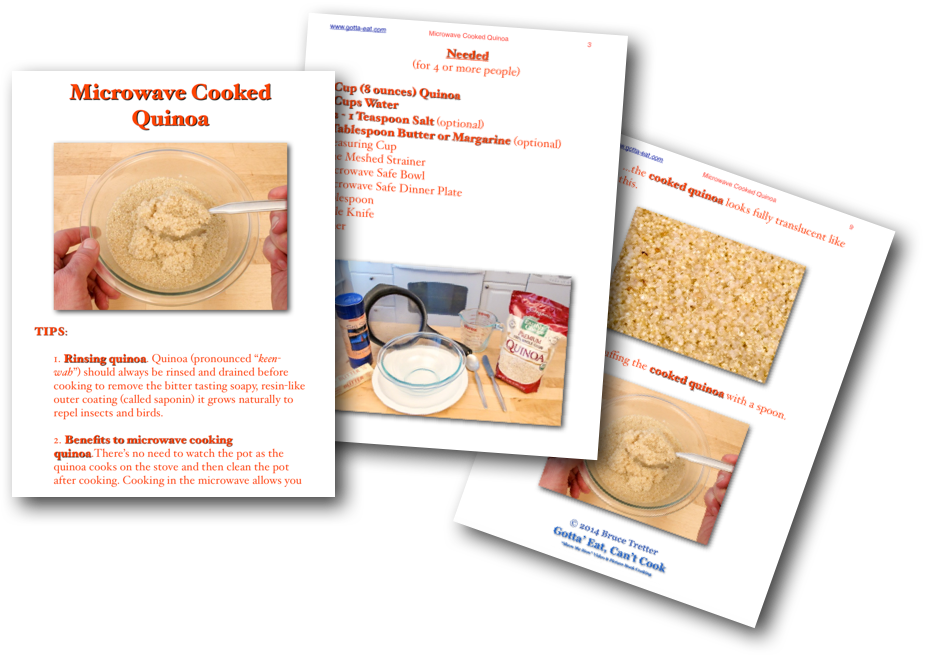
Click this link or any picture on this page for an easy to follow step-by-step picture book recipe.

How to Cook Quinoa on the Stove Picture Book Directions

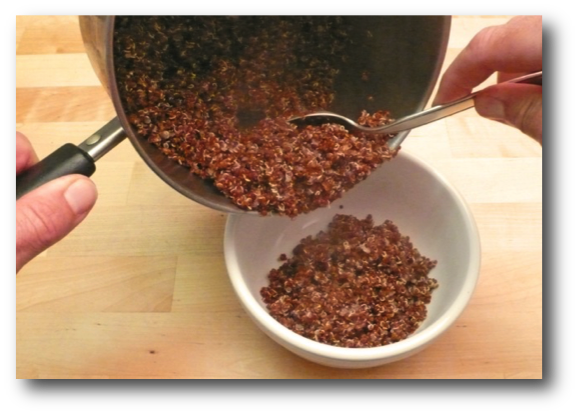
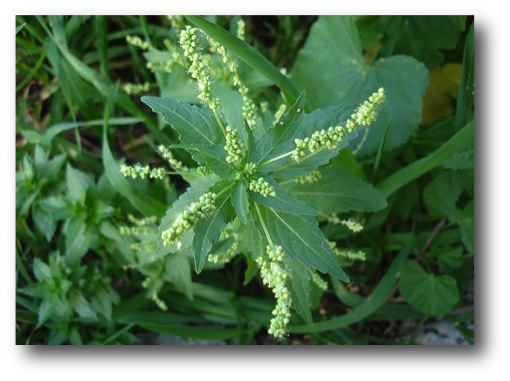
Stove Cooked QuinoaQuinoa (pronounced “keen-wah”) is one of my favorite…seeds. Yah, right away, that’s one of the things that makes it stand out. Quinoa is not a member of the true grain family, like wheat, barley, rye and other “grass grains”. Instead, quinoa, which comes in white, red, and black color variations, is really a seed, and, specifically, it’s the seed of the goosefoot plant shown below.

Goosefoot PlantGoosefoot gets its name from the shape of its leaves and is related to spinach and Swiss chard. Quinoa grows in the South American Andes Mountains, mostly in Chile, Peru, and Bolivia, where it’s been cultivated for over 5000 years. Historical legend has it that Incan armies sustained themselves during long marches on “war balls” made of quinoa mixed with fat. Yes indeed, EMMMMM… Actually, after what I’ve recently learned about fat and how good a lot of it is for us, the idea behind those “war balls” makes good sense.

As you’d probably expect from a relative of spinach and Swiss chard, both exceptionally nutritious leafy greens, quinoa also packs a potent nutritional punch. It has about twice the protein content of barley, corn, and rice. Quinoa is gluten free and easily absorbed by the body. It’s a good source of manganese, magnesium, iron, copper & phosphorous making it particularly noteworthy for people affected by migraine headaches, diabetes, and atherosclerosis. It’s also exceptionally high in dietary fiber and is rich in “good” unsaturated fats like Omega-3. Here are the numbers I got regarding quinoa’s nutrition from a U.S. Dept. of Agriculture (USDA) table.

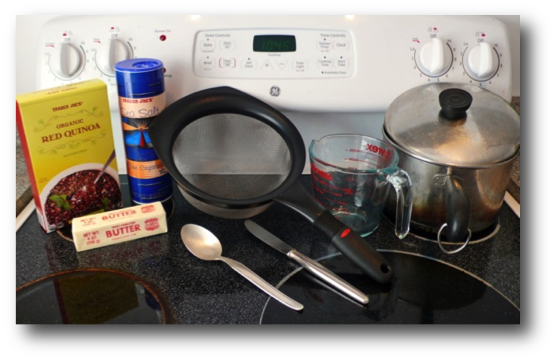
My favorite way to prepare quinoa is to make a batch with what you see below that yields about 2 ½ – 3 cups cooked quinoa. I then put the lion’s share of what’s left over in a sealed container either in the fridge for at least a week, or in the freezer where it lasts like any other frozen food.
.

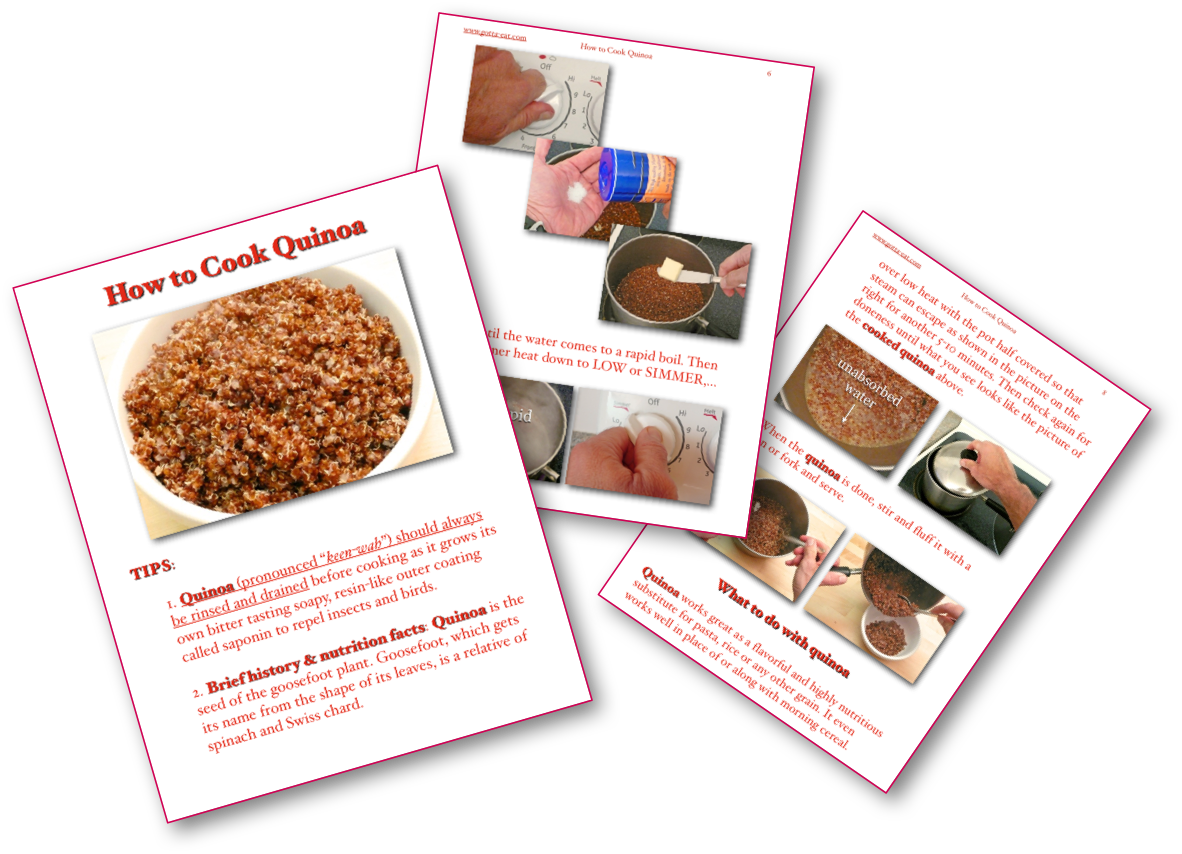
Needed to Make Stove Cooked QuinoaClick any picture on this page for a complete, easy to follow step-by-step picture book “How to Cook Quinoa” recipe.

Warm Fruit Topping to Fuel a Winter Training Ride

Pre-cold weather ride “goose fat” (homemade oil combo) on face & warm fruit topping for breakfast

Yes, it’s February, but any day cycling the road sure beats a day on the living room trainer, especially when there are sights like those below before the snow blew in last night.

Bottom line: Weather’s a state of mind. Just be prepared.

For me that means, step one, “goose fat” (homemade mix of avocado oil, coconut butter, shea butter, and a shot of honey) on the face and something warm to fuel me up for a good hop in the saddle.

Click this link or the picture above or below for a complete, easy to follow step-by-step picture book recipe that shows how to make a fruit topping that goes great on warm cereal, French toast, pancakes – your imagination is your only limit! As always, a quick nod and smile to Bicycles Battling Cancer and Springfield Police, Fire, and new this year, military vets, Ride to Remember.


Designed by Free Wordpress Themes and Sponsored by Curry and Spice