Category: Breakfast
-
No Glitter. Just Real “With You Always” Kitchen Help
Behind every kitchen win is one thing: real presence. No filters. No glitter. Just a lip-biting, coffee-fueled reminder that joy — and nourishment — come from getting started. Let’s do this together.
-
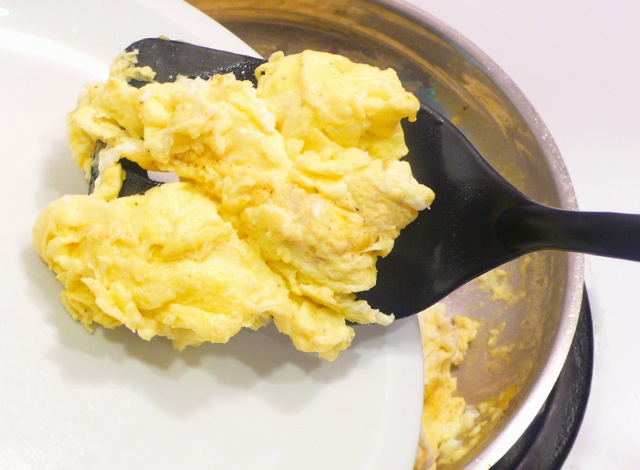
Scrambled Eggs So Easy You’ll Laugh — All in Pictures!
Think you can’t cook? Think again. This picture-only scrambled eggs recipe is where confidence begins. No jargon, no stress—just clear steps, two game-changing tips, and a smile-worthy story from my own kitchen disaster. Let’s make cooking your new superpower—one egg at a time.
-
Overnight Oats with Grapes, Yogurt, Jam and Kefir Picture Directions
Picture book directions show how to make overnight oats with grapes, yogurt, jam and kefir.
-
Overnight Water-Soaked Oats Picture Directions
There’s no such thing as a particular “superfood”, or one food that will work miracles on your body to make you feel stronger, become healthier and prevent disease all on its own. The real “open secret” is enjoying a varied diet rich in whole foods – whole foods are key – and oats, with their…
-
Warm Apple Fruit Topping From Simple to Exciting Picture Book Directions
Picture book recipe guided demonstration showing how to improvise on a base recipe to make that recipe all your own regarding flavor and/or personal dietary needs.
-
Easy to Make, Versatile Warm Apple Fruit Topping Picture Recipe
If you put your ear really close to the device you’re using to read this, you might hear the sound of screeching brakes. And rightly so. Last post showed how to make a warm apple cranberry fruit topping. Nothing wrong with that recipe. The problem was me jumping ahead of the game – and including…
-
Warm Apple Cranberry Fruit Topping Picture Book Recipe
Picture book recipe directions show how to make a warm apple cranberry fruit topping.
-
Fresh Apple Pancake: Full-On Fall Flavor All in Pictures
Picture book directions show how to make a family fall favorite fully flavorful fresh apple pancake.
-
Microwave Cooked Scrambled Eggs Picture Book Recipe
—
by
Step-by-step picture book recipe shows how to make quick and easy microwave cooked scrambled eggs