Archive for the ‘How To & Tips’ Category

Fully Flavorful Whipped Cream Variations – Even If You’re Lactose Intolerant

Flavor rules – always!

Last two posts showed how easy it is to make fully flavorful fresh whipped cream and then how to boost flavor to that same whipped cream by just adding ground cinnamon. This post shows a couple ways to vary whipped cream flavor very quickly and easily – even if you’re lactose intolerant. As always here, imagination is your only limit!

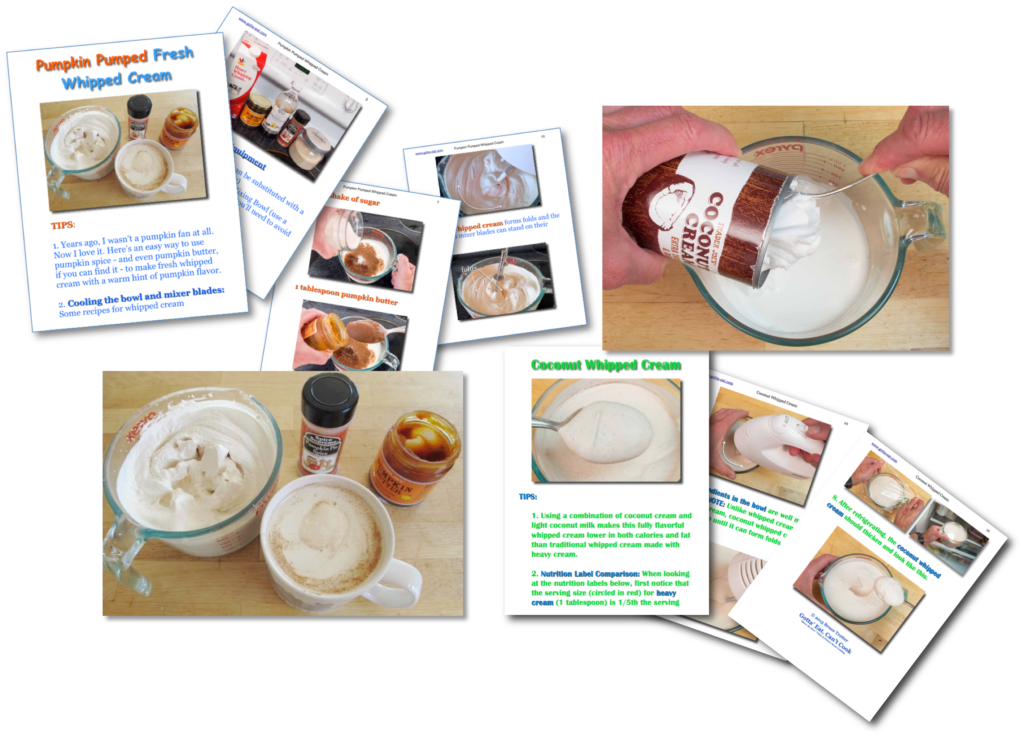
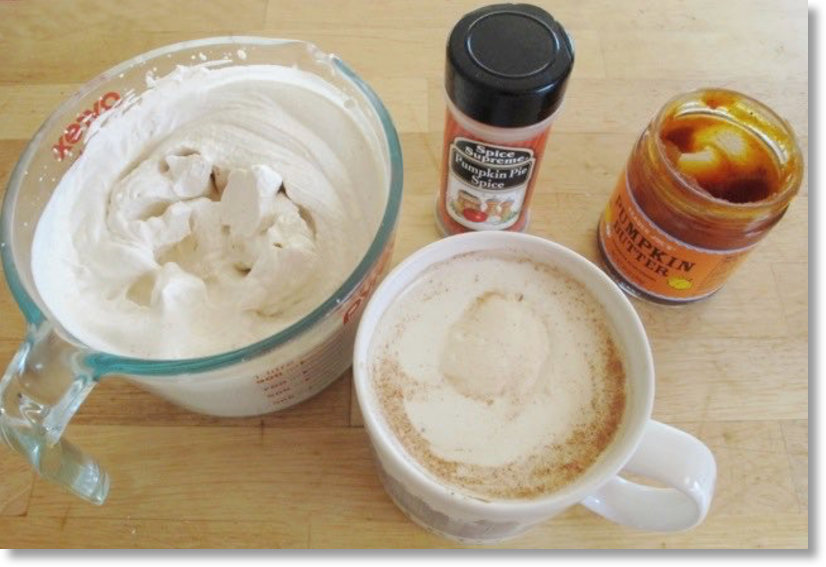
To kick that imagination in gear, here’s Pumpkin Pumped Whipped Cream.

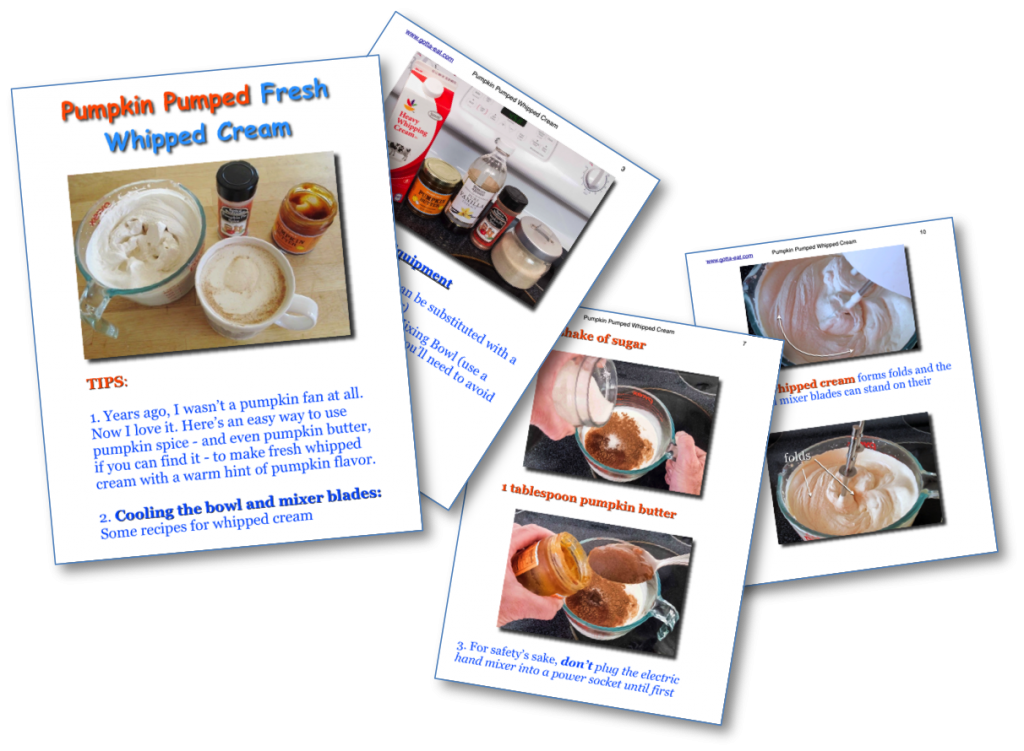
Killer easy to make! As shown in the picture thumbnail sketch below,…

…just add pumpkin butter and pumpkin pie spice to the base fresh whipped cream recipe. And you don’t have to be limited by pumpkin butter. You can use apple butter, your favorite jam, butterscotch spread – anything you like to get the flavor you want.

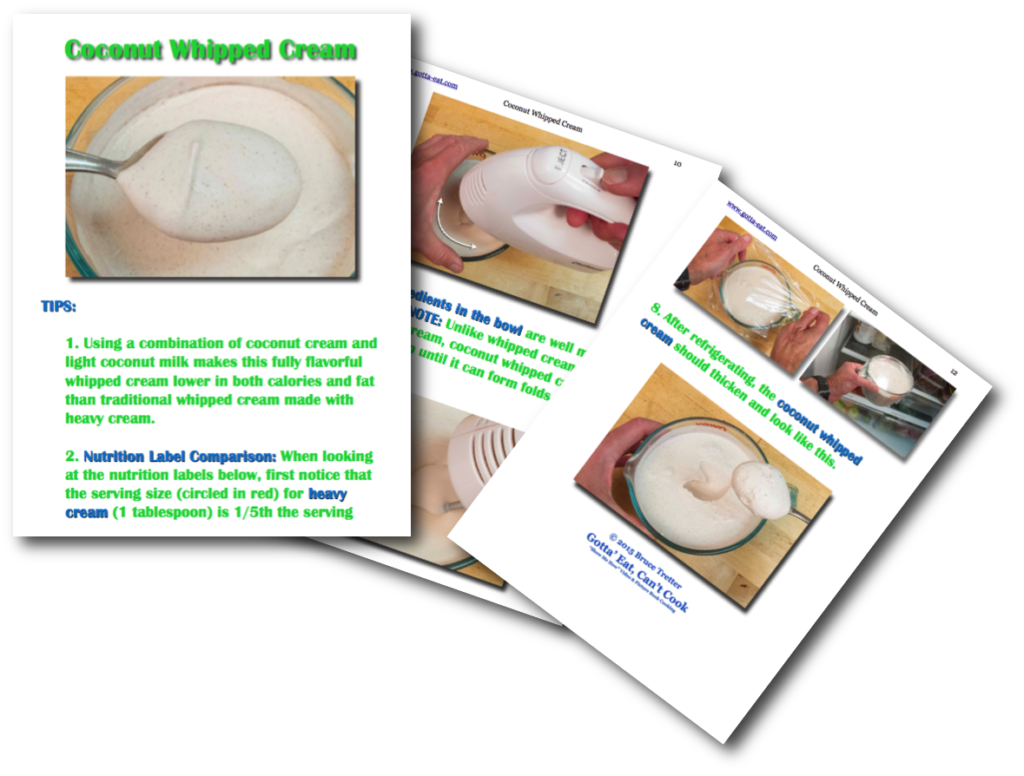
Then if you or someone you know is lactose intolerant, here’s how you can easily switch out heavy cream with coconut cream and coconut milk to make both a basic coconut based whipped cream and then use the above ideas to vary the flavor any way you like.

The key here – as always – learn the base recipe and then use your imagination to have fully flavorful fun with it!

Pumped Up Flavor Fresh Whipped Cream With Cinnamon and Coconut Sugar

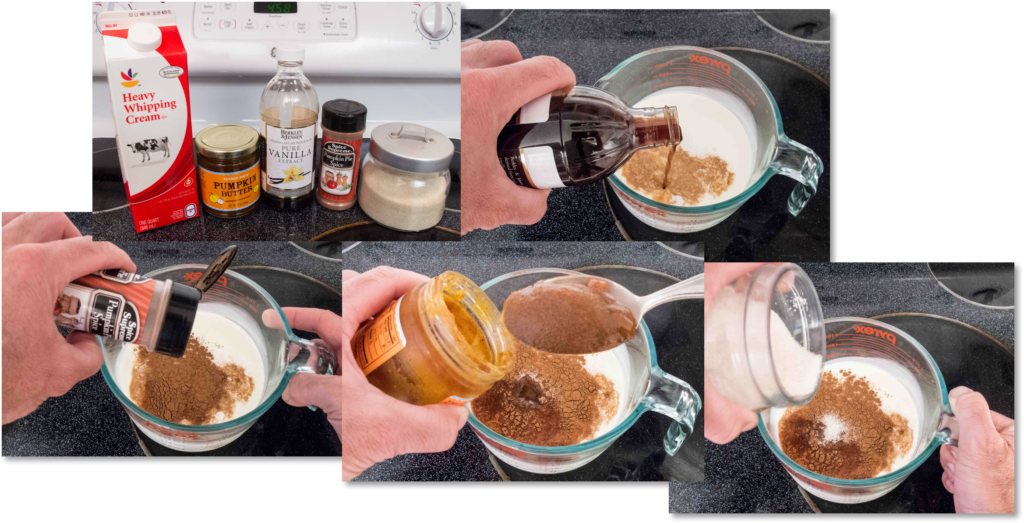
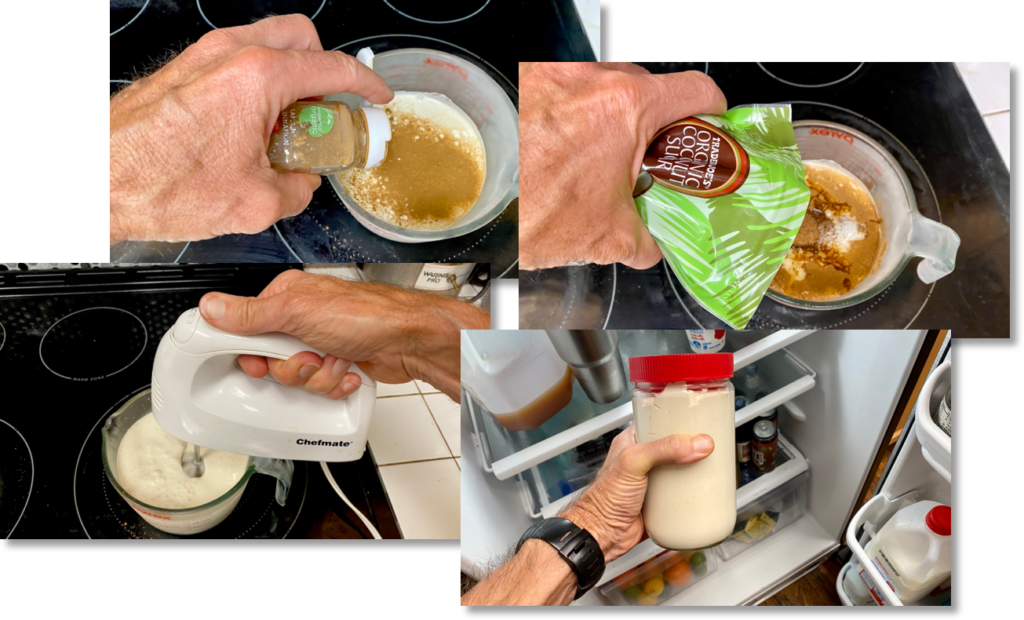
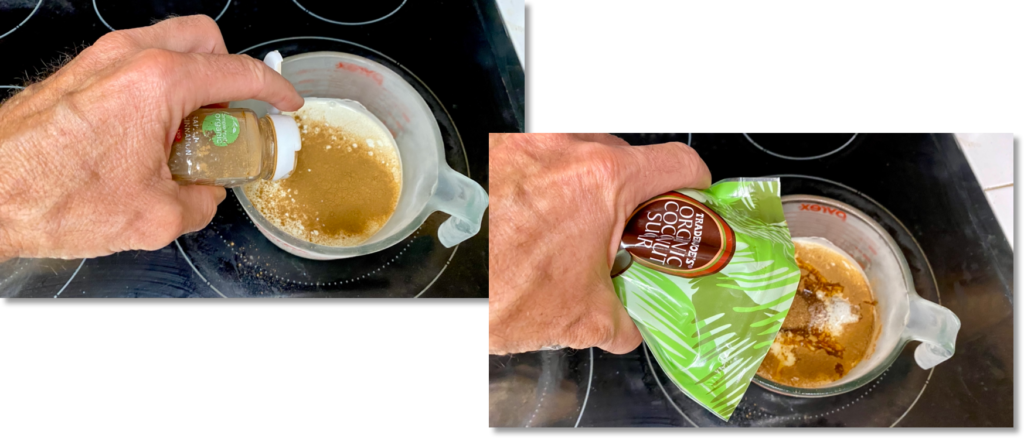
The other day I mentioned that I keep a vat of fresh whipped cream in the fridge. That vat went dry just after I wrote that. So, what a great opportunity to whip up a new one – and add flavor, all fun and very easily. As shown below, all I did was add a good shake of ground cinnamon (I do that all the time now) and use coconut sugar instead of regular white table sugar.

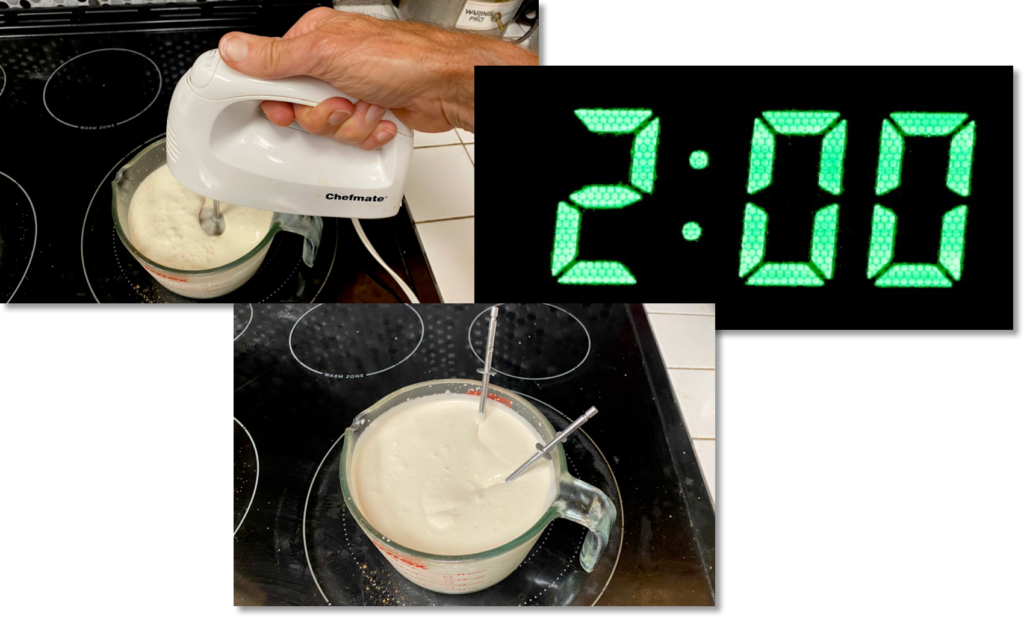
Whipping then took only 2 minutes as I’d used heavy cream right out of the fridge and a frosted glass measuring cup I’d put in the freezer over night.

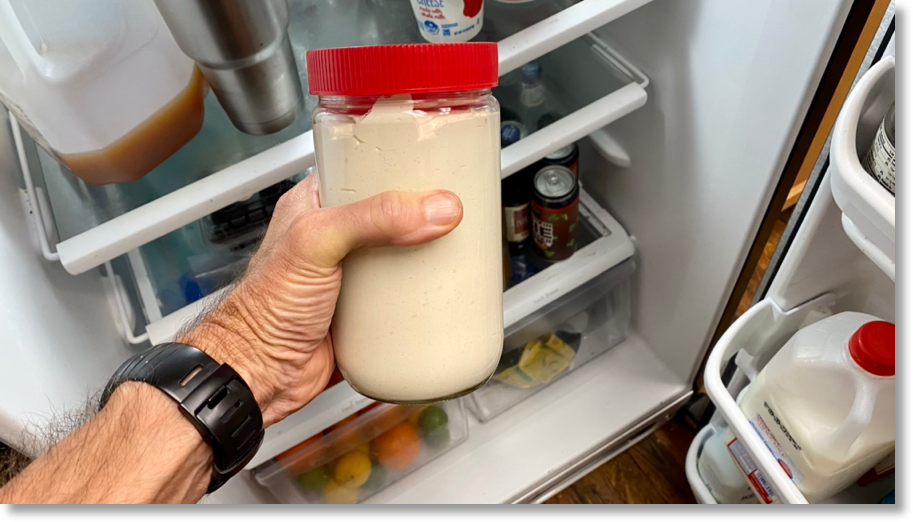
You’ll notice in the last shot above that I didn’t whip the cream until it was firm enough to keep the ejected hand mixer blades standing. All fine. That’s the consistency I like, as it dissolves more easily in coffee, works great on anything else I top with it and makes it easy to pour into a “vat” I put in the fridge for easy access anytime I want it.

Click any picture on this page for step-by-step picture book Fresh Whipped Cream directions that you can vary however your personal taste desires.

Enjoy & have fun!

Rocket Fuel Breakfast, Part 5: Fresh Whipped Cream

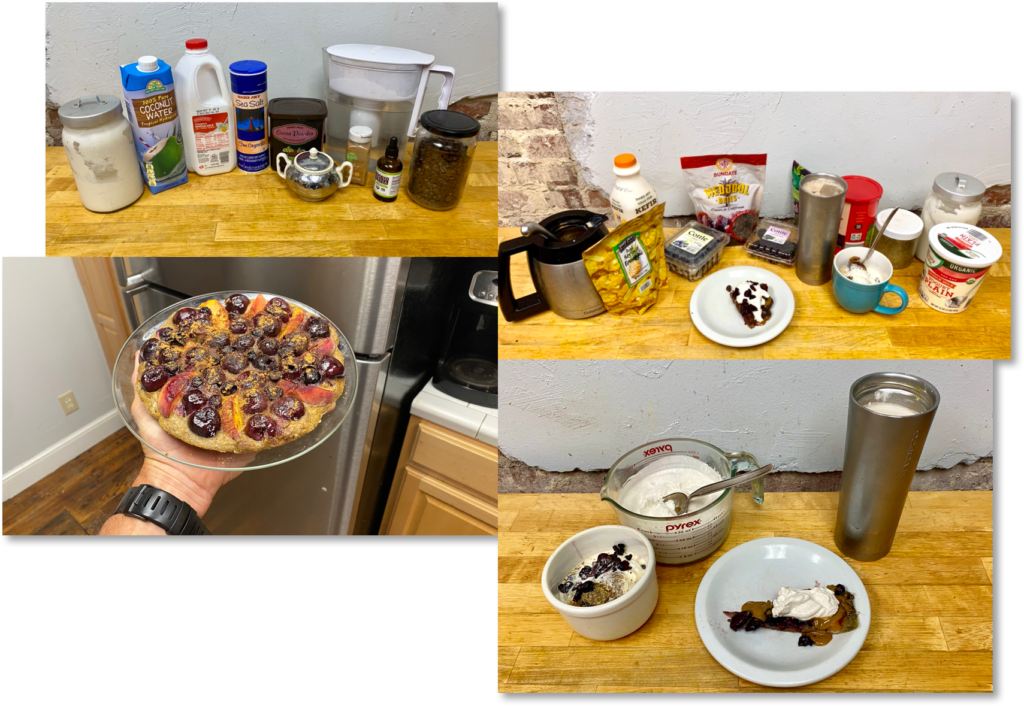
Fresh whipped cream tastes far better than whipped cream spritzed from a can or scooped from a plastic tub – and it’s both as incredibly easy to make as it is versatile to use. I love it with the “rocket fuel breakfast” you see above: on fruit pancake, with yogurt and fruit, in coffee. But, as always, imagination is your only limit!

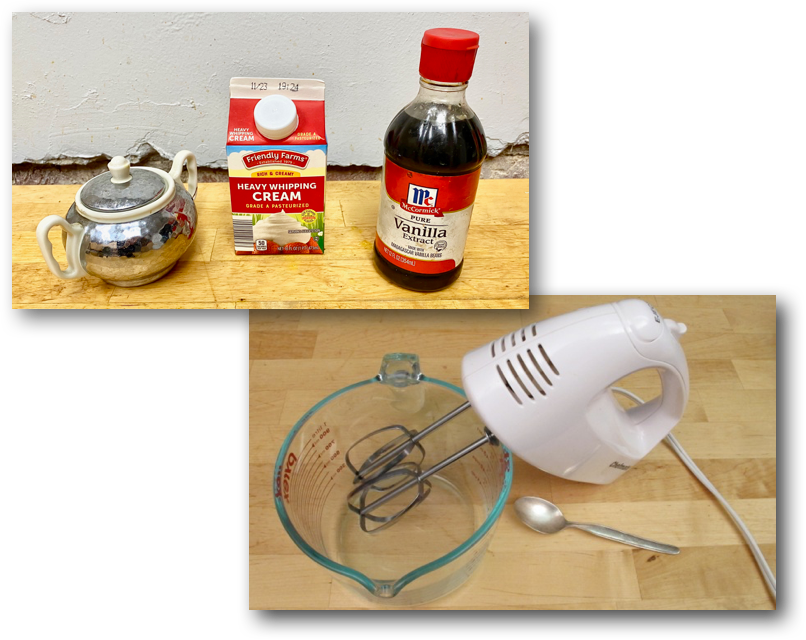
Here’s what you need for both for ingredients and equipment – easy.

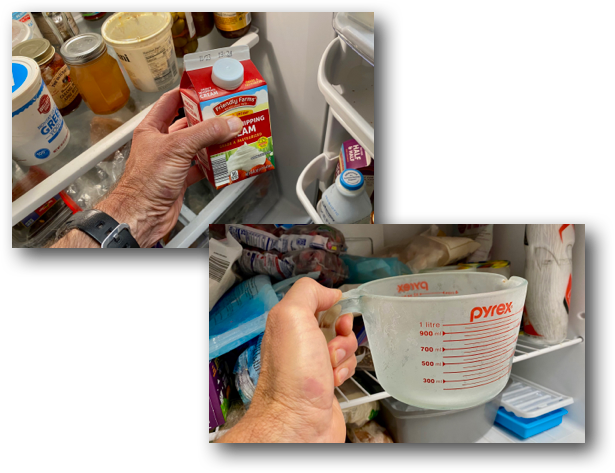
Before you get started, here’s an easy tip. Make sure the heavy cream is cold and put whatever container you’re going to use to whip the cream in the freezer until it is well chilled as shown below. The reason: cold cream and a cold container make the cream whip faster – I like that!

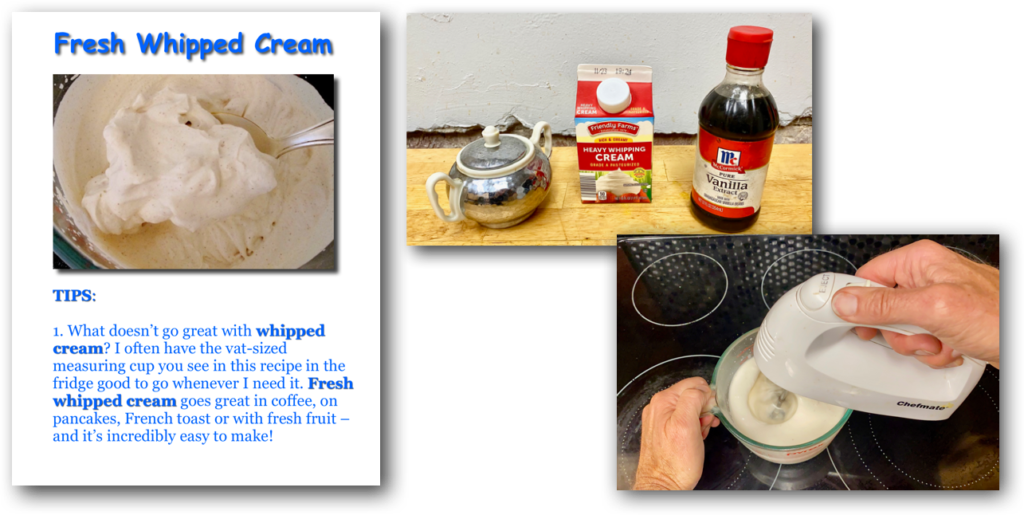
Please click any picture on this page or this link for step-by-step fresh whipped cream picture book directions – and enjoy!

On the Road Improvised “On the Fly” Meals

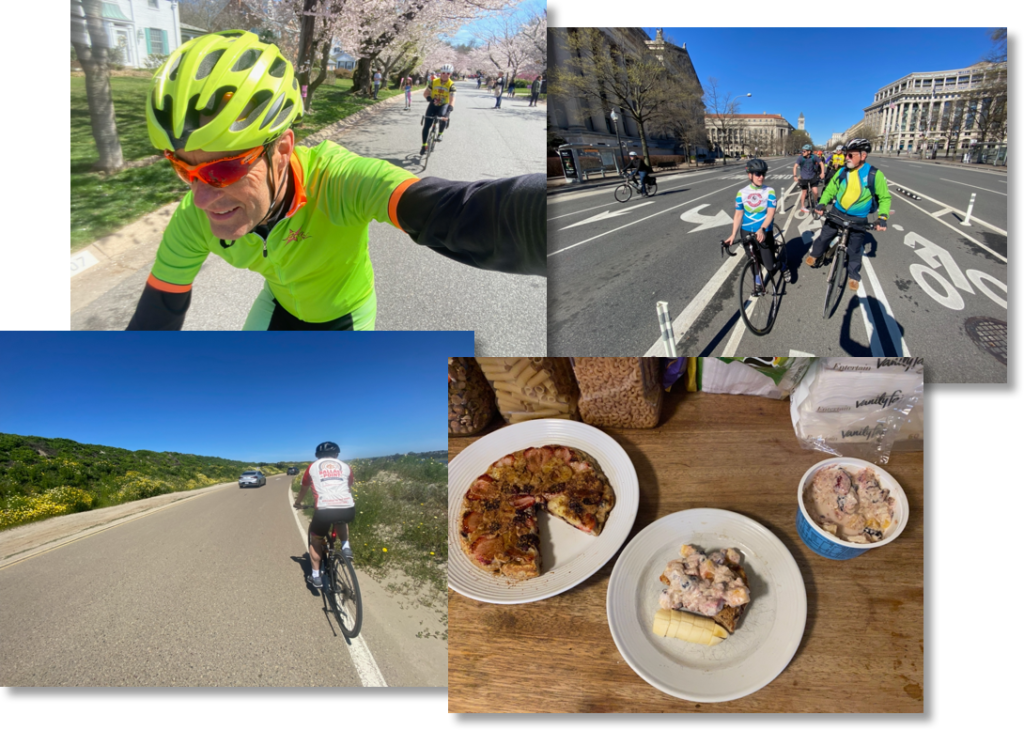
Top left & right: In DC for National Bike Summit. Bottom left: riding Fiesta Island with good Navy bud, Stormin’ Walker. Bottom right: “on the fly” improvised fruit pancake.

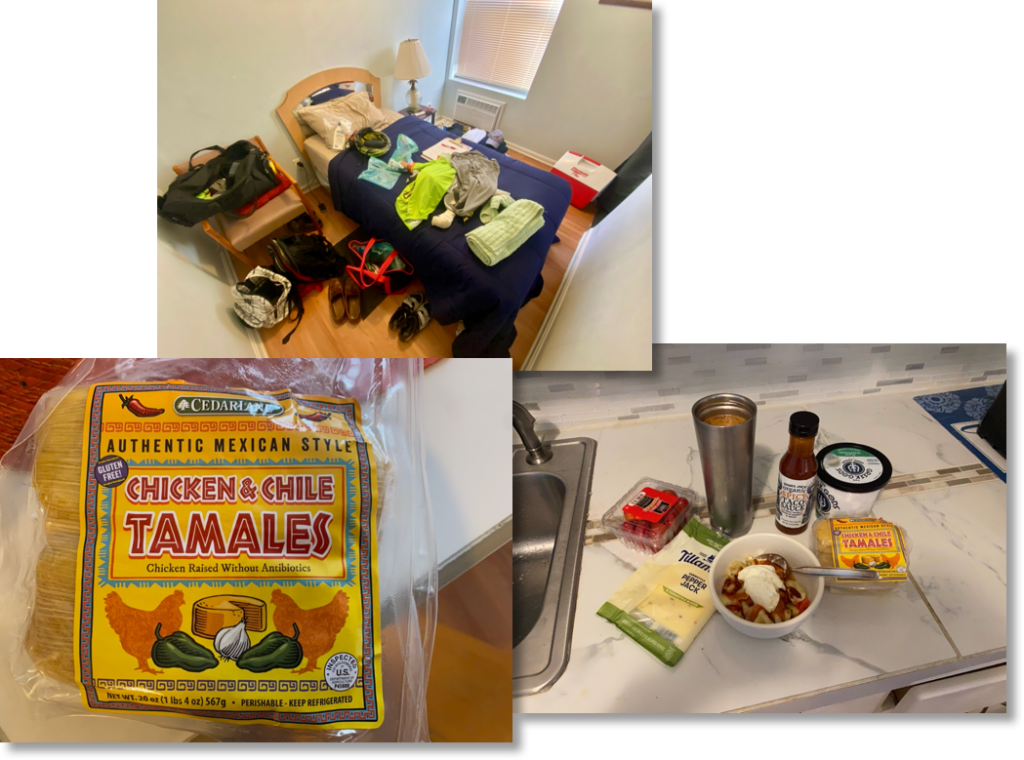
Been on the road the past 3+ weeks. First to DC as a new BikeWalkNC rep. to advocate with League of American Bicyclists at their National Bike Summit for improved road safety for all (For why, click 5 Reasons US Roads Are Dangerous for Pedestrians and Cyclists). Now in Monterey, California, to attend the country’s largest bike festival, Sea Otter. Have had almost all my meals “on the fly” (aka: completely improvised) whether I’ve stayed in Airbnb’s, like the one shown below, or with good friends and family.

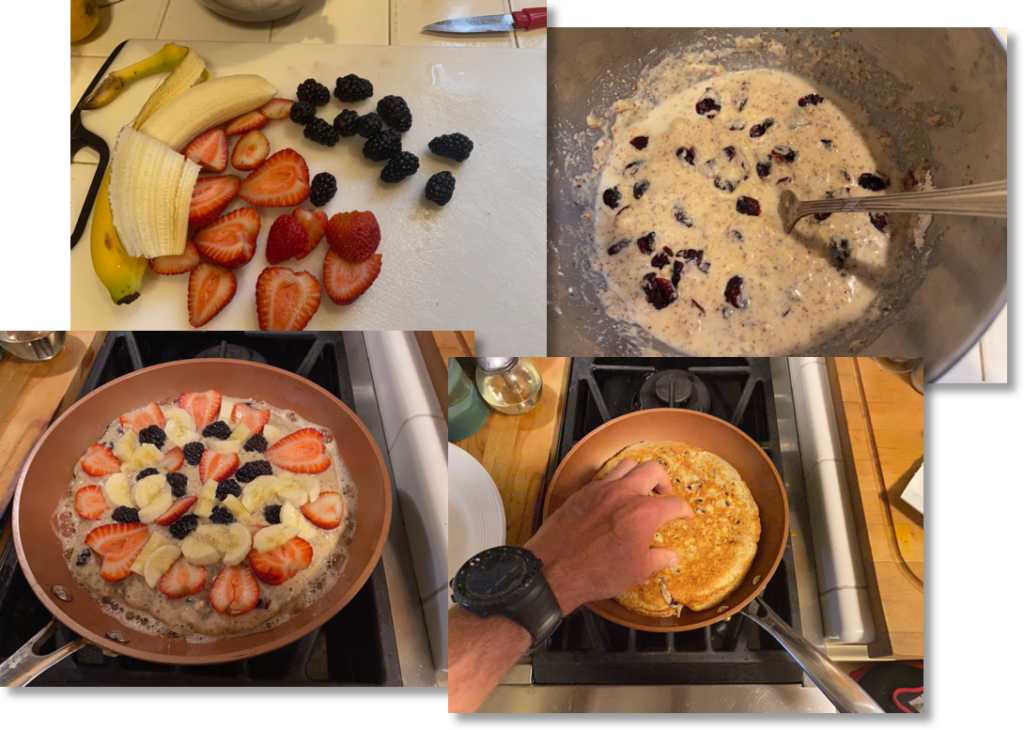
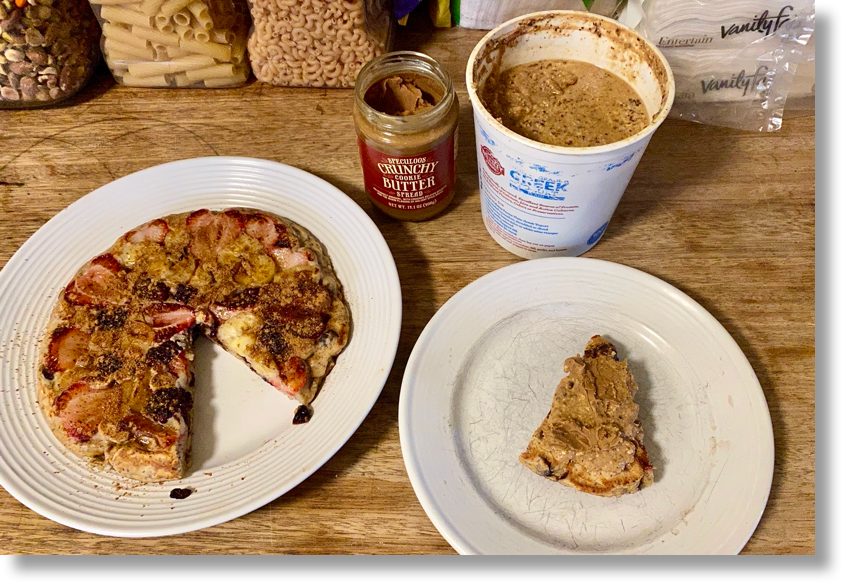
Here’s an “on the fly” example. Was in San Diego last week at my Navy big brother’s place and made this improvised strawberry, blackberry and banana pancake for breakfast.

I’ve certainly made lots of fruit pancakes but never one with strawberries, bananas and blackberries. No big deal.

The keys to improvising are having a good, reliable, easy to remember base recipe and trusting your taste to make what you want. Also no big deal – but a lot of fun.

My base recipe for fruit pancakes: apple pancake. If you’re an apple fan at all, I think you’ll find that pancake both fully-flavor-satisfying and one that will let answer the question, “I wonder how it would taste if I made it with _______?” As soon as you ask that question – and you’re willing to take a little leap in faith – you’re off to the “on the fly” improvised races!

3 Ingredients That Make You YOU: Food, Body, Mind

You’ve heard it many times, “You are what you eat”. That’s only 1/3 true.

Sure, what you eat – plus what you drink and breathe – are the building blocks of every cell in your body. But you are just as much the product of how you move your body and use your mind – and regarding the mind, how you manage stress. As shown in the diagram below, YOU = Food + Body + Mind.

That simple 3 part equation has held true since man evolved as a distinctly separate species from primates four (or so) million years ago. And, despite our transition from millions of years as nomadic hunter gatherers to predominantly agriculturally-based community members only ten thousand years ago, our bodies, and what our bodies need to survive and thrive, have not changed. We still have the same bodies that were built through evolution to survive on foods close to the earth and that still need the same level of daily physical activity and stress management to function properly that we had to rely on to hunt and gather everyday.

That’s just how it is.

And that’s exactly what prompted me to learn for myself, put to practice and then promote how we can best take sensible, life-promoting measures, one step at a time, to help us (me included) make the most of our food, body and mind equation – and do it without making ourselves crazy.

To help provide you with the kitchen skills needed to empower you to make life-promoting foods, I’ll continue putting out fully flavorful picture book recipes to make food preparation as easy as possible no matter how little cooking experience you have.

At the same time, I’ll mix it up with pieces about physical activity and mental/spiritual well being, like, for example the mindfulness/consciousness “Waking Up” practice I’ve been doing daily for over 2 years. Though I’m not pushing any particular program, you get an idea about what I do by checking out the 9-minute video you can see by clicking the image below.

Please contact me directly if you have any questions about any of the above: bruce@gotta-eat.com.

All the best always!

How to Prevent Splatter Safely When Cooking with a Microwave Oven

As I wrote in February this year, microwave ovens, used as they are designed, are perfectly safe for warming and cooking foods.

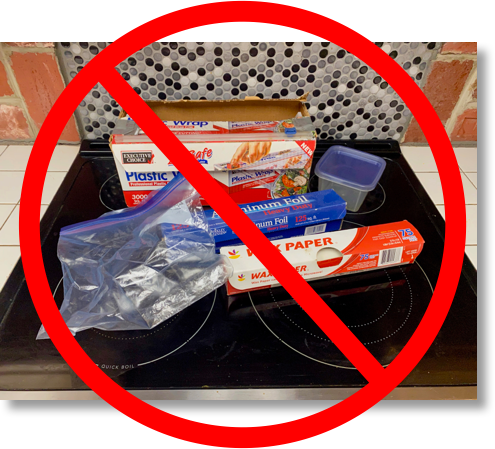
But then there’s the issue of how control microwave cooking splatter that is always pure misery to clean. Using any of what you see directly below made of plastic (unless that plastic is clearly certified as “microwave safe”), wax or metal is out.

Plastics from plastic wrap, plastic bags and plastic containers leach what they’re made of, petrochemicals (chemicals made from oil), when heated. The wax from wax paper can melt into microwave cooked foods. Metals, like aluminum foil, reflect microwave energy and, in doing so, will destroy the microwave oven’s energy emitting magnetron – sometimes with spectacular fire. As a good friend would say, “That is NOT good”!

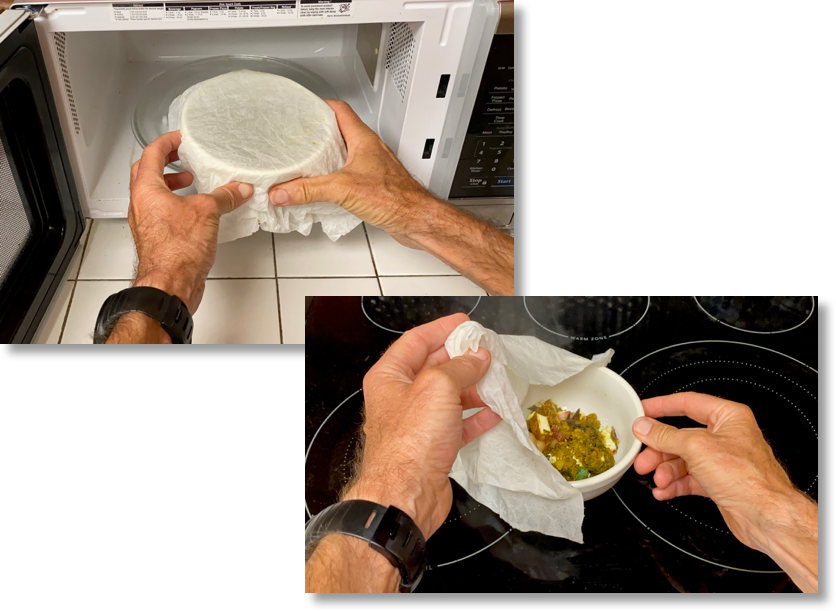
The best solution I’ve found to prevent microwave splatter safely is to cover whatever you’re cooking with a wetted paper towel. Why wet? Because a dry paper towel can slide off a microwave safe plate or bowl, especially if your microwave oven, like the one you see below, has a spinning turntable.

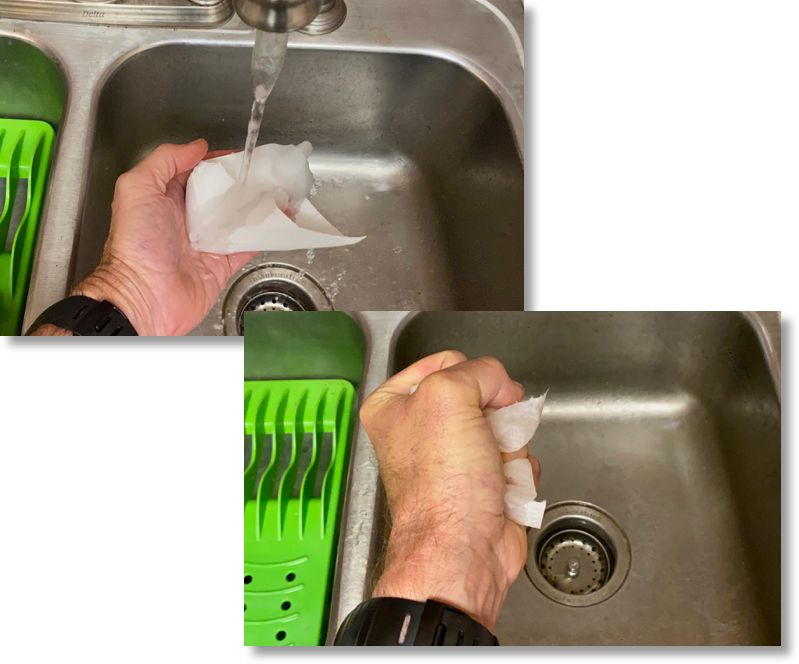
Here’s all you have to do to use this method. Wet and squeeze dry a piece of paper towel.

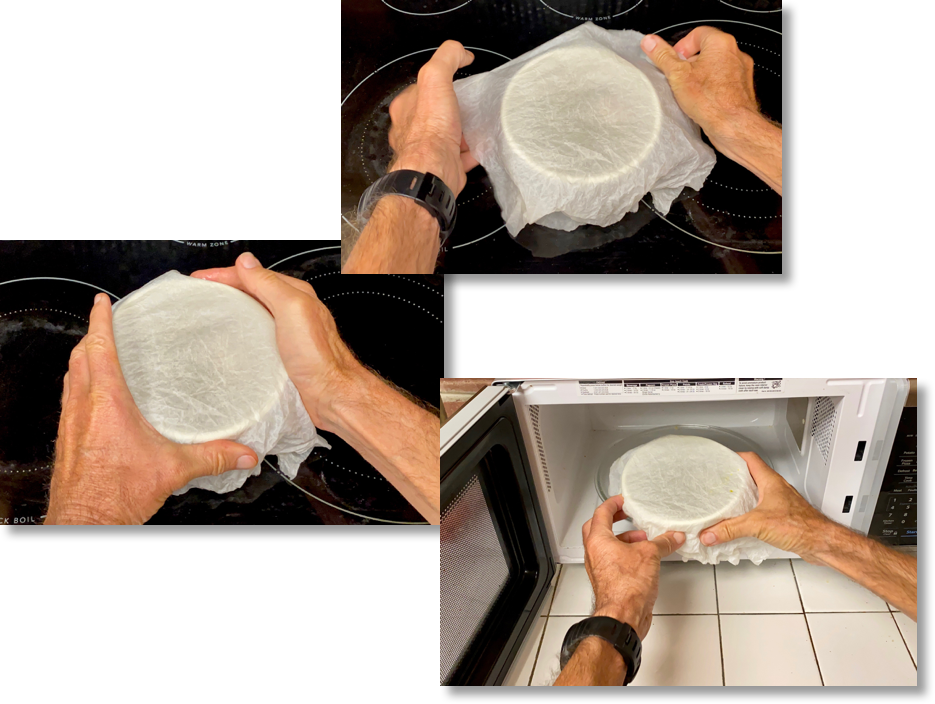
Cover the bowl or plate with the wetted paper towel the same way you would if you were using plastic wrap, and…

…remove the paper towel after cooking. Easy, safe – and big time splatter avoidance.

Tuna and Provolone Cheese Crepe Picture Book Directions

Ham, Cheese & Mustard Road Crepe

Last post showed how to make fully flavorful Fresh Crepes with Nut Butter, Jam, Yogurt & Whipped Cream all very easily. Like I mentioned this summer in Killer Versatile Active Life Power Food: Fresh Crepes with Picture Book Recipe, crepes are incredibly versatile – way more versatile than regular syrup-sucking flapjack pancakes.

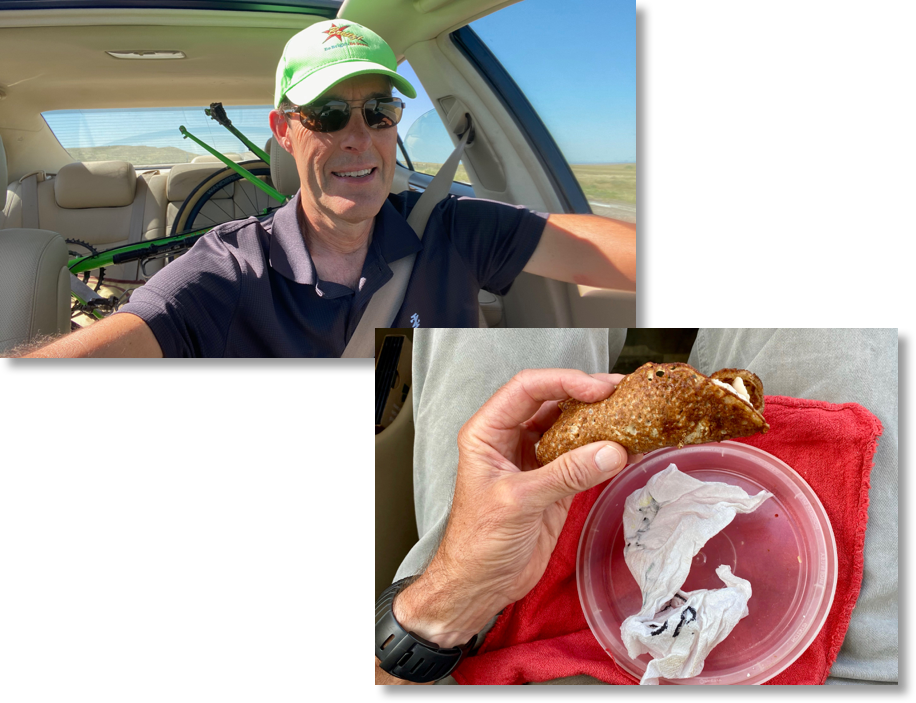
And crepes make for great “on-the-fly” food. I made a stack of crepes before taking off across the country this summer. On that trip, I loved keeping my foot on the gas to take in all I could about our wonderfully vibrant country. Those crepes worked great for making lunches that I enjoyed rolling on the road, like the ham, cheese and mustard crepe shown above.

I made that crepe no-kidding while gassing up the car and, therefore, didn’t take pictures. When I got home, though, I shot this easy to make Tuna and Provolone Cheese Crepe that you can make either as shown below or by substituting the tuna and provolone cheese with any meat, vegetable and cheese you like. Imagination and flavor rule!

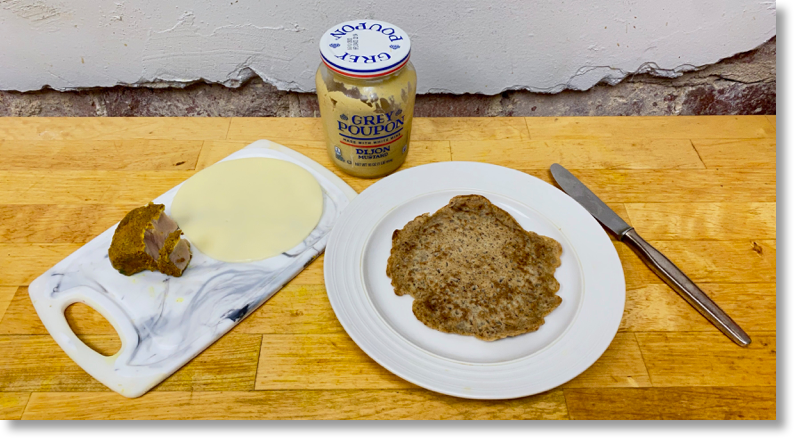
Here’s what I used to put together this Tuna and Provolone Cheese Crepe: leftover pan cooked tuna, provolone cheese, mustard and crepe.

Tuna and Provolone Cheese Crepe Ingredients

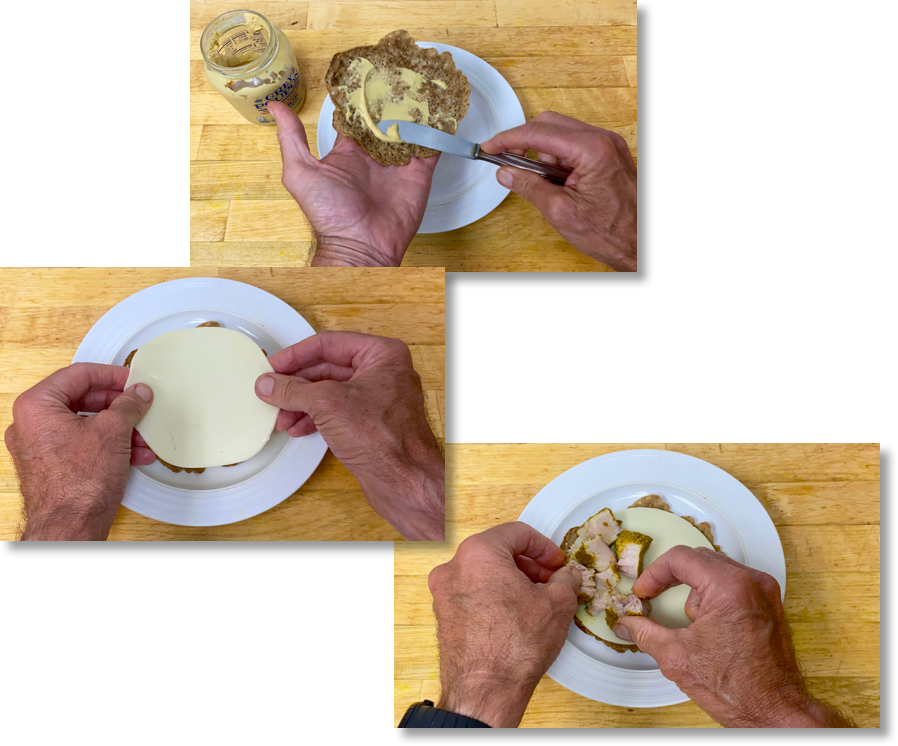
I started by spreading mustard on the crepe, laying on a slice of provolone cheese and hand-pulling apart pieces of leftover cooked tuna on half the crepe.

Spreading mustard on a crepe and topping with provolone cheese & cooked tuna

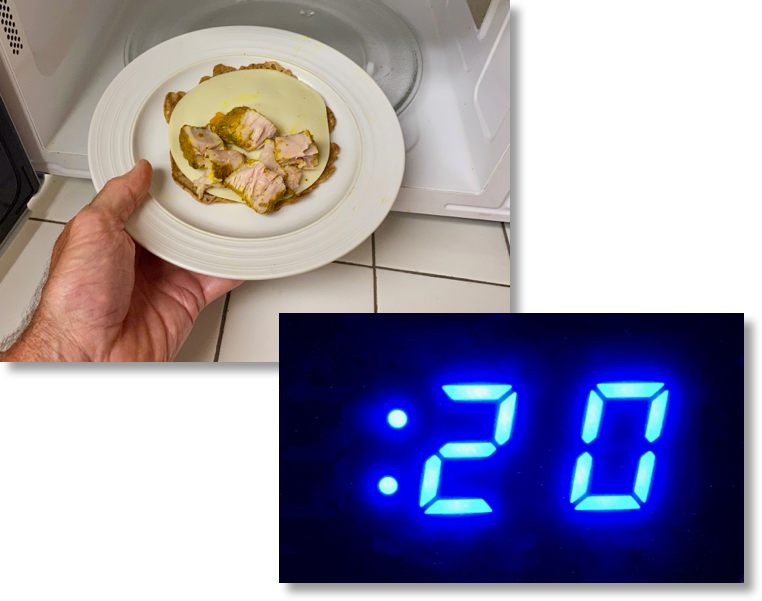
Warm the topped crepe in the microwave oven for 20 seconds.

Warm the crepe in the microwave oven for 20 seconds

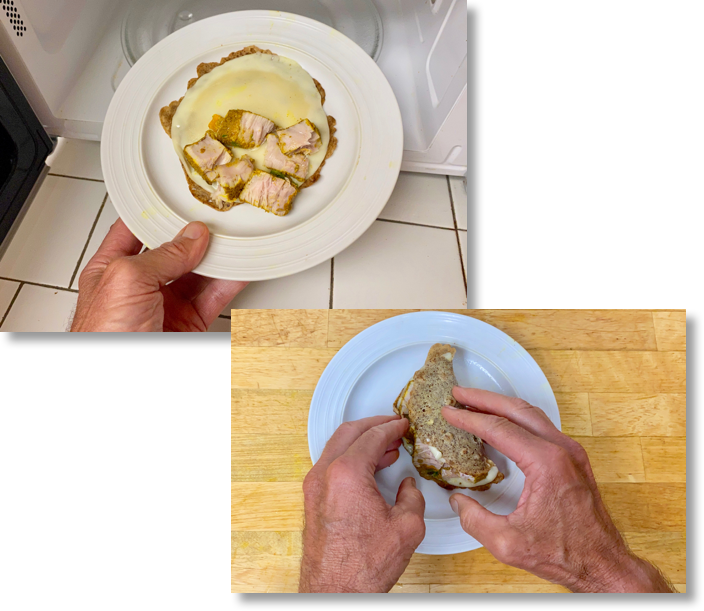
Take the warmed crepe out of the microwave oven and fold the cheese only covered half over the tuna covered side and…

Fold the warmed crepe one half over the other half

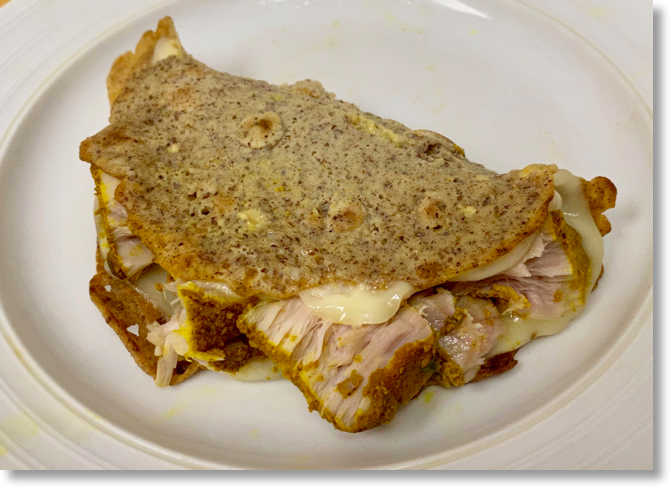
…enjoy!

Fresh Crepes with Nut Butter, Jam, Yogurt & Whipped Cream

Last post – I know, quite a while ago – showed how to make fresh crepes, which are just as easy to make as flapjack pancakes but are way more versatile, as shown with just a few examples above.

Whether you use your own crepes or pre-made store bought crepes, the top middle version, filled with nut butter and jam and topped with yogurt and whipped cream is very easy to make, killer flavorful and great power fuel for any kind of strenuous activity because of its combination of simple “get up and go!” sugars from the jam and cookie spread (optional), complex carbs from the flour in the crepe, protein from the egg in the crepe, Greek yogurt and nut butter, and fats from nut butter, yogurt (if you use whole milk yogurt) and whipped cream.

Here’s what I use to put together a crepe like this: homemade crepe (which can be substituted with a prepared, store bought crepe), then from left to right: whole milk Greek yogurt, almond butter, cookie spread (optional – I love both added flavor and light crunch!), jam, raisins and whipped cream.

Crepe with nut butter, jam, yogurt and whipped cream ingredients

Start by spreading nut butter, cookie spread (optional) and jam down the middle of the crepe.

Spreading nut butter, cookie spread and jam down the middle of a crepe

I fold over one of the crepe thirds and add a dab of nut butter to the middle of that third and then fold over the opposing third, as shown below, to keep the crepe folded in place when I warm it in the microwave oven.

Using nut butter to keep the folded crepe thirds together when warmed in the microwave oven

Warm the filled crepe in the microwave oven for 20 seconds.

Warming the filled crepe for 20 seconds in the microwave oven

Finish buy topping the warmed crepe with yogurt and whipped cream.

Finishing with a good shot of yogurt and whipped cream

This crepe just by itself is great. Here’s how I have it before a good crunch on the bike that keeps me satisfied completely with no need to refuel on the fly for distances of 30-50+ miles with plenty of North Carolina hills along the way.

Pre-ride crepe with nut butter, cookie spread, jam, yogurt and whipped cream

How to Use Easy-To-Make 5-Ingredient Fresh Salad Dressings Examples

Two recent posts showed how to make an Instant 5-Ingredient Salad Dressing and a Fresh 5-Ingredient Salad Dressing. The only difference between the two: the instant dressing uses garlic powder to avoid any cutting or chopping; the fresh dressing just substitutes garlic powder with fresh garlic – and shows how to chop that garlic as easily as possible with picture book directions.

Regarding how to use the dressing, of course, either dressing goes great on any savory or sweet and savory salad, like the ones shown below – with picture book recipe links: Peach, Avocado & Baby Pepper Salad (top middle), Fresh Spinach and Berry Salad (bottom right), and Heirloom Tomato with Fresh Basil and Feta Cheese Salad (bottom left).

But, then here are just a few examples of how I used either dressing with dishes I’ve put together on the fly like: Pan Fried Chicken, Tomatoes and Parmesan Cheese (top left), Beans and Cheese with Fresh Tomato Onion Salad (top right), and Open Face Grilled Cheese and Tomato Pepper Salad (bottom middle).

Bottom line: your imagination is your only limit to how you use either dressing – or any dressing. For another example, here’s something I just had: Spinach and Ricotta Cheese Pancake topped with tomatoes, avocado, cilantro and fresh salad dressing. Yes, all easy and fun to put together – more about that pancake pretty soon – and all always with a keen eye on full-on flavor!

How to Speed Up Pineapple Ripening

At the end of the last post I promised I’d show how to improvise on very easy-to-make pineapple, yogurt & jam. That plan sounded fine until I realized that the pineapple I was going to use to make and shoot those directions wasn’t yet ripe even after I’d had it on top of my fridge for about a week, as shown below

No problem. Just another opportunity to improvise in a different manner. Though I’ve not done this with a pineapple before, I figured I could probably speed up the ripening process by doing what I do with other fruits and avocados that sometimes take days or longer to ripen out in the open.

Last night I put the pineapple in a paper bag (can’t use a plastic bag for this because plastic doesn’t allow for needed air exchange that makes ripening work; paper does),…

…then clipped the bag closed (because it would’t stay closed just by folding the bag top), and…

…put the bagged pineapple on top of the fridge, which I’ll now keep an eye on to see how quickly the pineapple ripens.

More soon!

Designed by Free Wordpress Themes and Sponsored by Curry and Spice