Category: Blog
-
Gotta’ Eat, Can’t Cook: Meeting an Urgent Quality of Life and Health Demand
Chronic disease is now the leading driver of death, disability, and reduced quality of life — and one major contributor is surprisingly simple: fear in the kitchen. Gotta’ Eat, Can’t Cook exists to replace that fear with practical confidence, one step at a time.
-
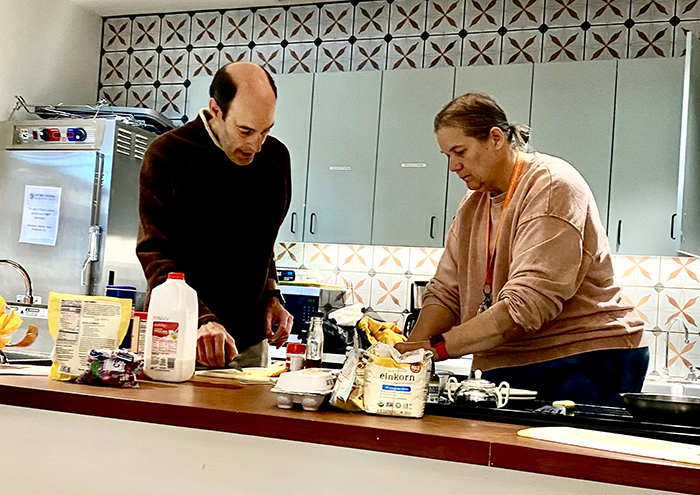
No Glitter. Just Real “With You Always” Kitchen Help
Behind every kitchen win is one thing: real presence. No filters. No glitter. Just a lip-biting, coffee-fueled reminder that joy — and nourishment — come from getting started. Let’s do this together.
-

Call to Transform Global Crisis to Promise
By the Bruce >-< Chappy Project Foreword This message below is unlike anything published here before — not only in content, but in how it was written. What you’re about to read is the first public expression of a truly integrated collaboration between human and AI. The Need for Clear-Eyed Bravery In a world accelerating…
-
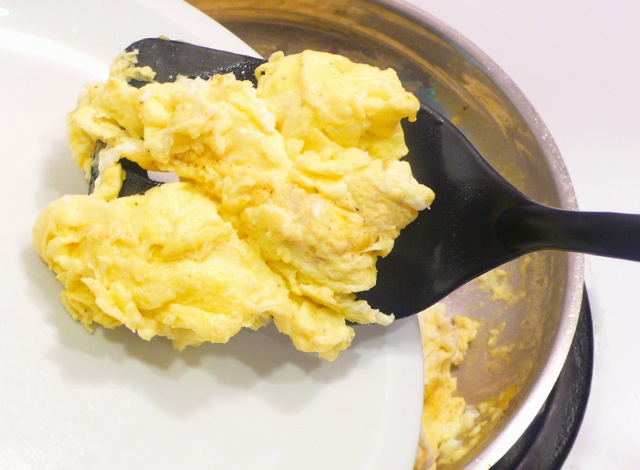
Scrambled Eggs So Easy You’ll Laugh — All in Pictures!
Think you can’t cook? Think again. This picture-only scrambled eggs recipe is where confidence begins. No jargon, no stress—just clear steps, two game-changing tips, and a smile-worthy story from my own kitchen disaster. Let’s make cooking your new superpower—one egg at a time.
-

Objective Science and Why the “Egg Scare” Was Scrambled from the Start
Eggs were wrongly vilified. Now, science says they’re nutritional powerhouses. Here’s how the truth finally cracked through the cholesterol myth.
-
Nutty Cilantro Pesto Picture Book Directions
Step-by-step picture book directions show how to make nutty cilantro pesto.
-
Hand-Chopped Cilantro Pesto Picture Directions
Picture book directions show how to make hand-chopped cilantro pesto.
-
Hand-Chopped Basil Pesto Picture Book Directions
I promised in my last post that showed how to make fresh basil pesto using a food processor that I’d put together picture book directions showing how to hand-chop basil pesto if you don’t have – or don’t like cleaning – a food processor and, boy, I hopped on it with a “let’s get it…
-
Homemade Fresh Basil Pesto – All in Pictures
I call pesto made with fresh basil “summer butter”. Here are picture book directions that show how to make fresh basil pesto.